Why Curing Vanilla Beans Matters
If you’ve ever grown your own vanilla beans, you’ve likely asked: How do I make these fragrant and flavorful like the ones I see in stores?
The answer lies in the curing process, a traditional, time-tested method that transforms bland, freshly harvested beans into dark, oily, complex vanilla worthy of gourmet extracts, baking, and beyond.
Curing unlocks the magic of vanillin and dozens of other aromatic compounds that define each vanilla bean’s flavor profile.
What Is “Curing” Vanilla Beans?
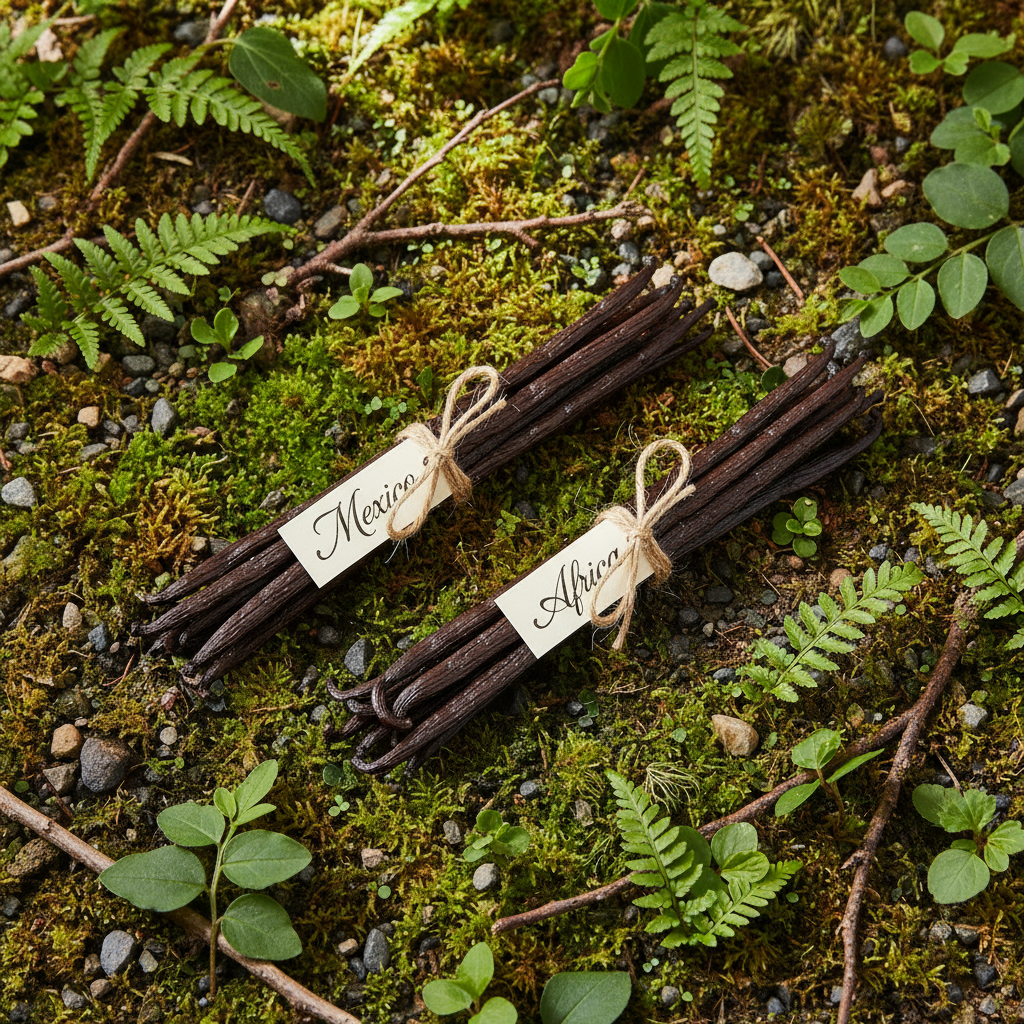
Curing is the post-harvest process that ferments, dries, and rests vanilla beans until they’re soft, pliable, fragrant, and packed with natural oils. Green beans have little aroma—but curing brings them to life.
🌿 4-Step Home Curing Process
1. Blanch (Kill-Step)
Why: Stops the bean’s growth and triggers enzymatic reactions.
-
Boil water to ~150°F–160°F (65–70°C)
-
Dip each bean for 1–3 minutes
-
Pat dry with a clean cloth
Tip: You’ll see the green start to fade and the bean turn olive-brown.
2. Sweat
Why: Encourages fermentation and vanillin development.
-
Wrap beans in thick wool or cotton towel
-
Place in insulated box or chest (ideally 100°F/38°C)
-
Sweat for 36–48 hours
Repeat for 10–14 days: unwrap each day to air-dry for 2–3 hours, then rewrap and sweat again.
3. Dry
Why: Removes moisture to prevent mold and concentrate oils.
-
Lay beans in sunlight (or warm, dry shade) for 2–3 hours daily
-
Then store overnight in sealed container
-
Continue this process for 2–4 weeks
You’ll notice:
-
Shrinking and darkening of beans
-
Increased aroma
-
Slight oil on fingers when touched
4. Condition
Why: Allows final flavor development and aroma blending.
-
Store beans in airtight glass or food-safe plastic container
-
Keep in a cool, dark place (no fridge)
-
Condition for 4–8 weeks
⏳ Timeline Snapshot
| Stage | Duration |
|---|---|
| Blanch | 1 Day |
| Sweat | 10–14 Days |
| Dry | 2–4 Weeks |
| Condition | 4–8 Weeks |
🛠 What You’ll Need
-
Large pot
-
Towels or cloth wraps
-
Insulated cooler or box
-
Drying rack or screen
-
Airtight storage jar
💡 Pro Tips for Home Curers
-
Avoid mold by ensuring beans are fully dry before sealing
-
Don't overdry – ideal moisture content is ~30–35% for grade A. Grade B can be drier, but their use will be limited to just extract and vanilla powder.
-
Store in glass, not metal or cardboard
-
Use gloves to avoid contamination
💬 Common Questions
Can I use a food dehydrator?
Yes, but keep temperatures under 120°F to prevent vanillin loss.
What if I see mold?
You can try to cut away the mold, but mold during the curing process may mean that the beans need to be discarded.
Can I use uncured beans for extract?
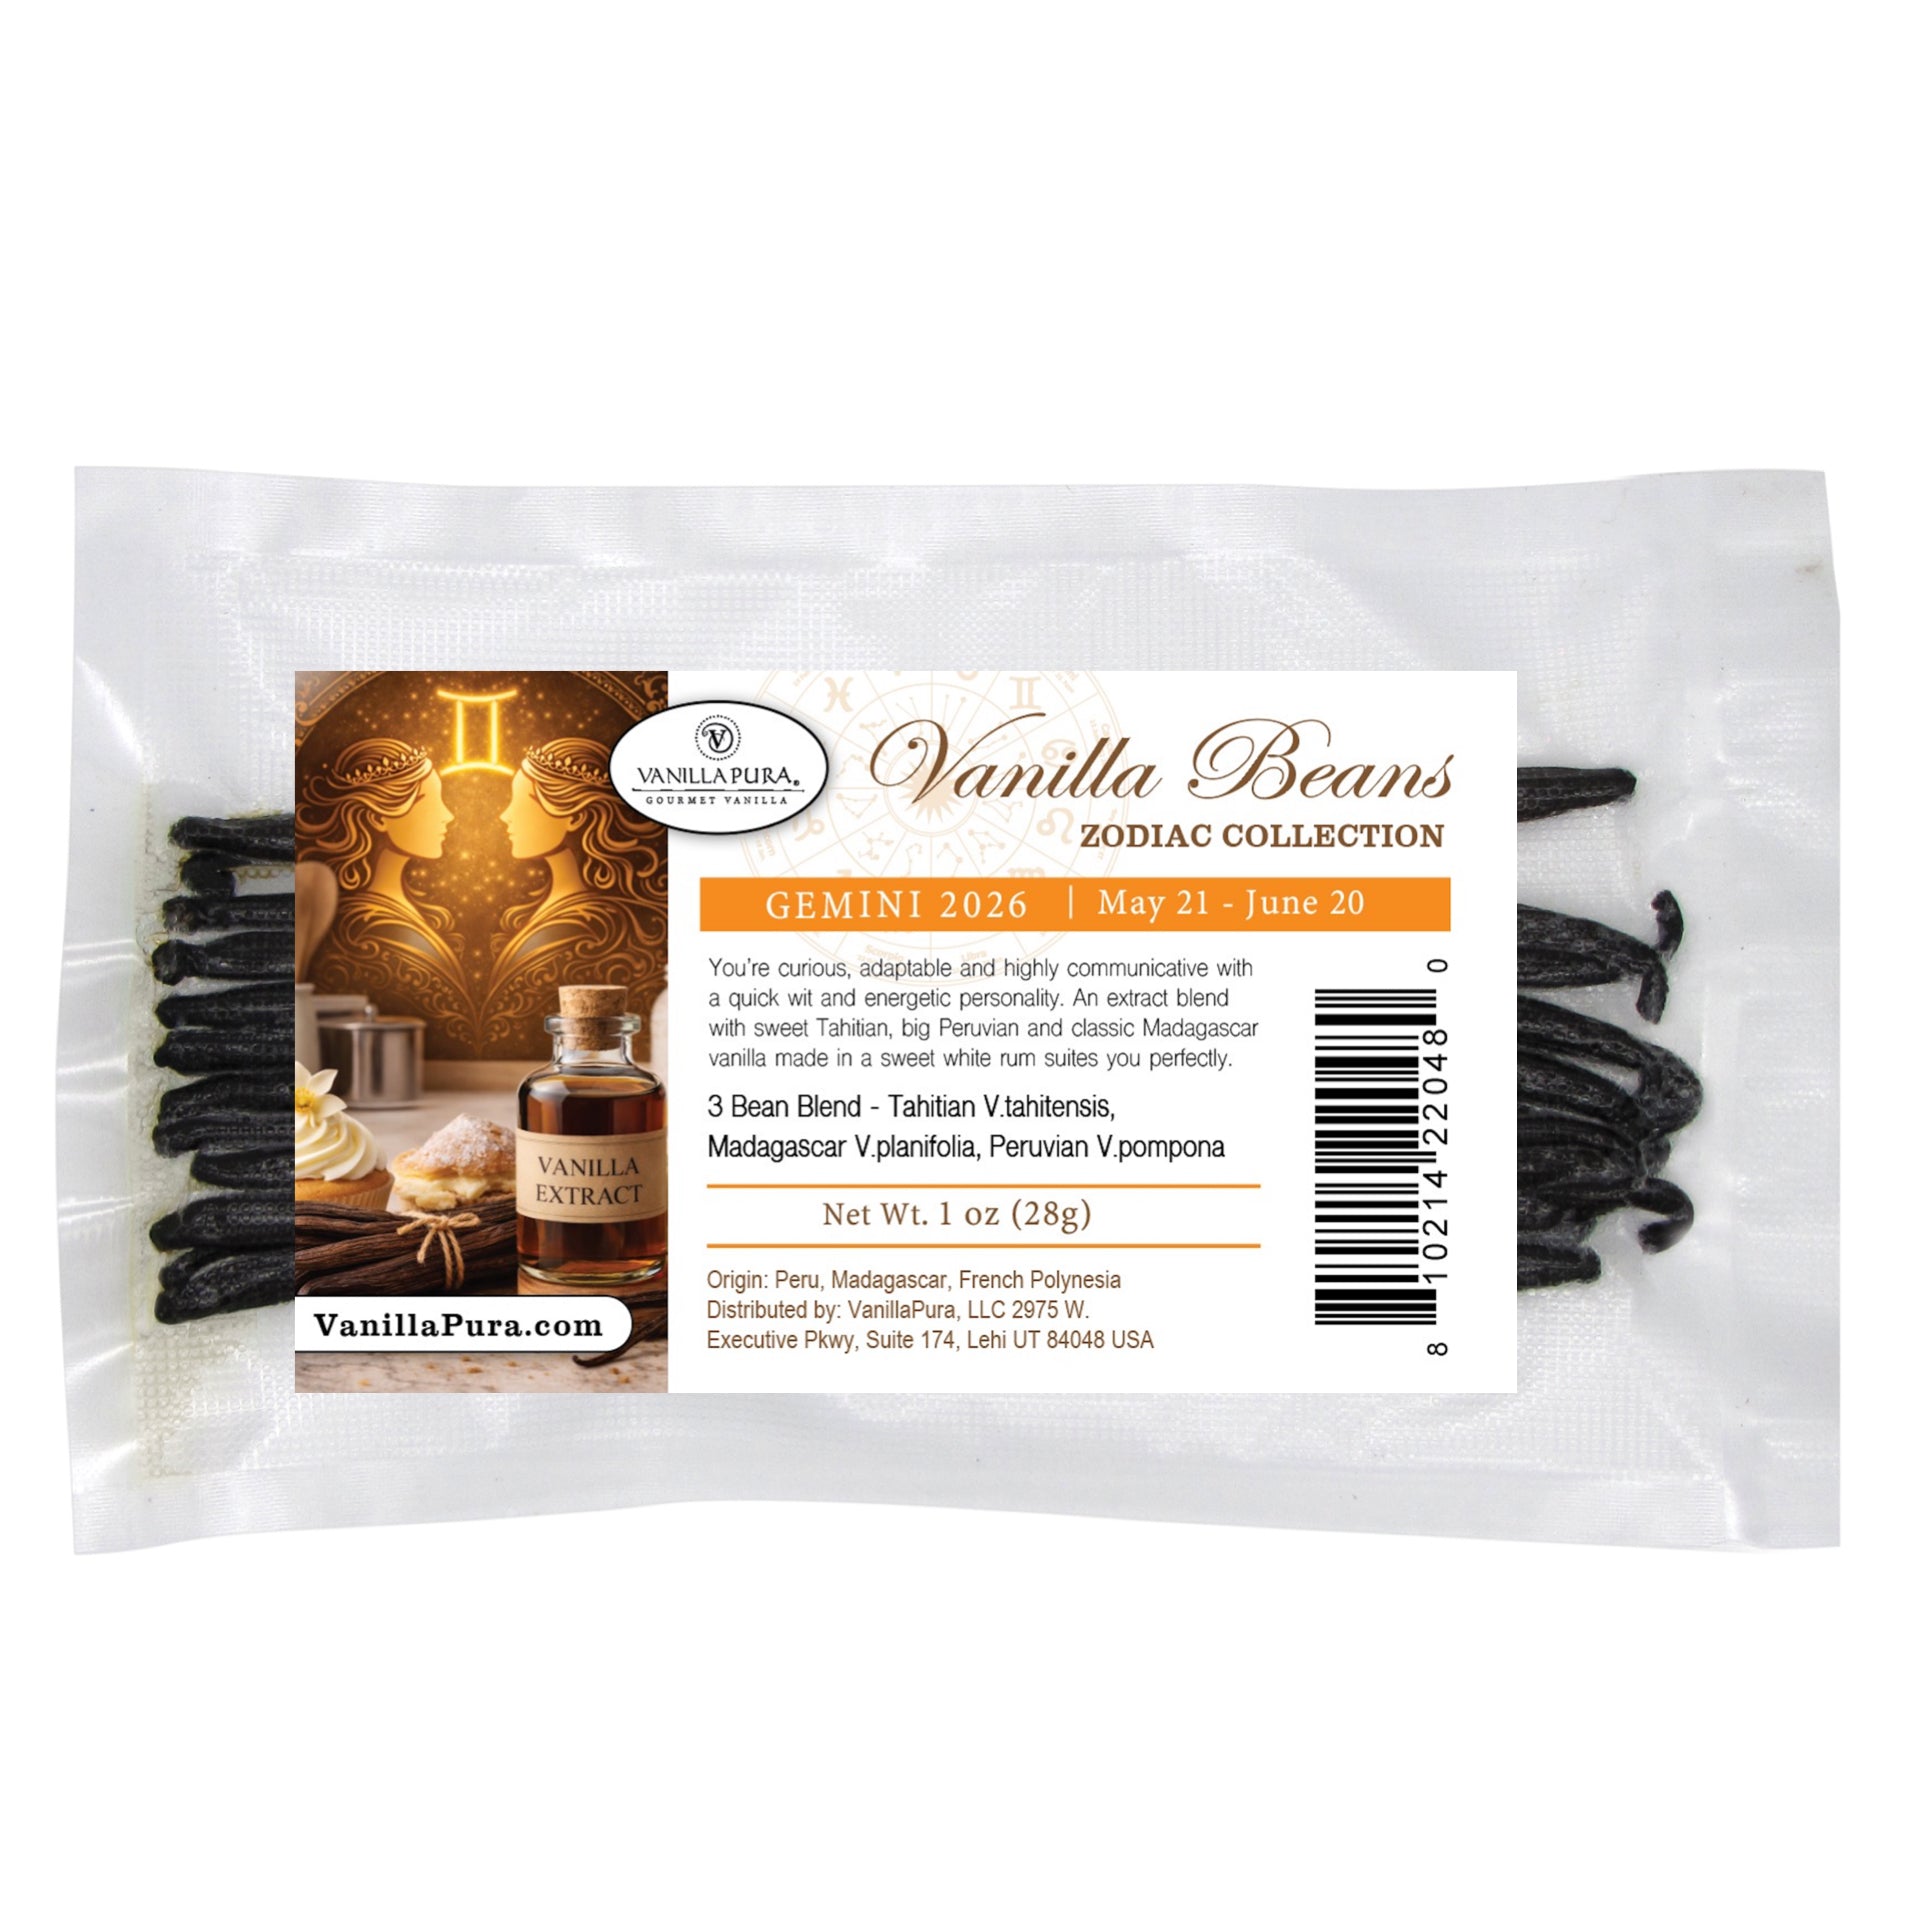
Technically yes, but the result is flat, grassy, and underwhelming. To get the most out of vanilla beans, they need to be cured.
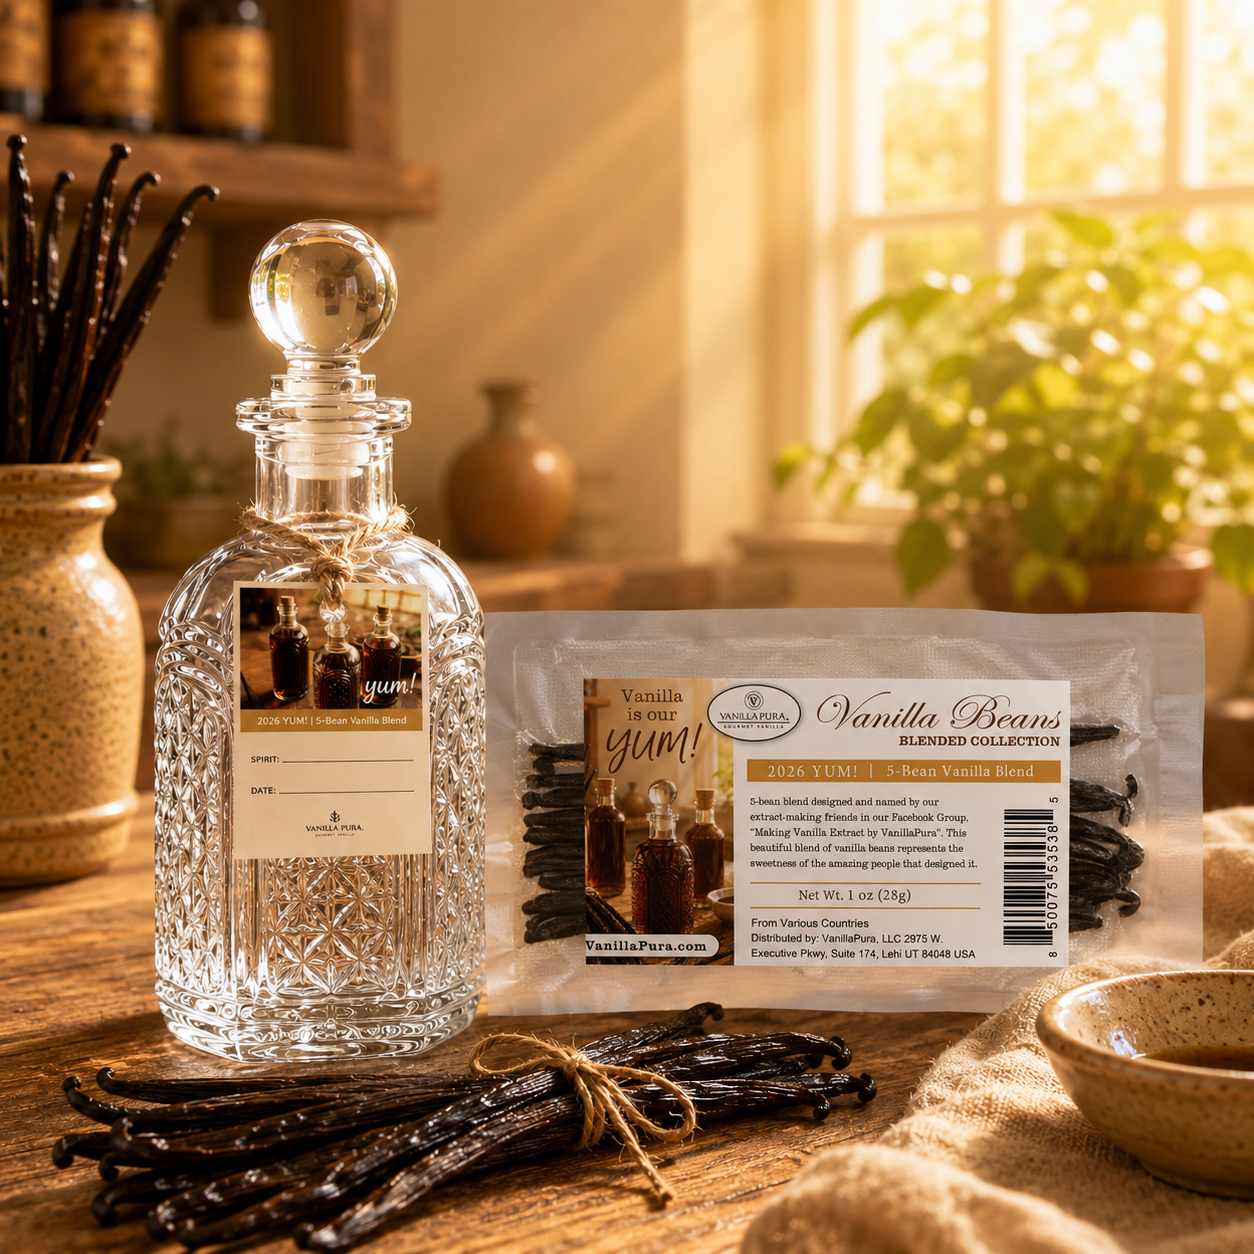
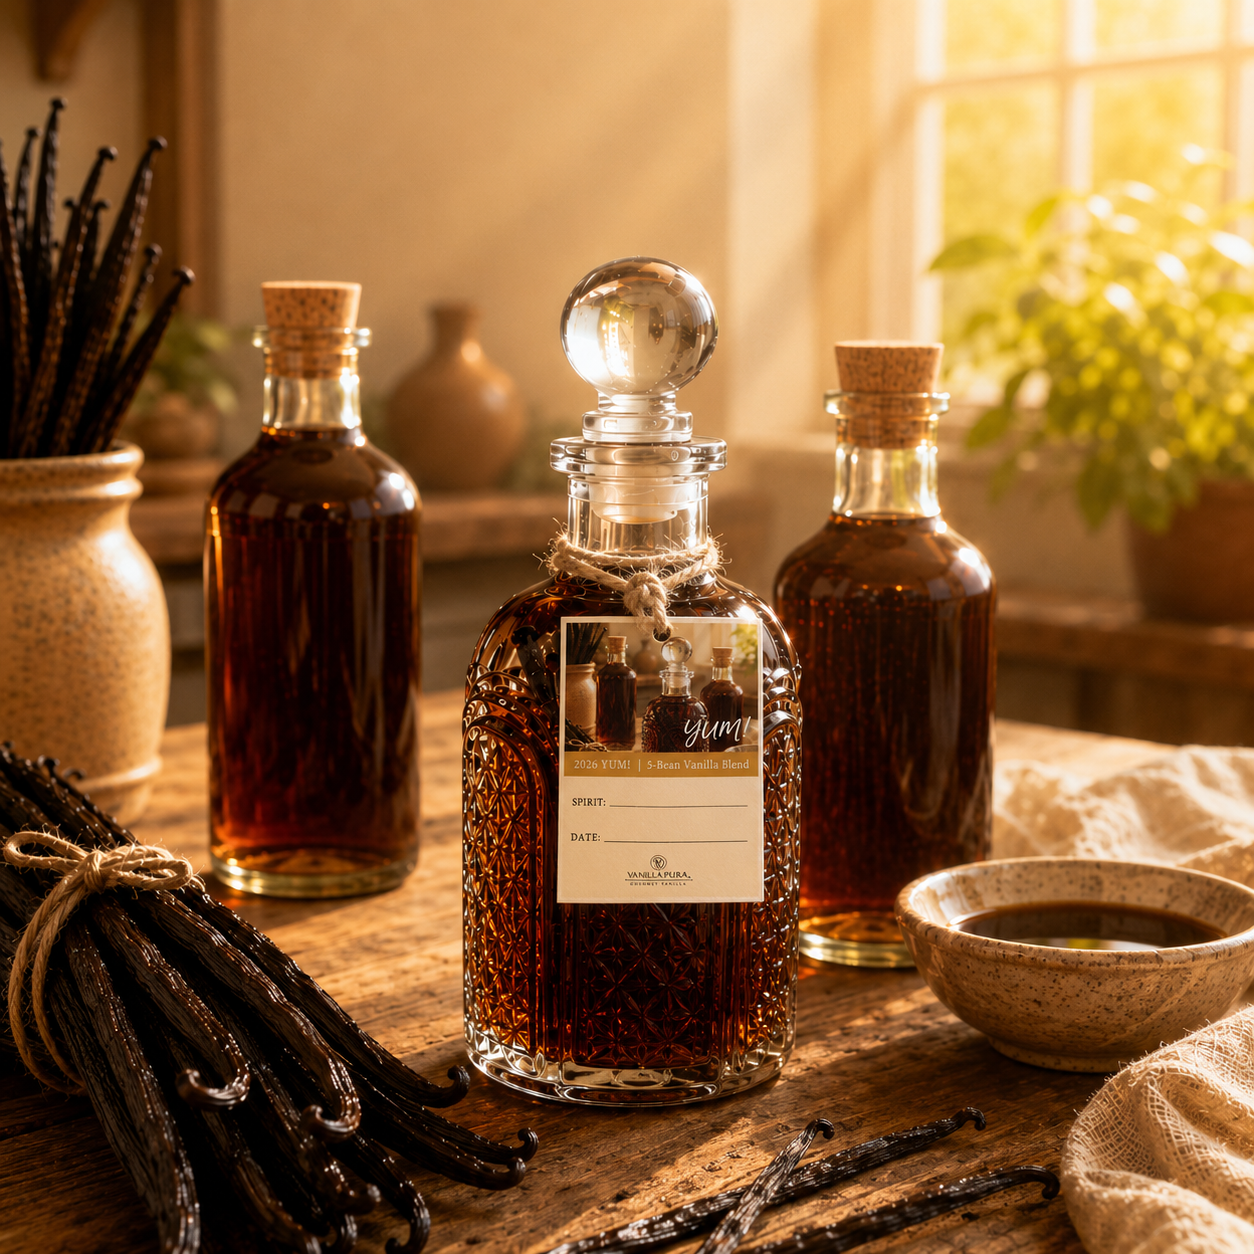
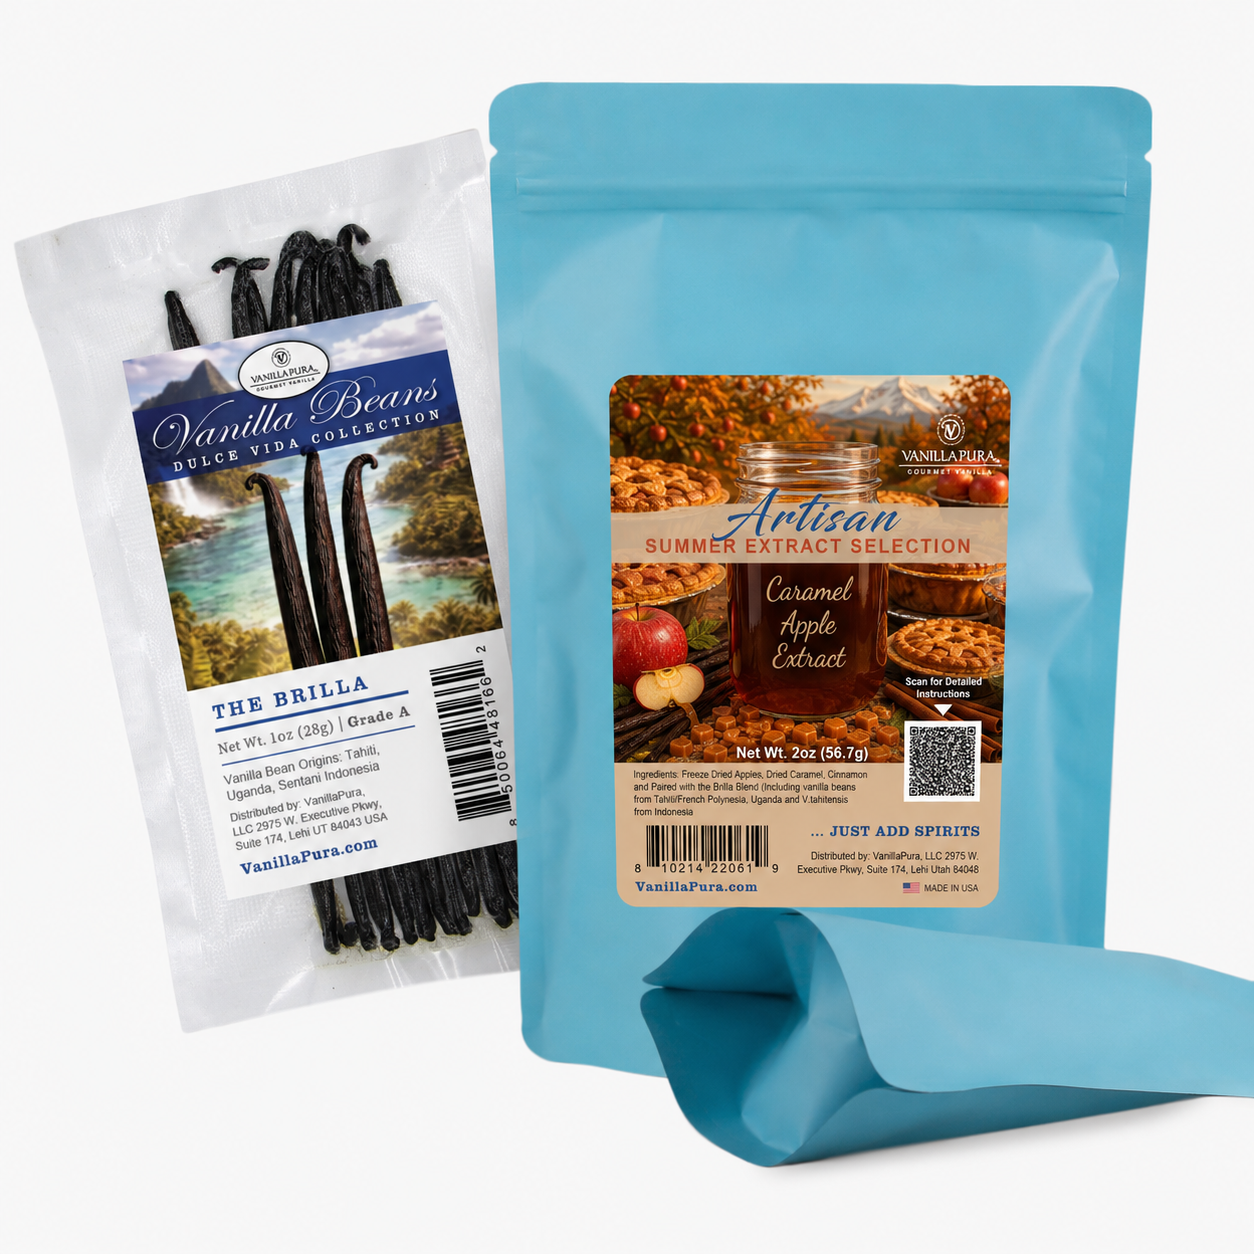
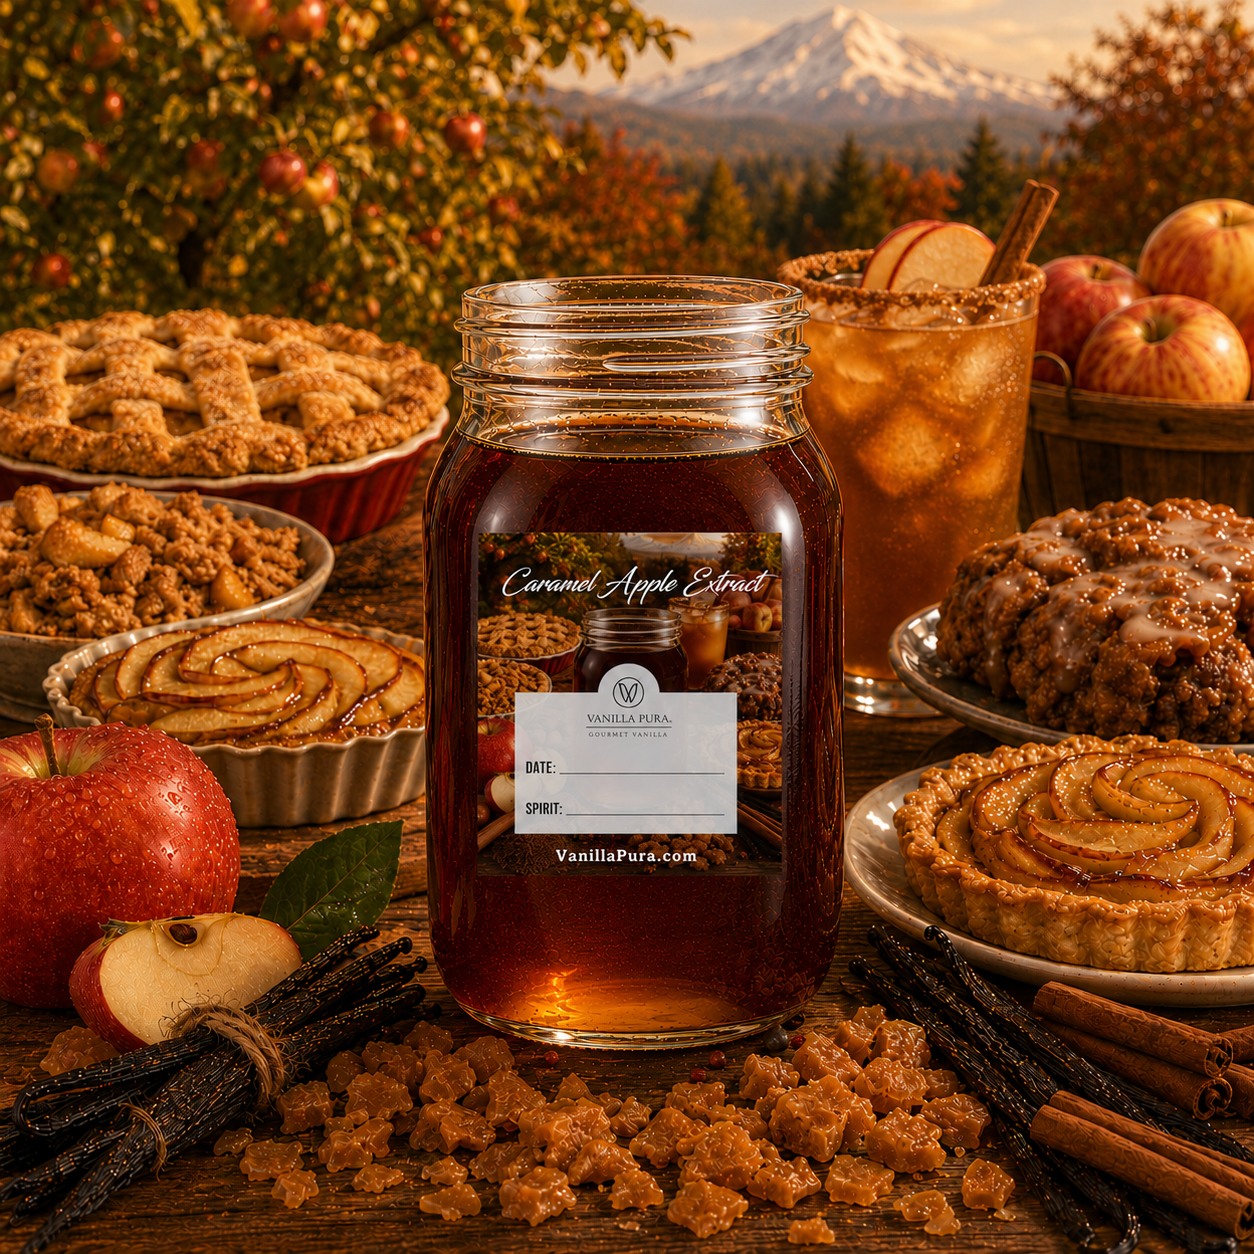
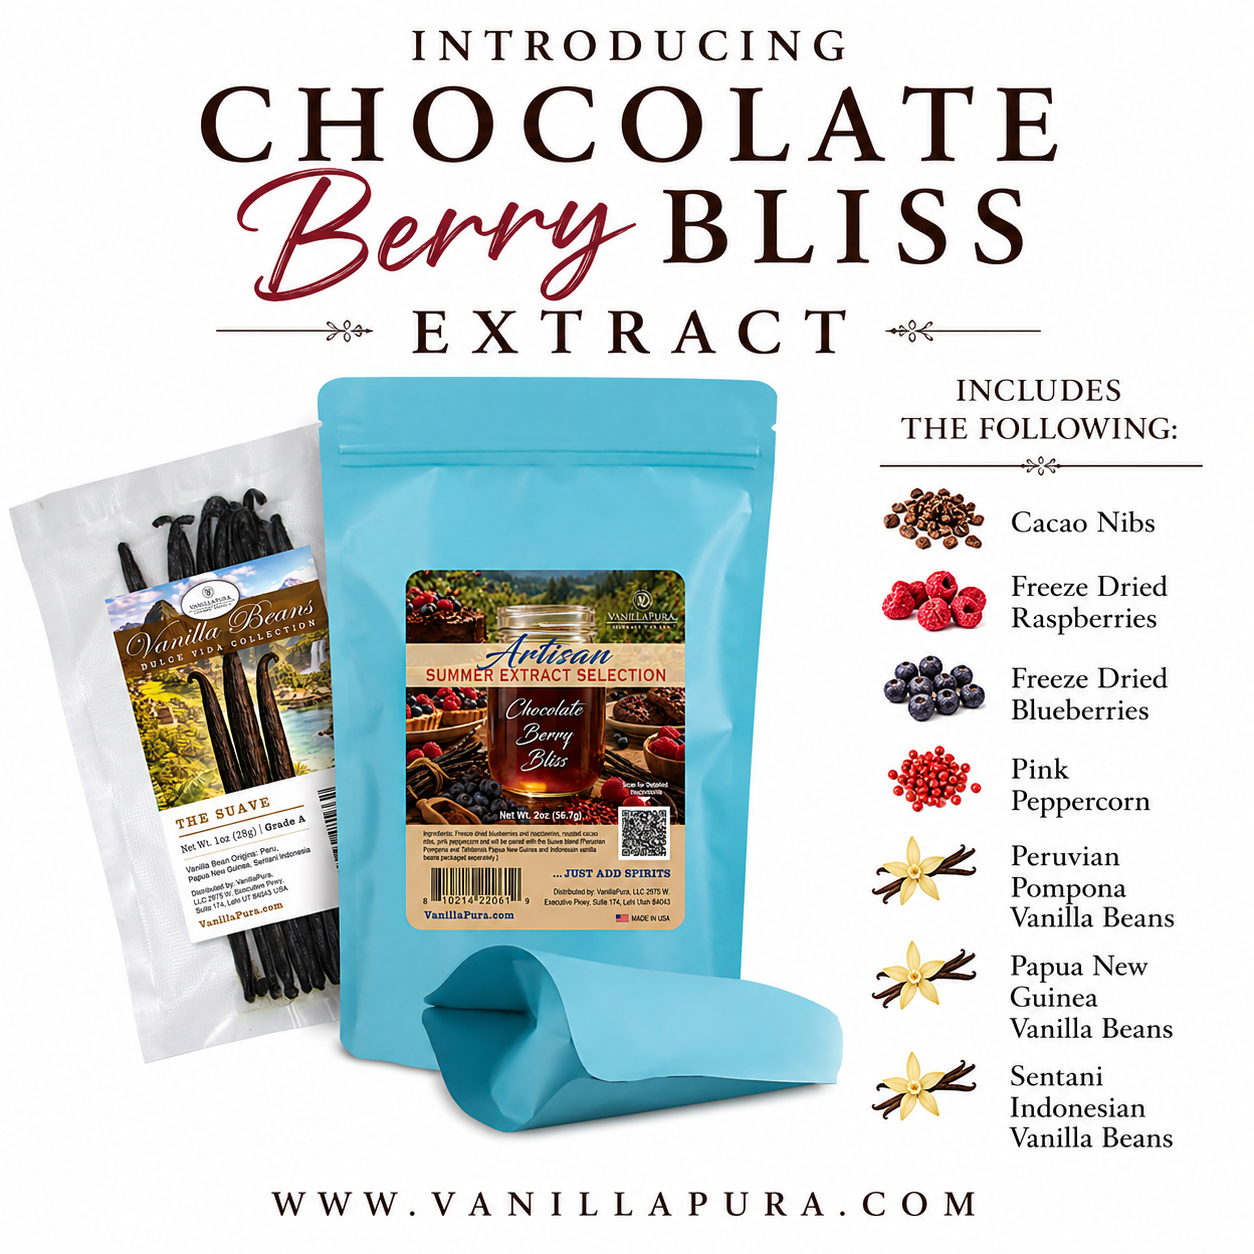
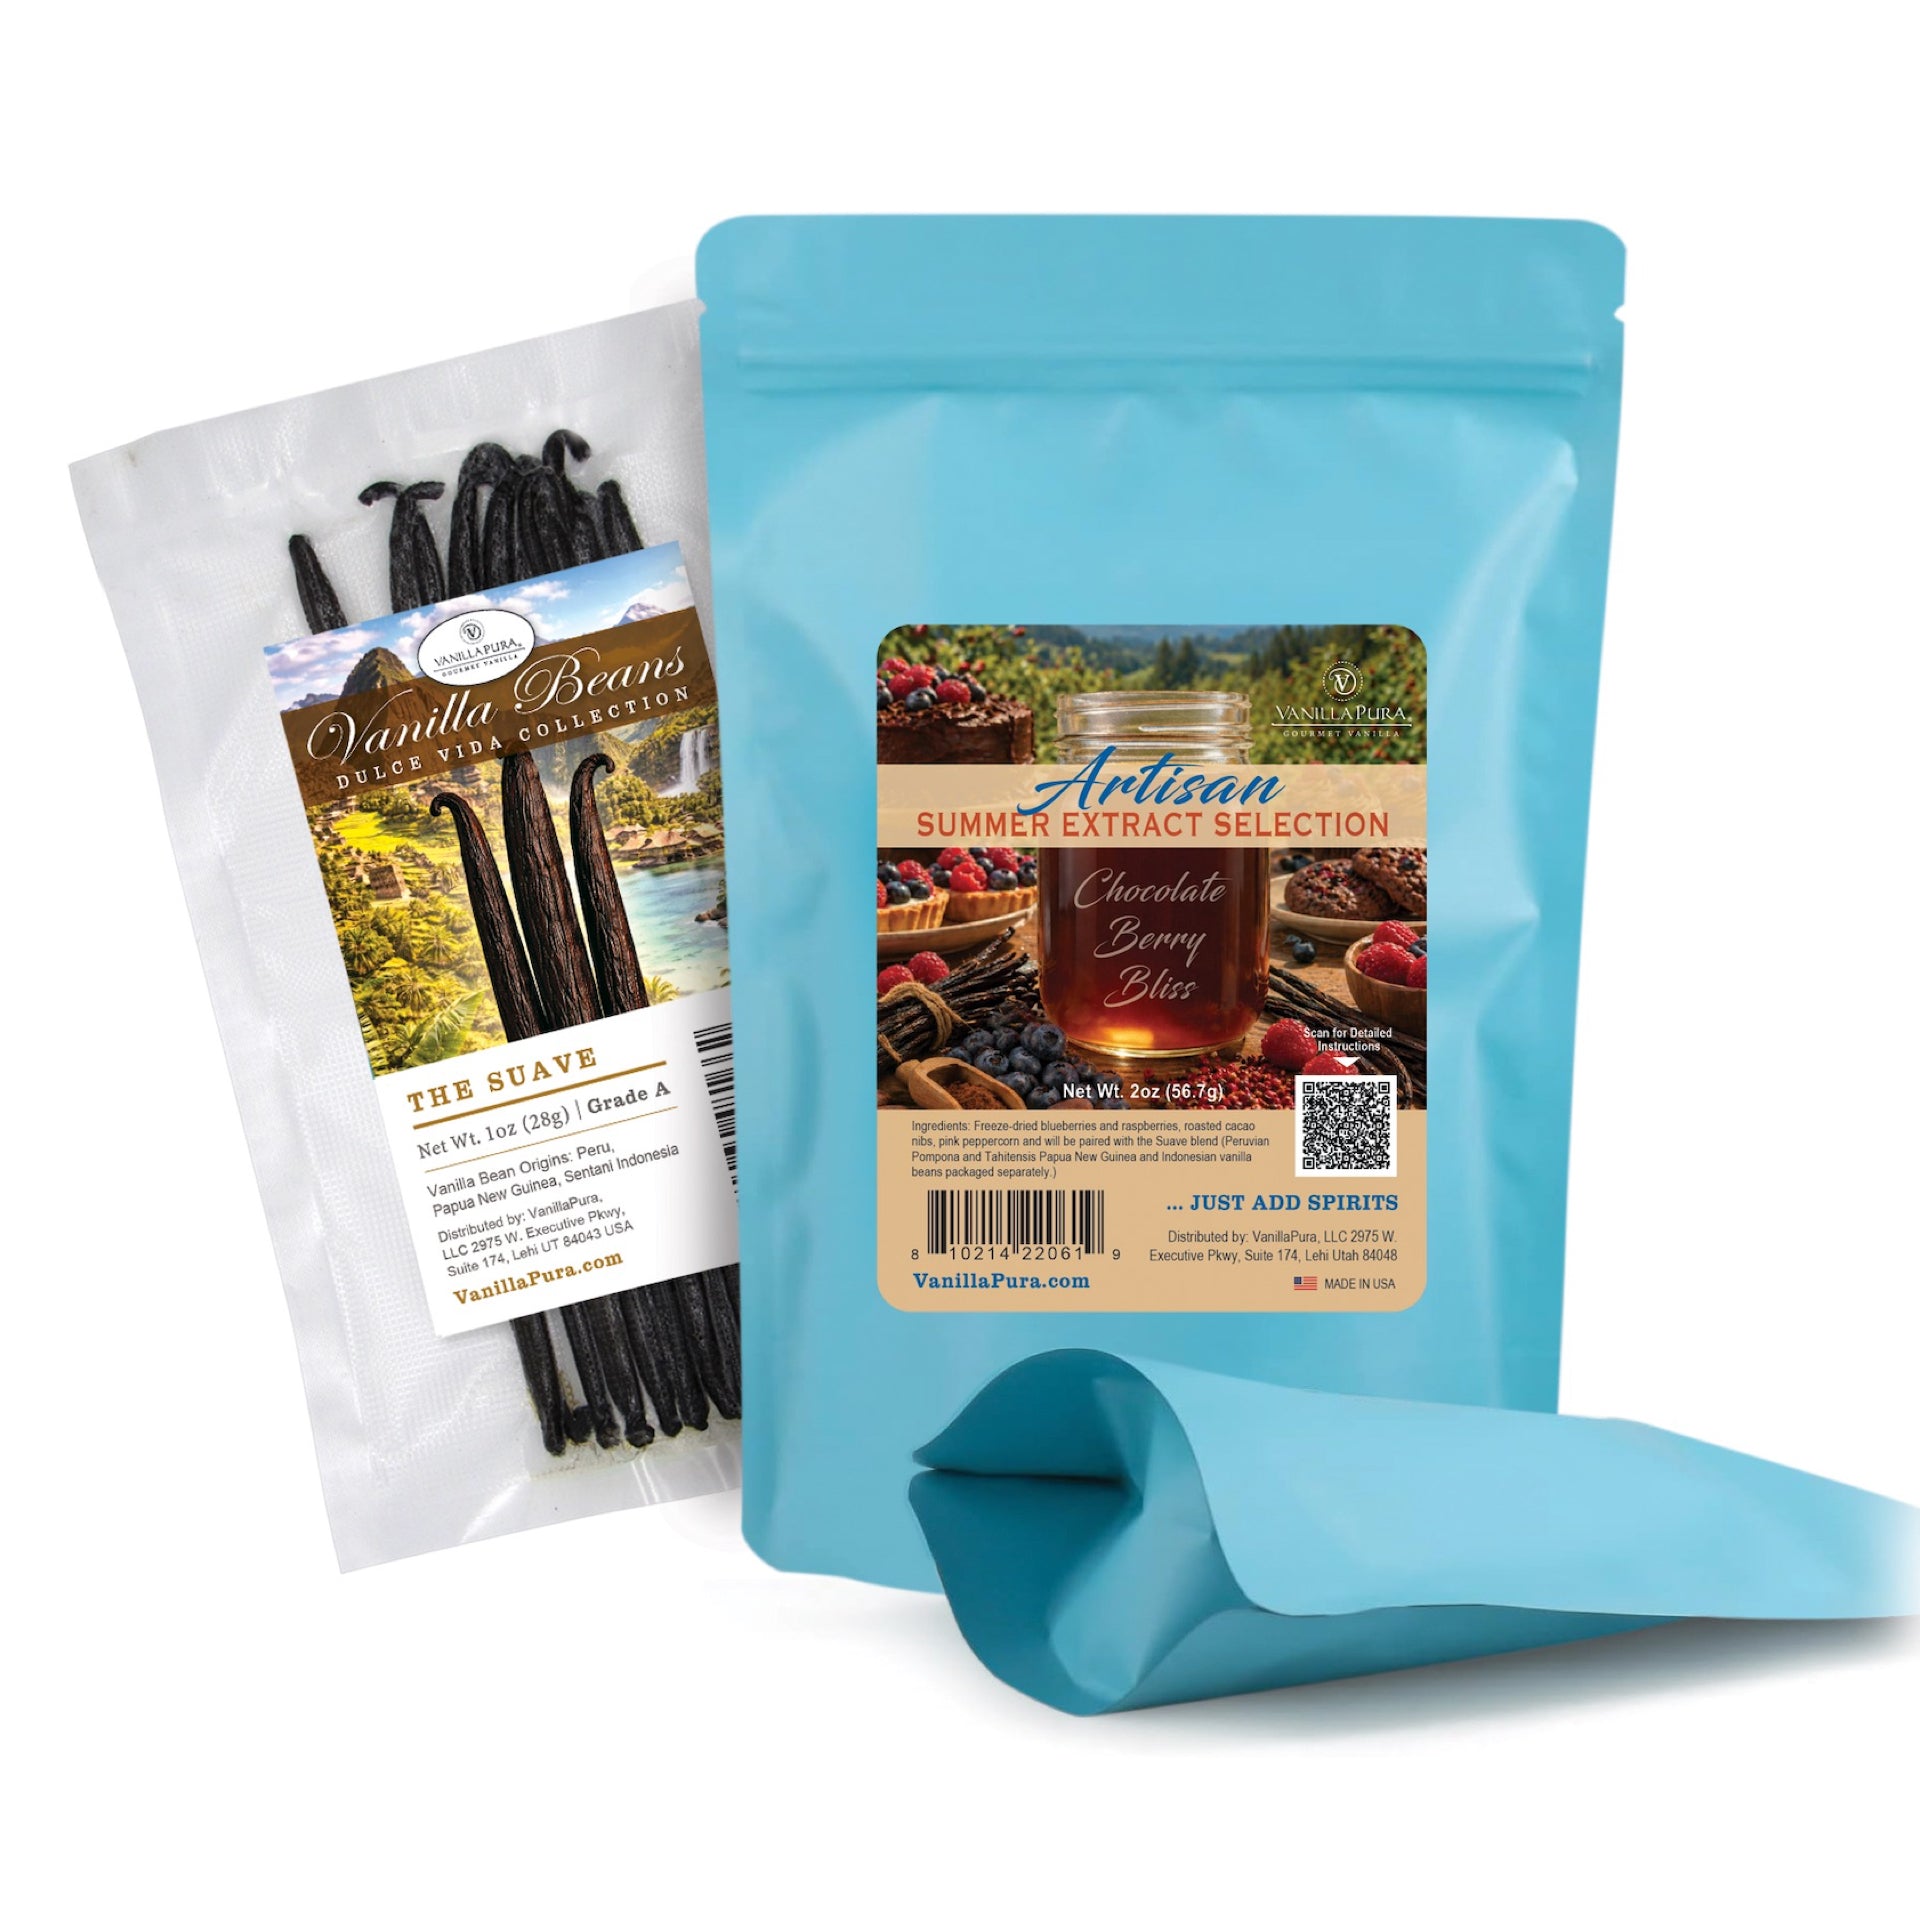
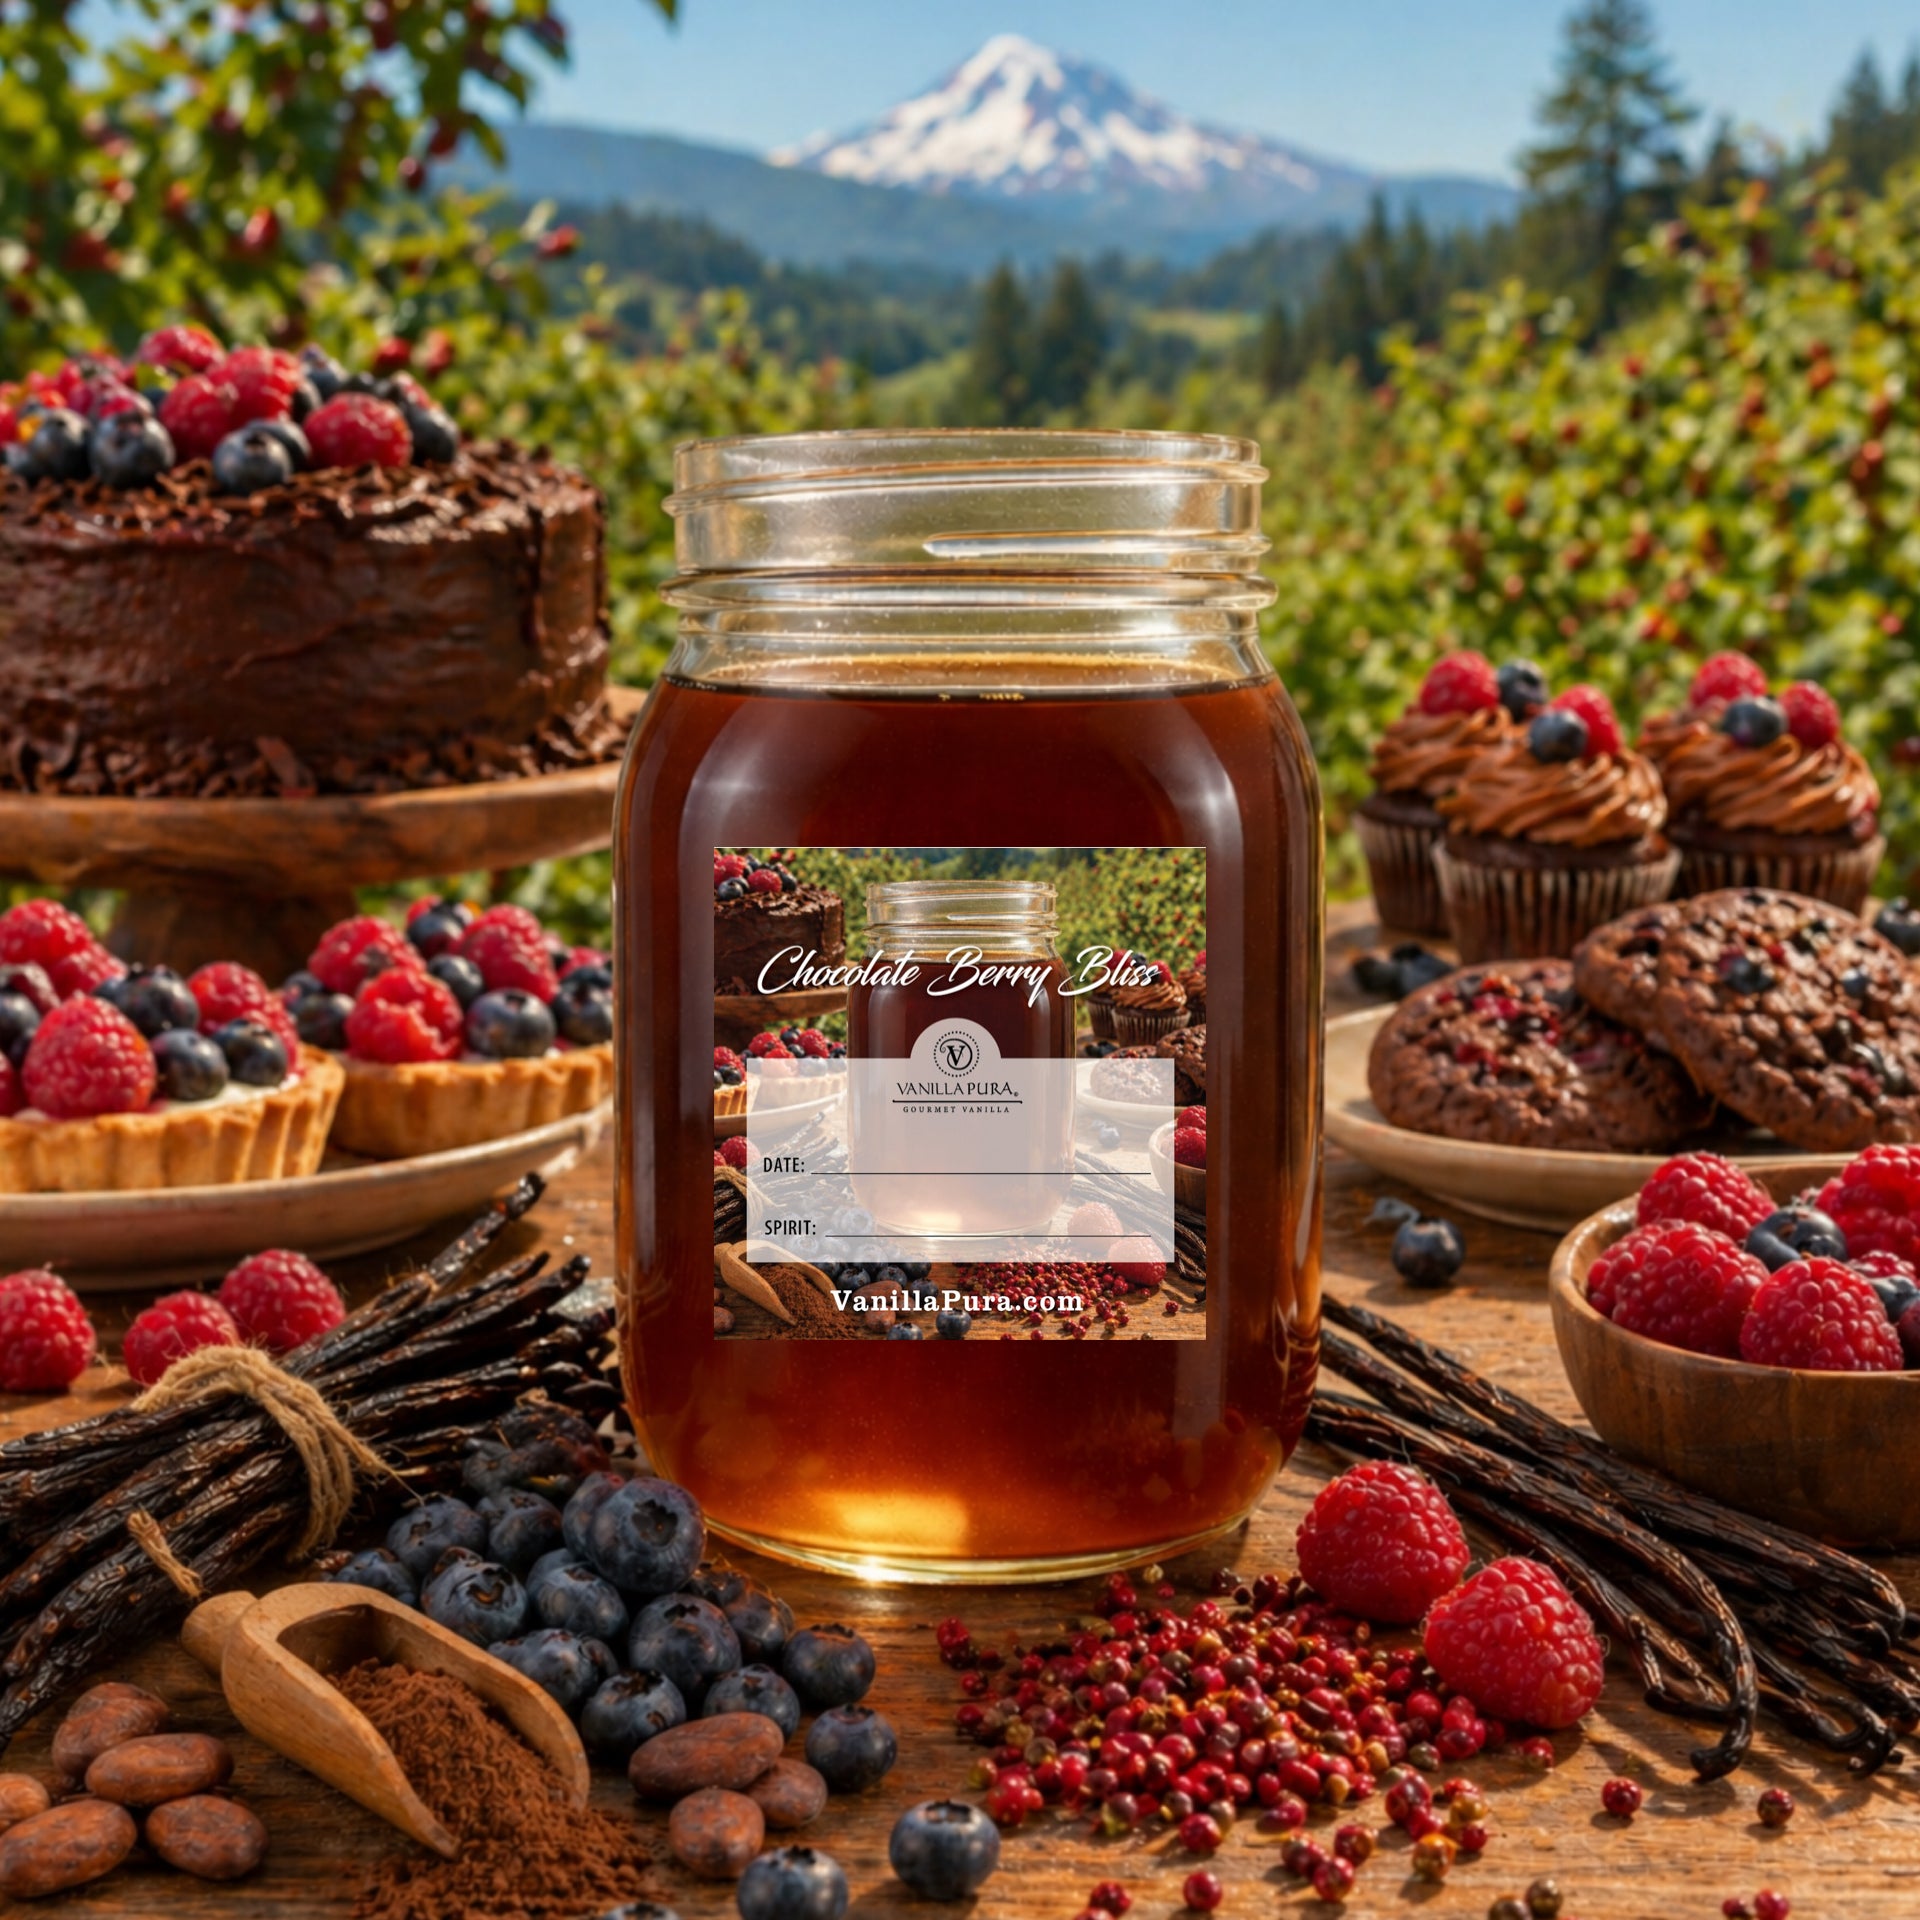
🍨 Turn Your Beans Into Extract
Once your beans are cured:
-
Slice lengthwise
-
Add to alcohol (vodka, rum, bourbon—see our pairing guide)
-
Use our extract calculator for precise measurements
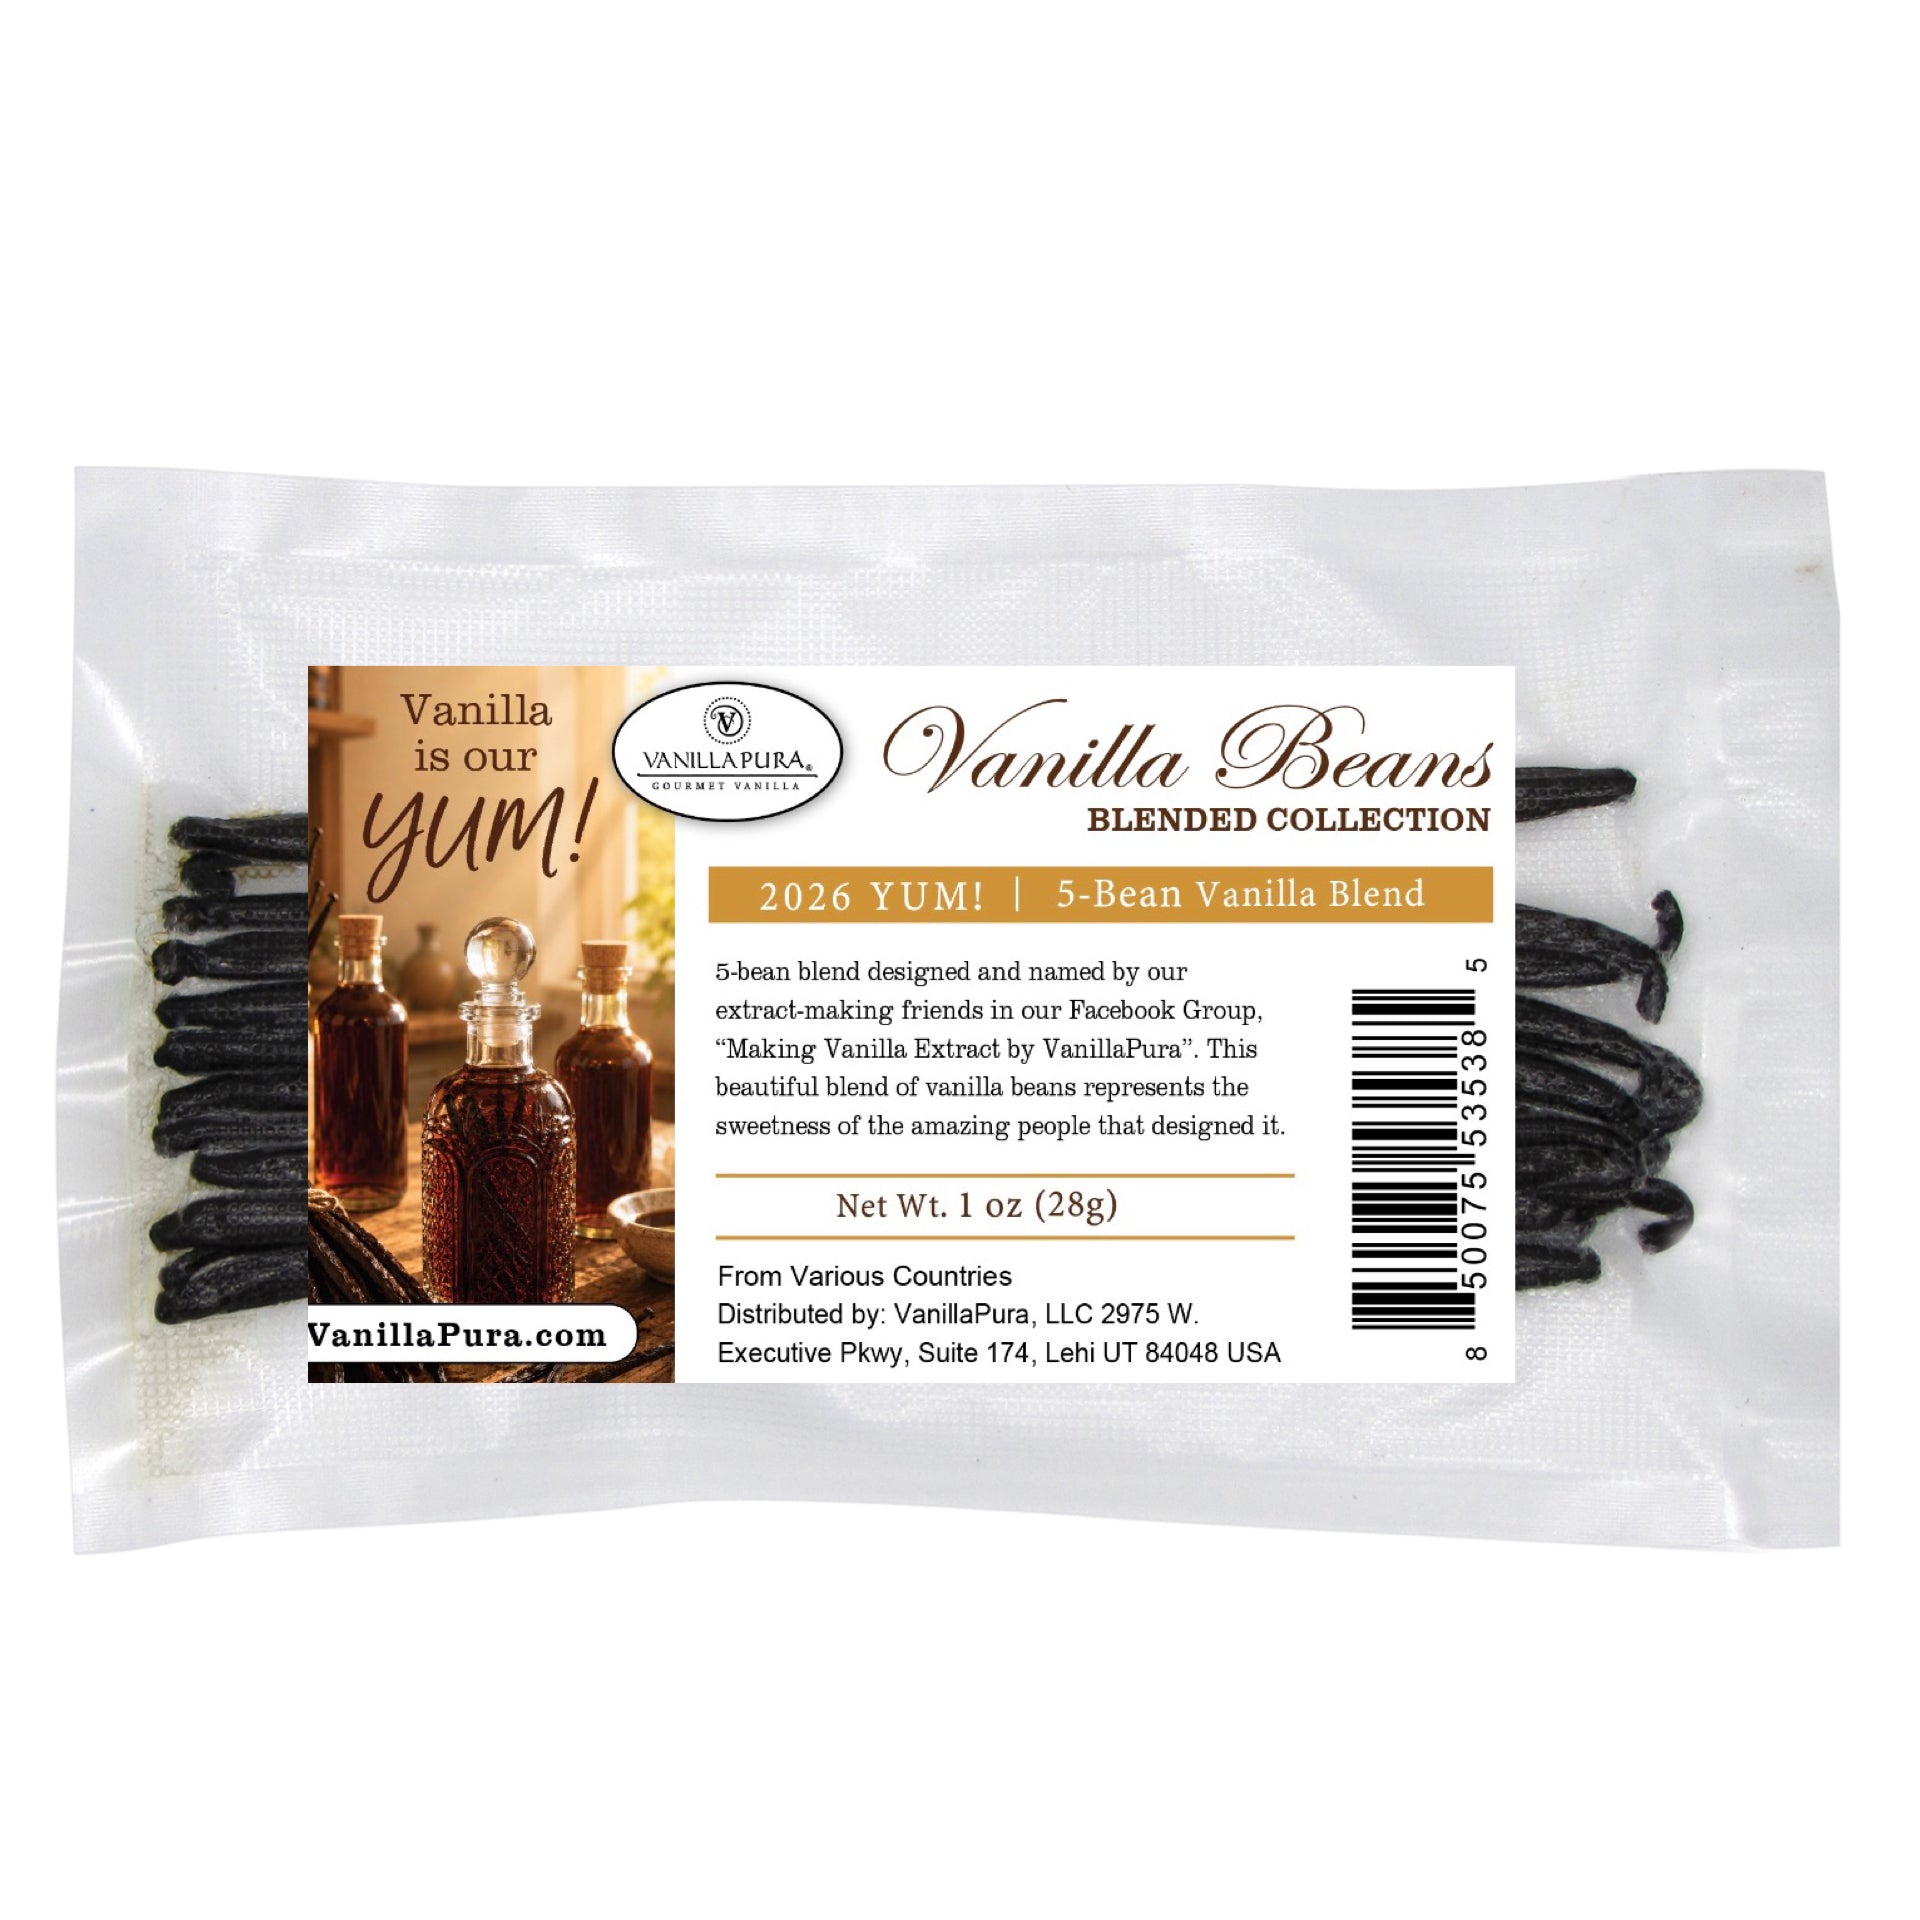
Want to skip curing? Browse our ready-to-use cured vanilla beans in the AI Collection.