This blackberry cheesecakes is decedent, creamy, and perfectly paired with our Ugandan Vanilla Beans. This recipe makes the perfect summer dessert when blackberries are at their peak! It is truly a 5-star cheesecake that’s great for entertaining and making ahead.
Ingredients:
Blackberry swirl
- 12 ounces of fresh blackberries
- 2 tablespoons granulated sugar
Crust
- 1 1/4 cups graham cracker crumbs from about 8 to 10 graham cracker sheets
- 6 tablespoons unsalted butter melted
- 3 tablespoons granulated sugar
- 1/2 teaspoon cinnamon* optional
- 1/8 teaspoon salt
Cheesecake
- 3, 8-ounce packages full-fat cream cheese, at room temperature
- 1 cup granulated sugar
- 1 cup full-fat sour cream
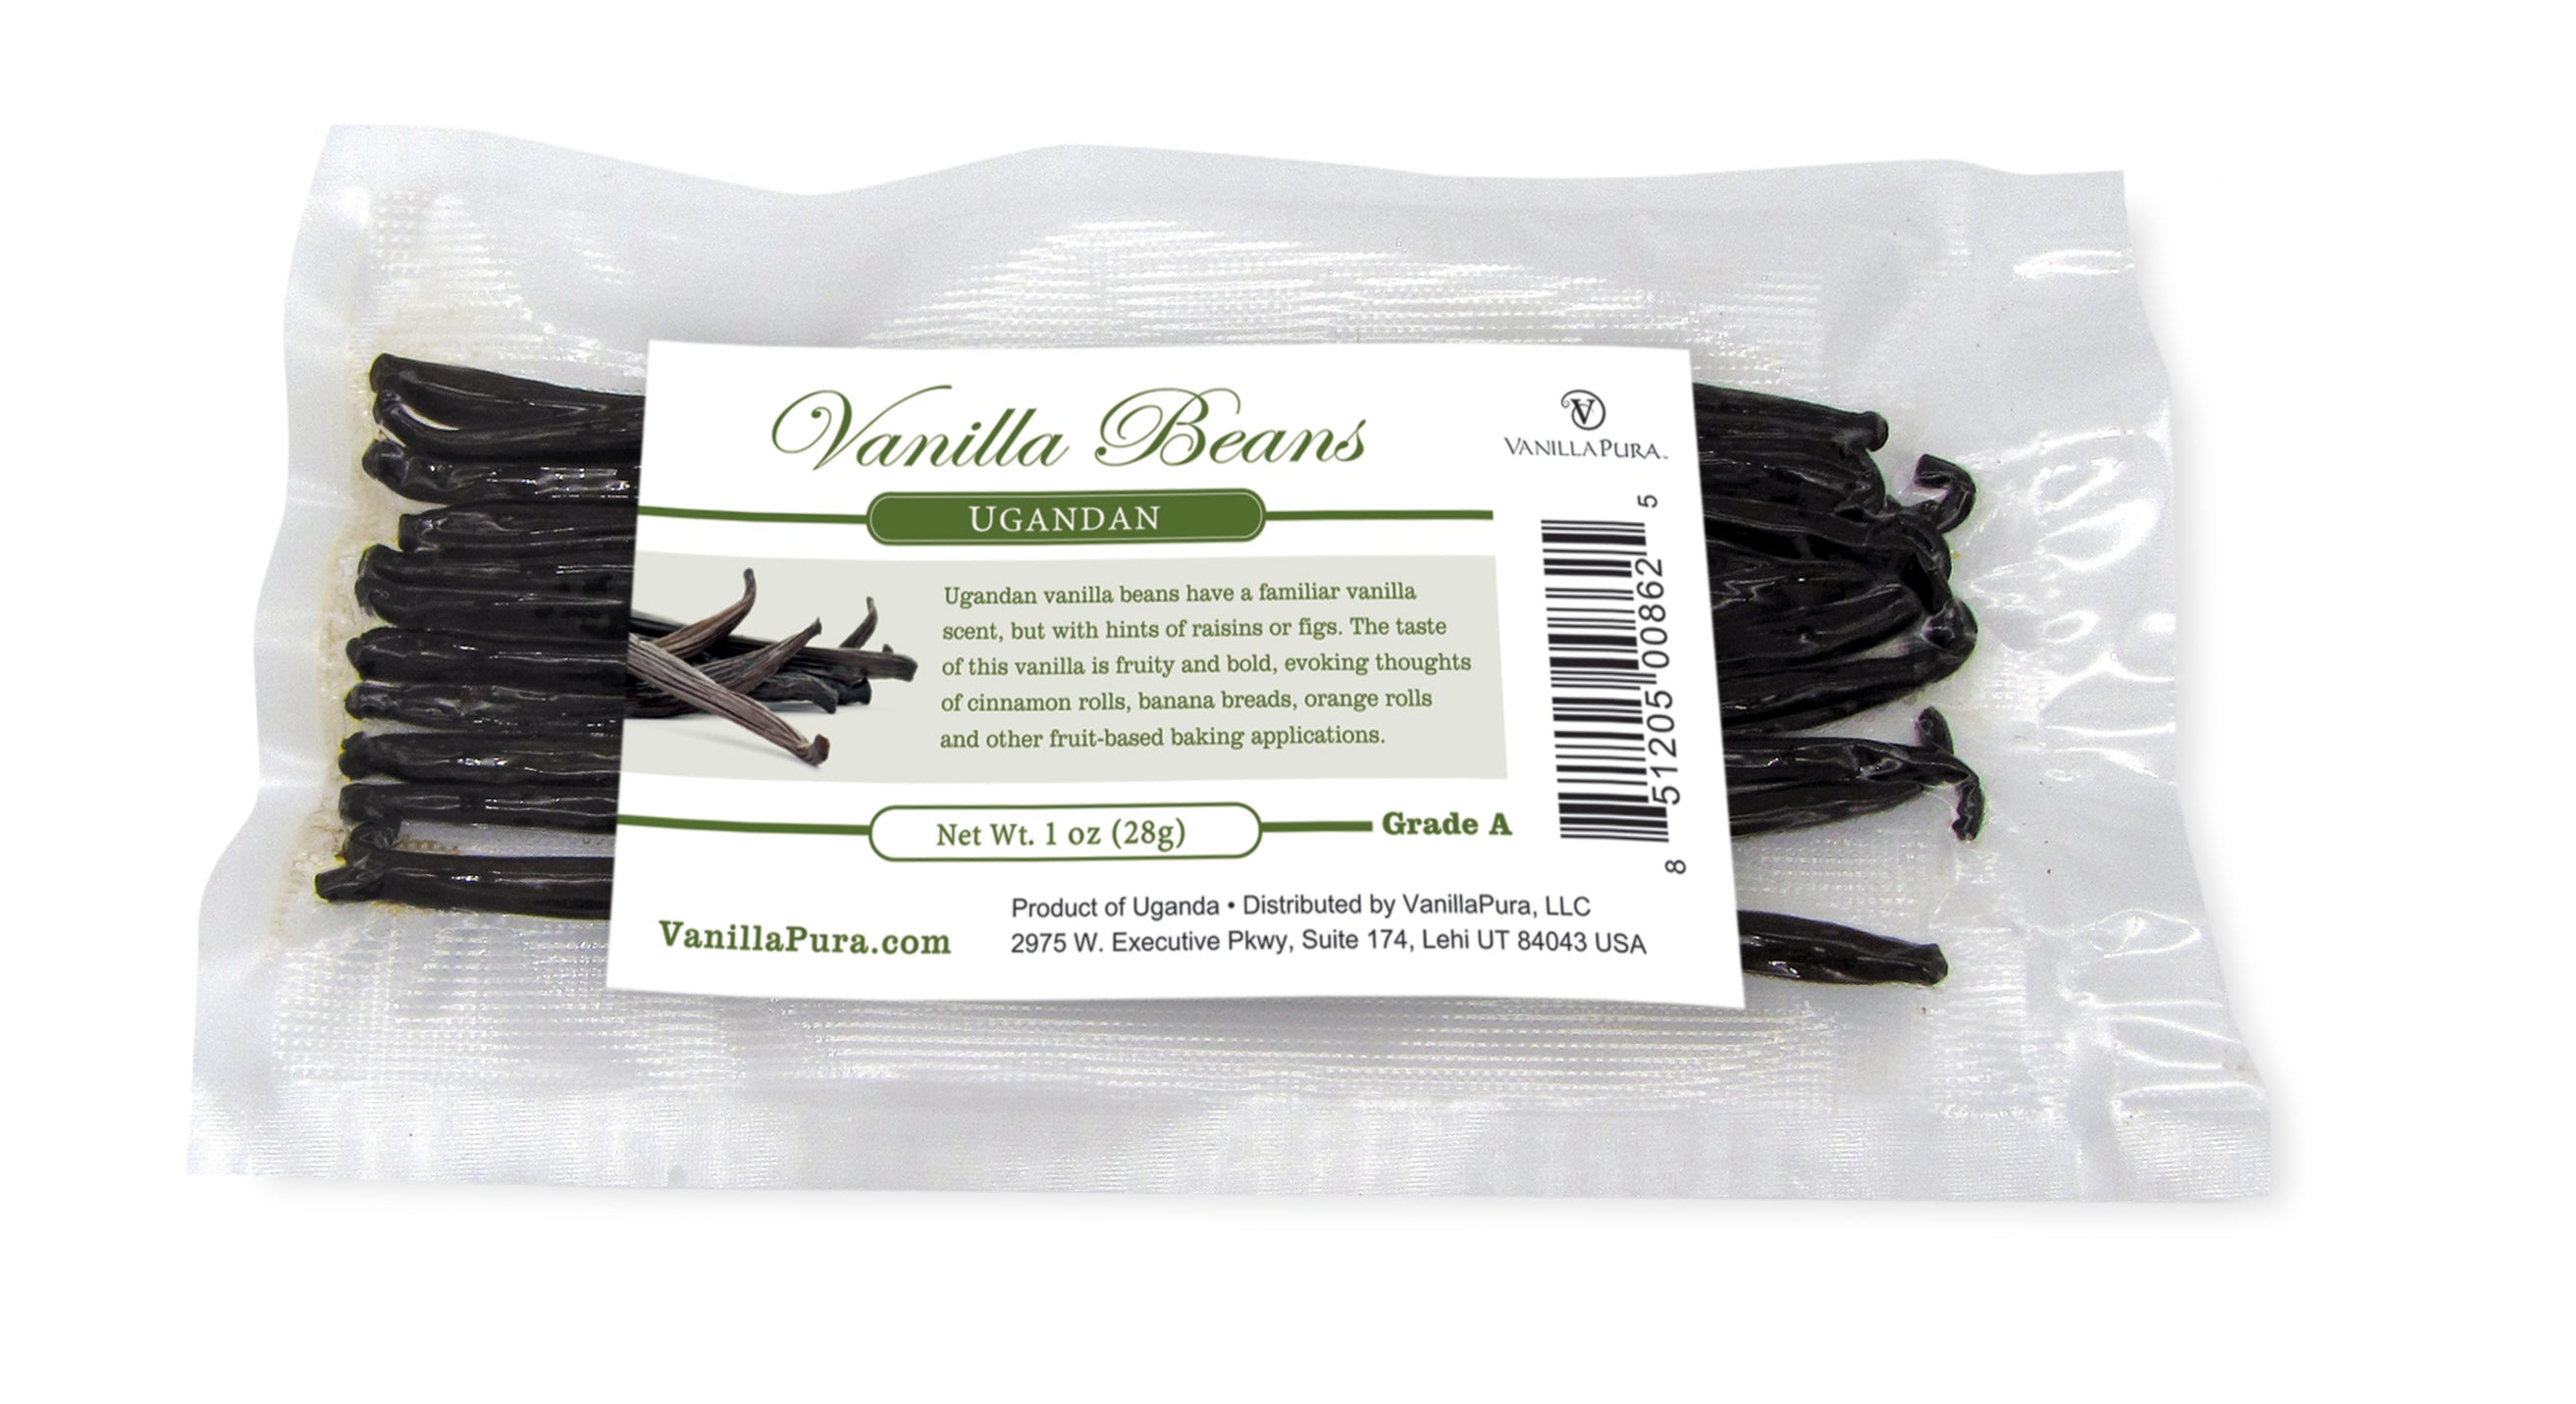
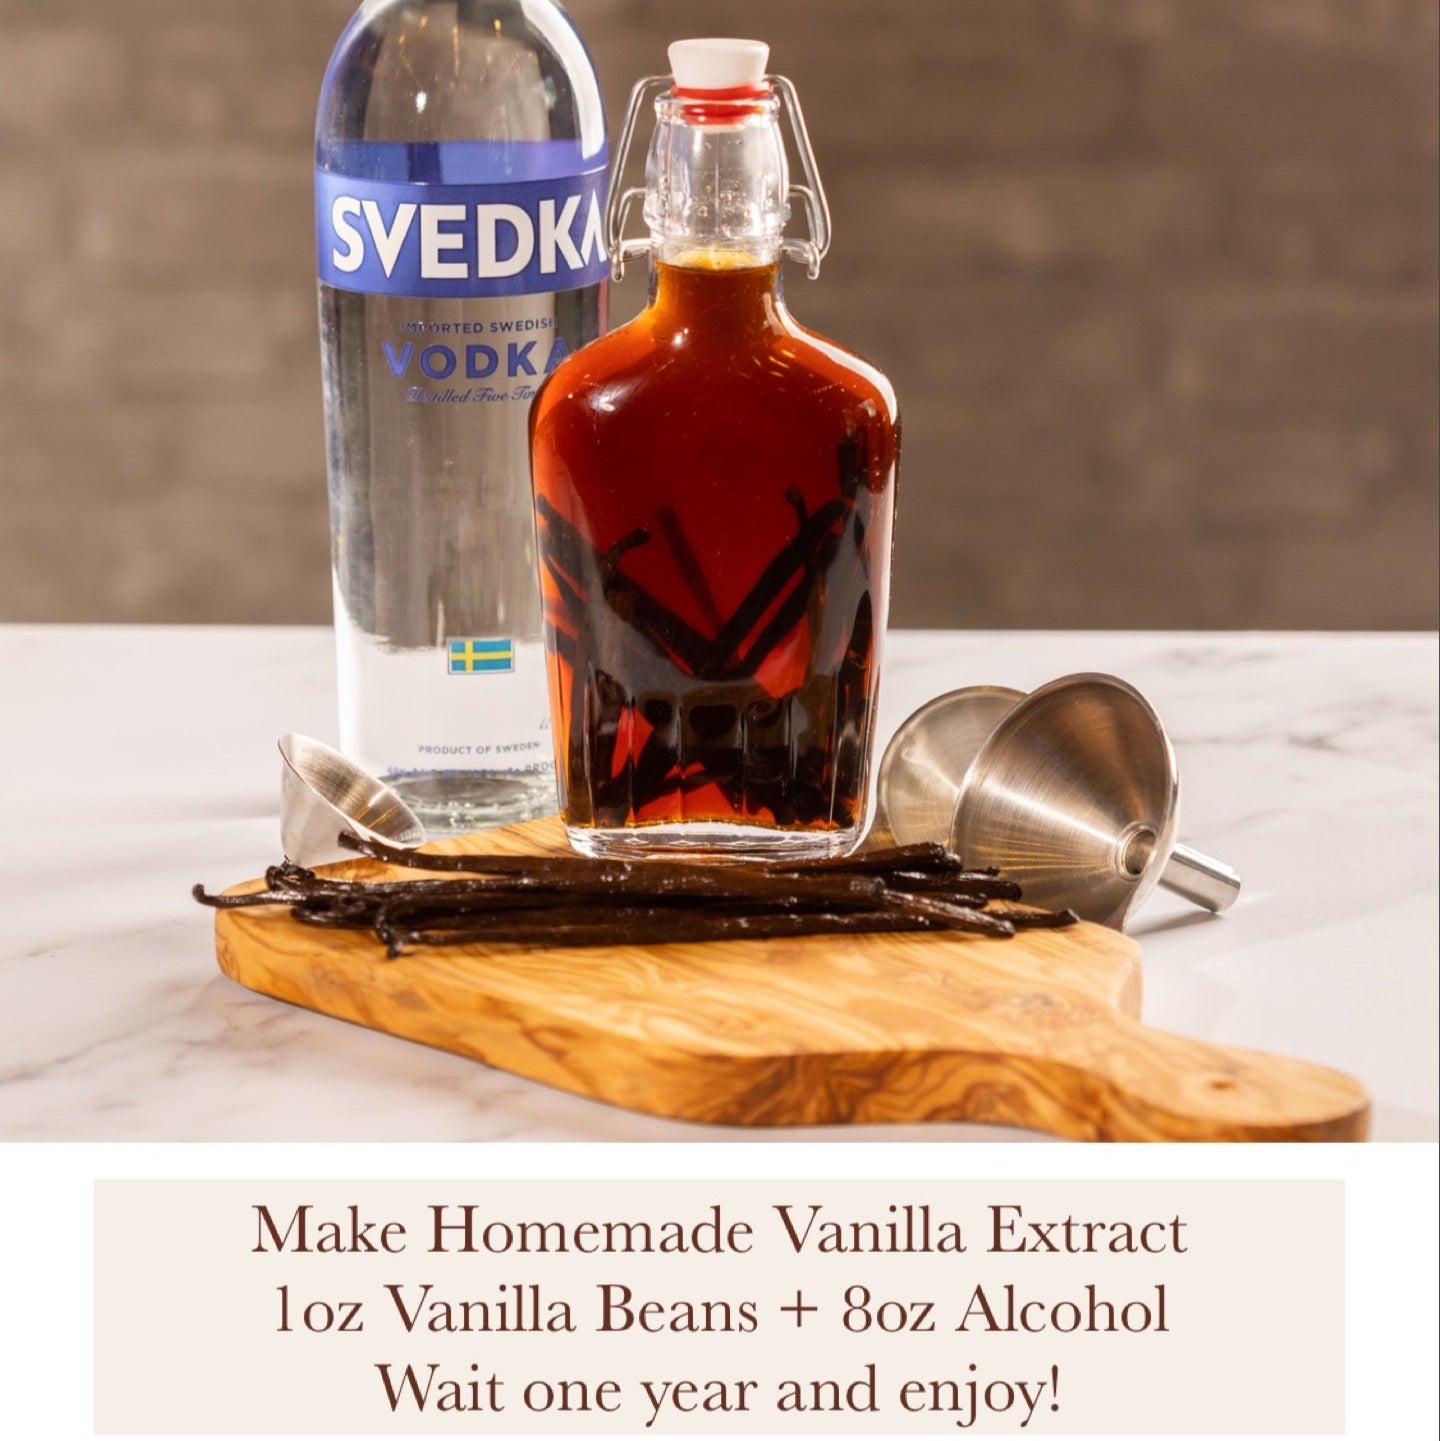
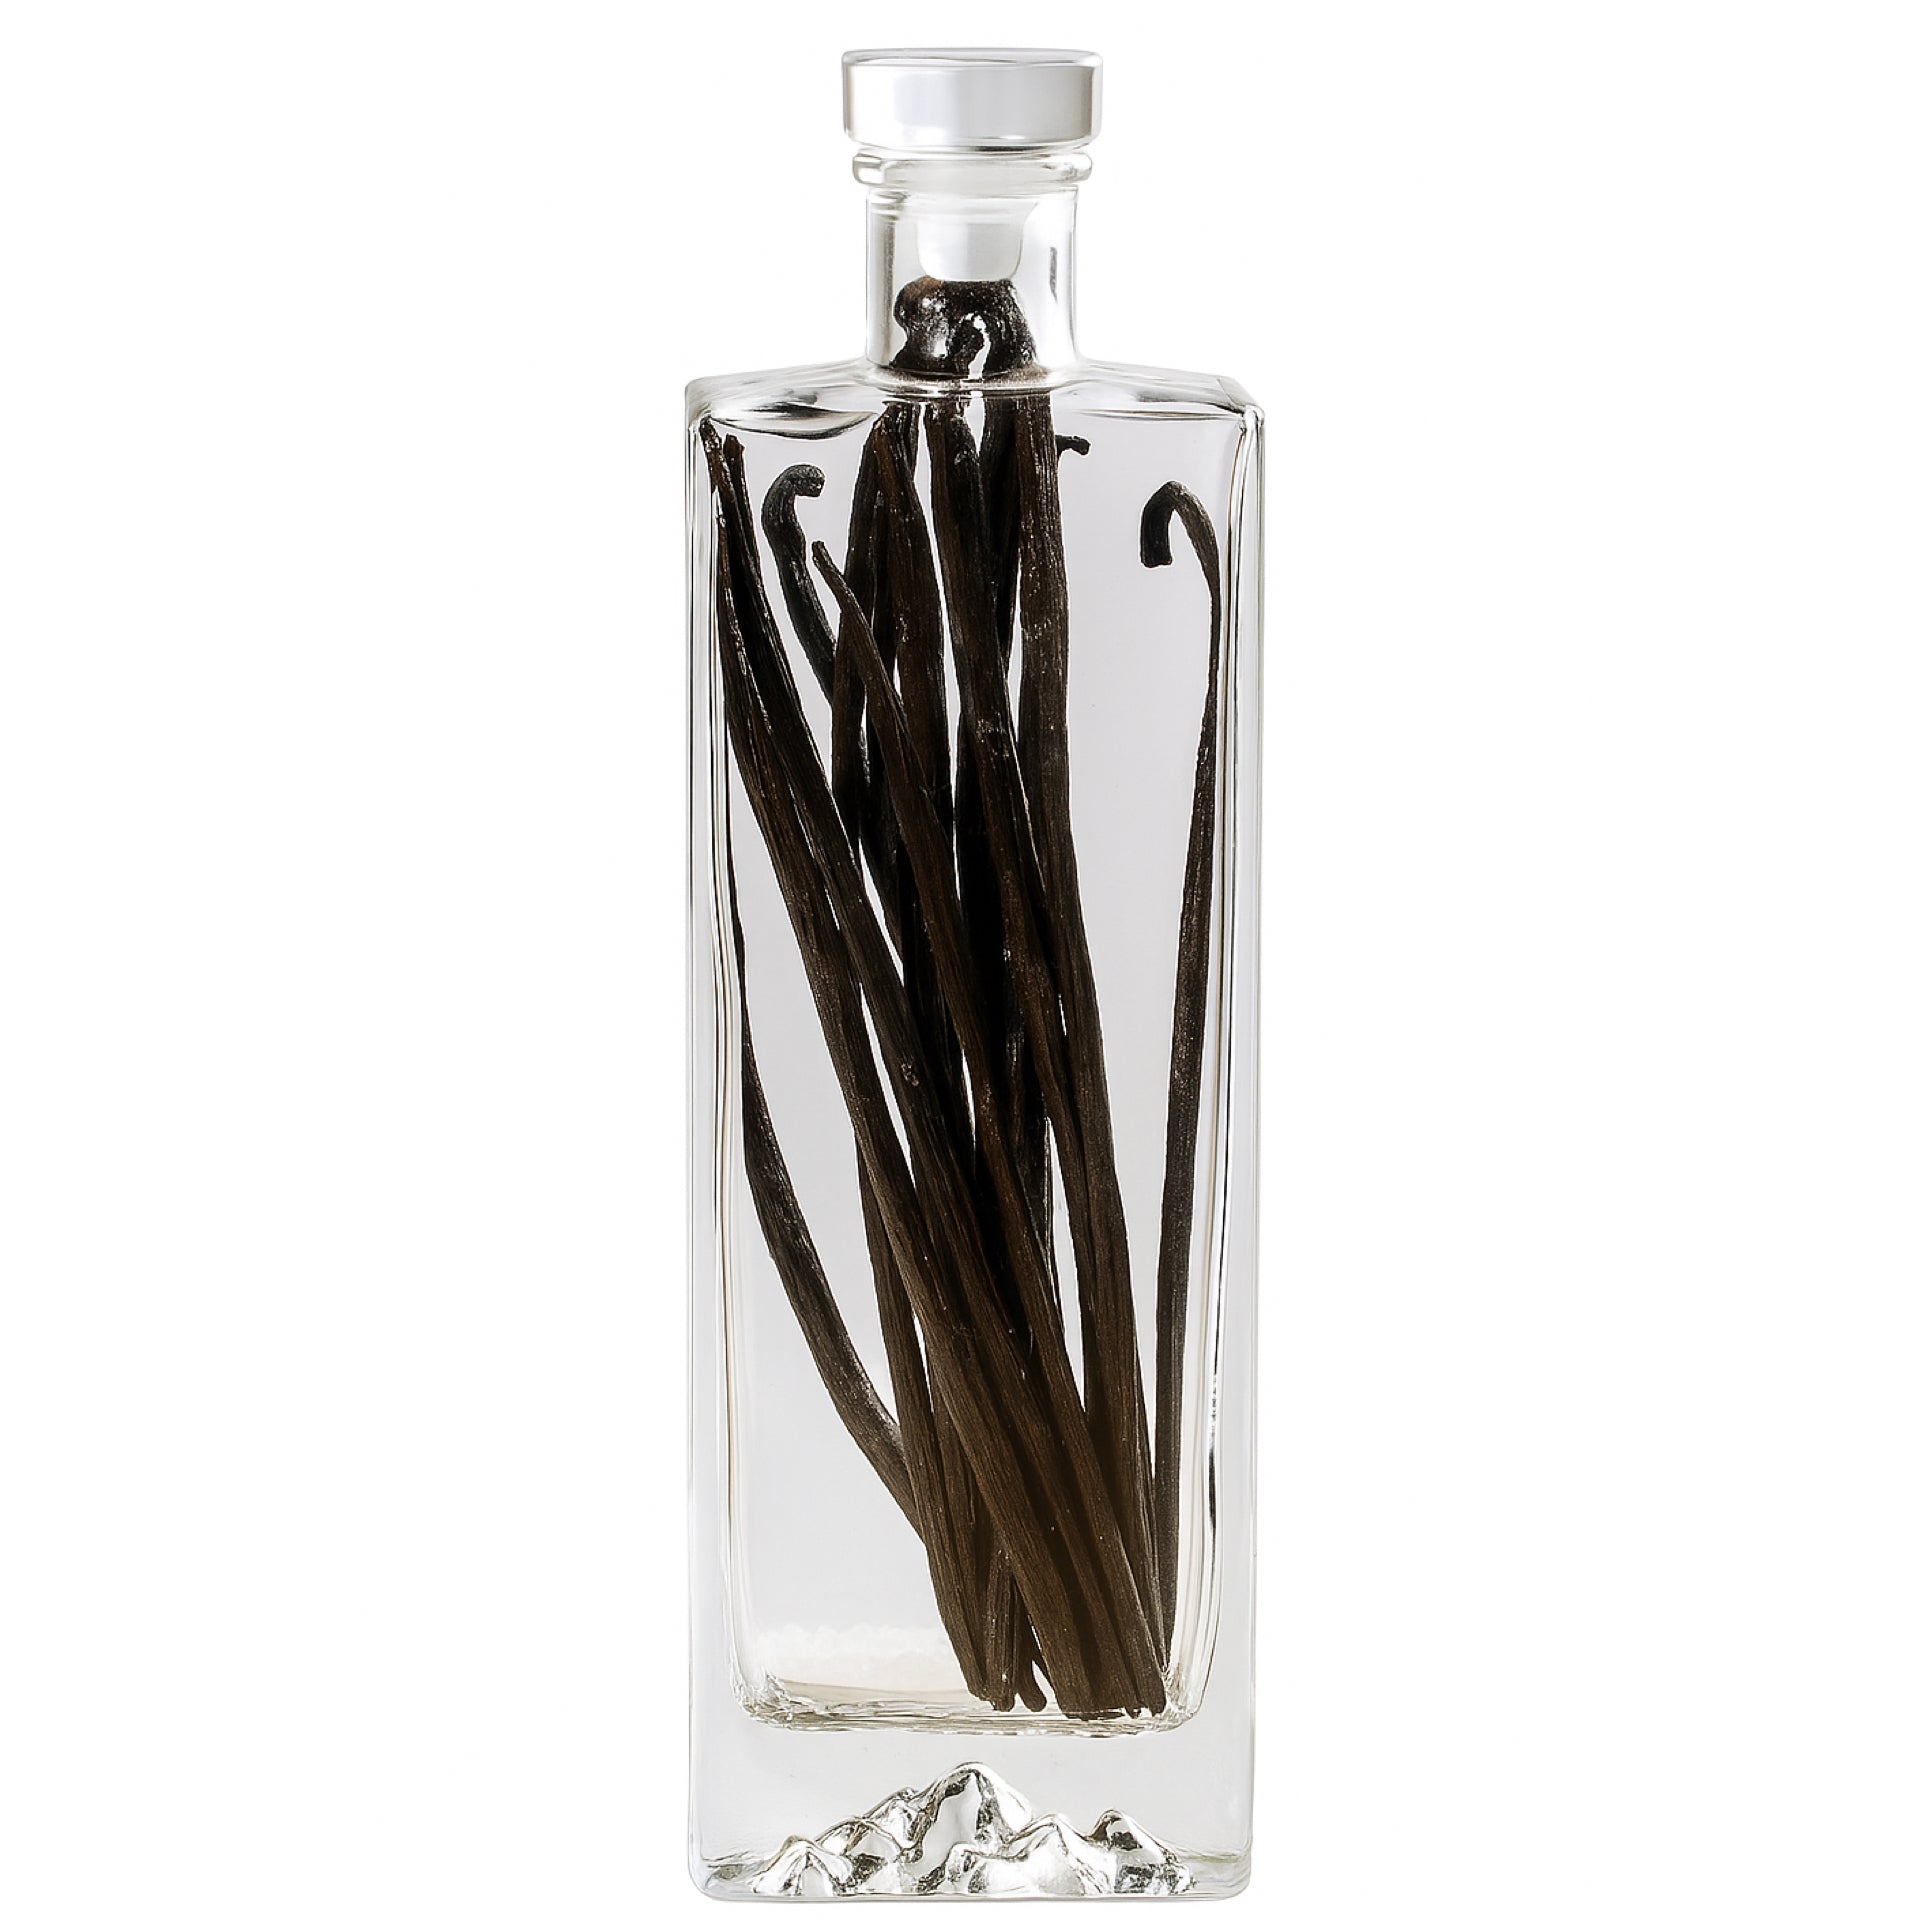
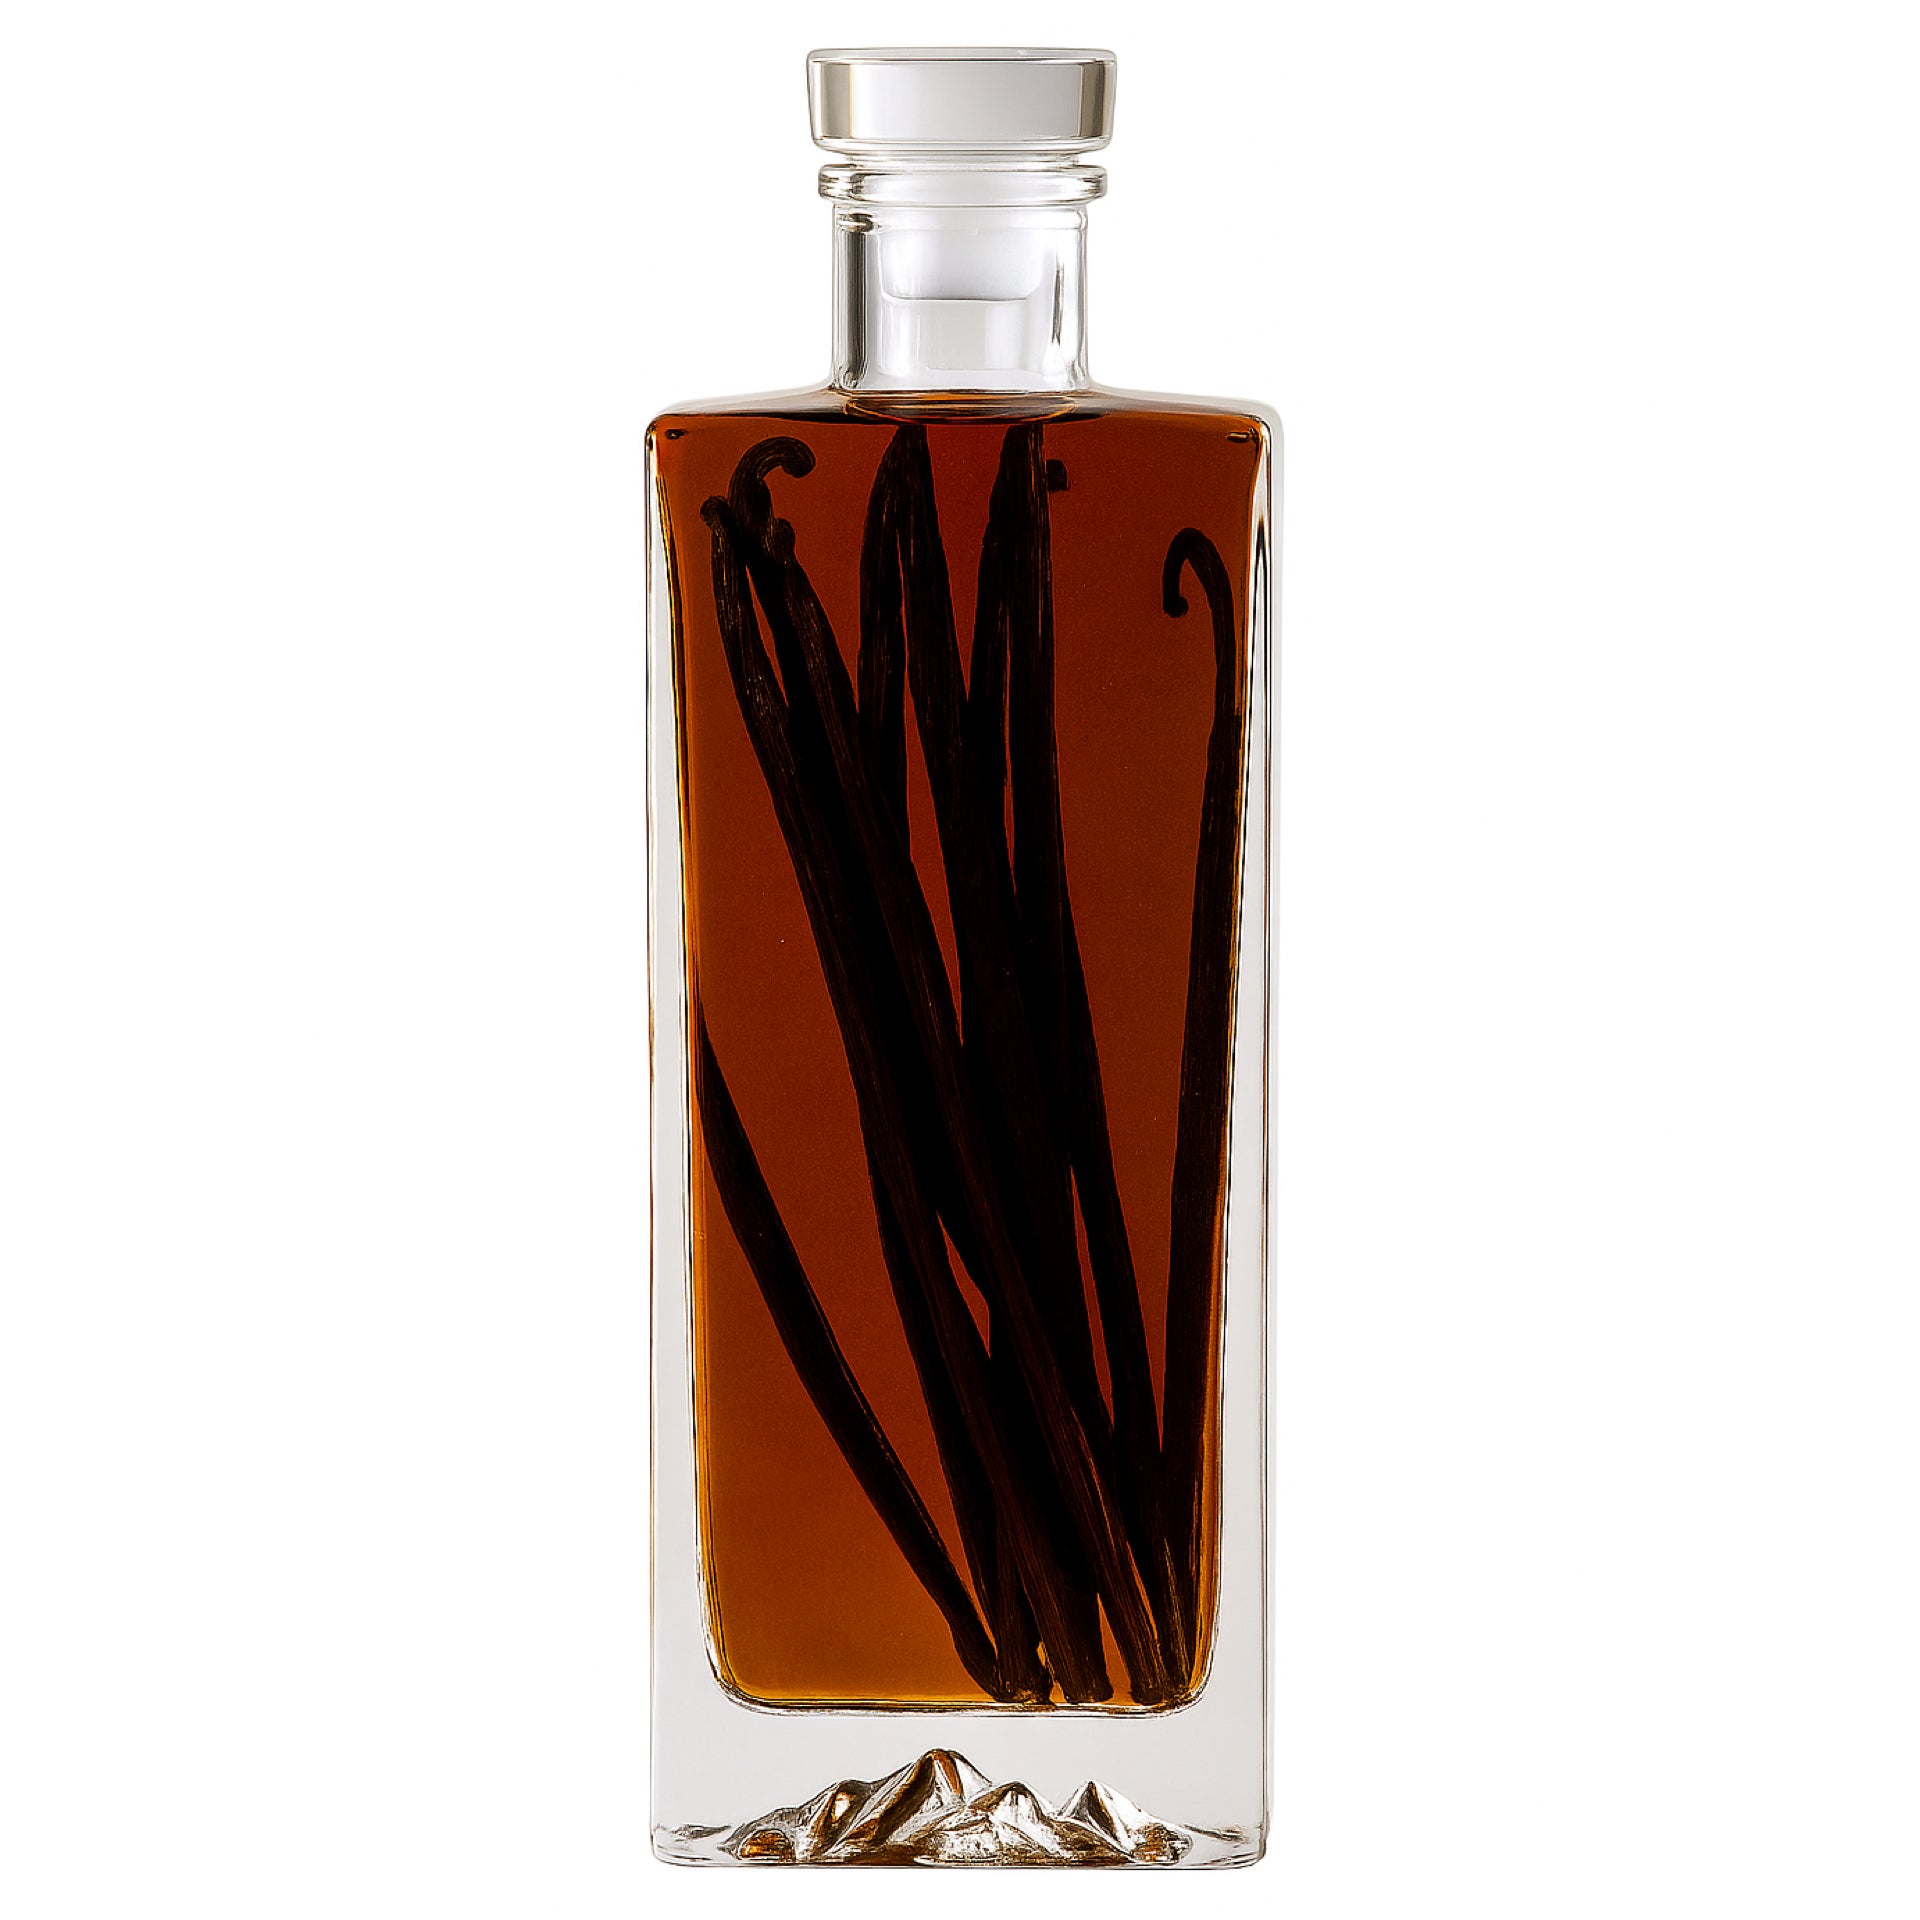
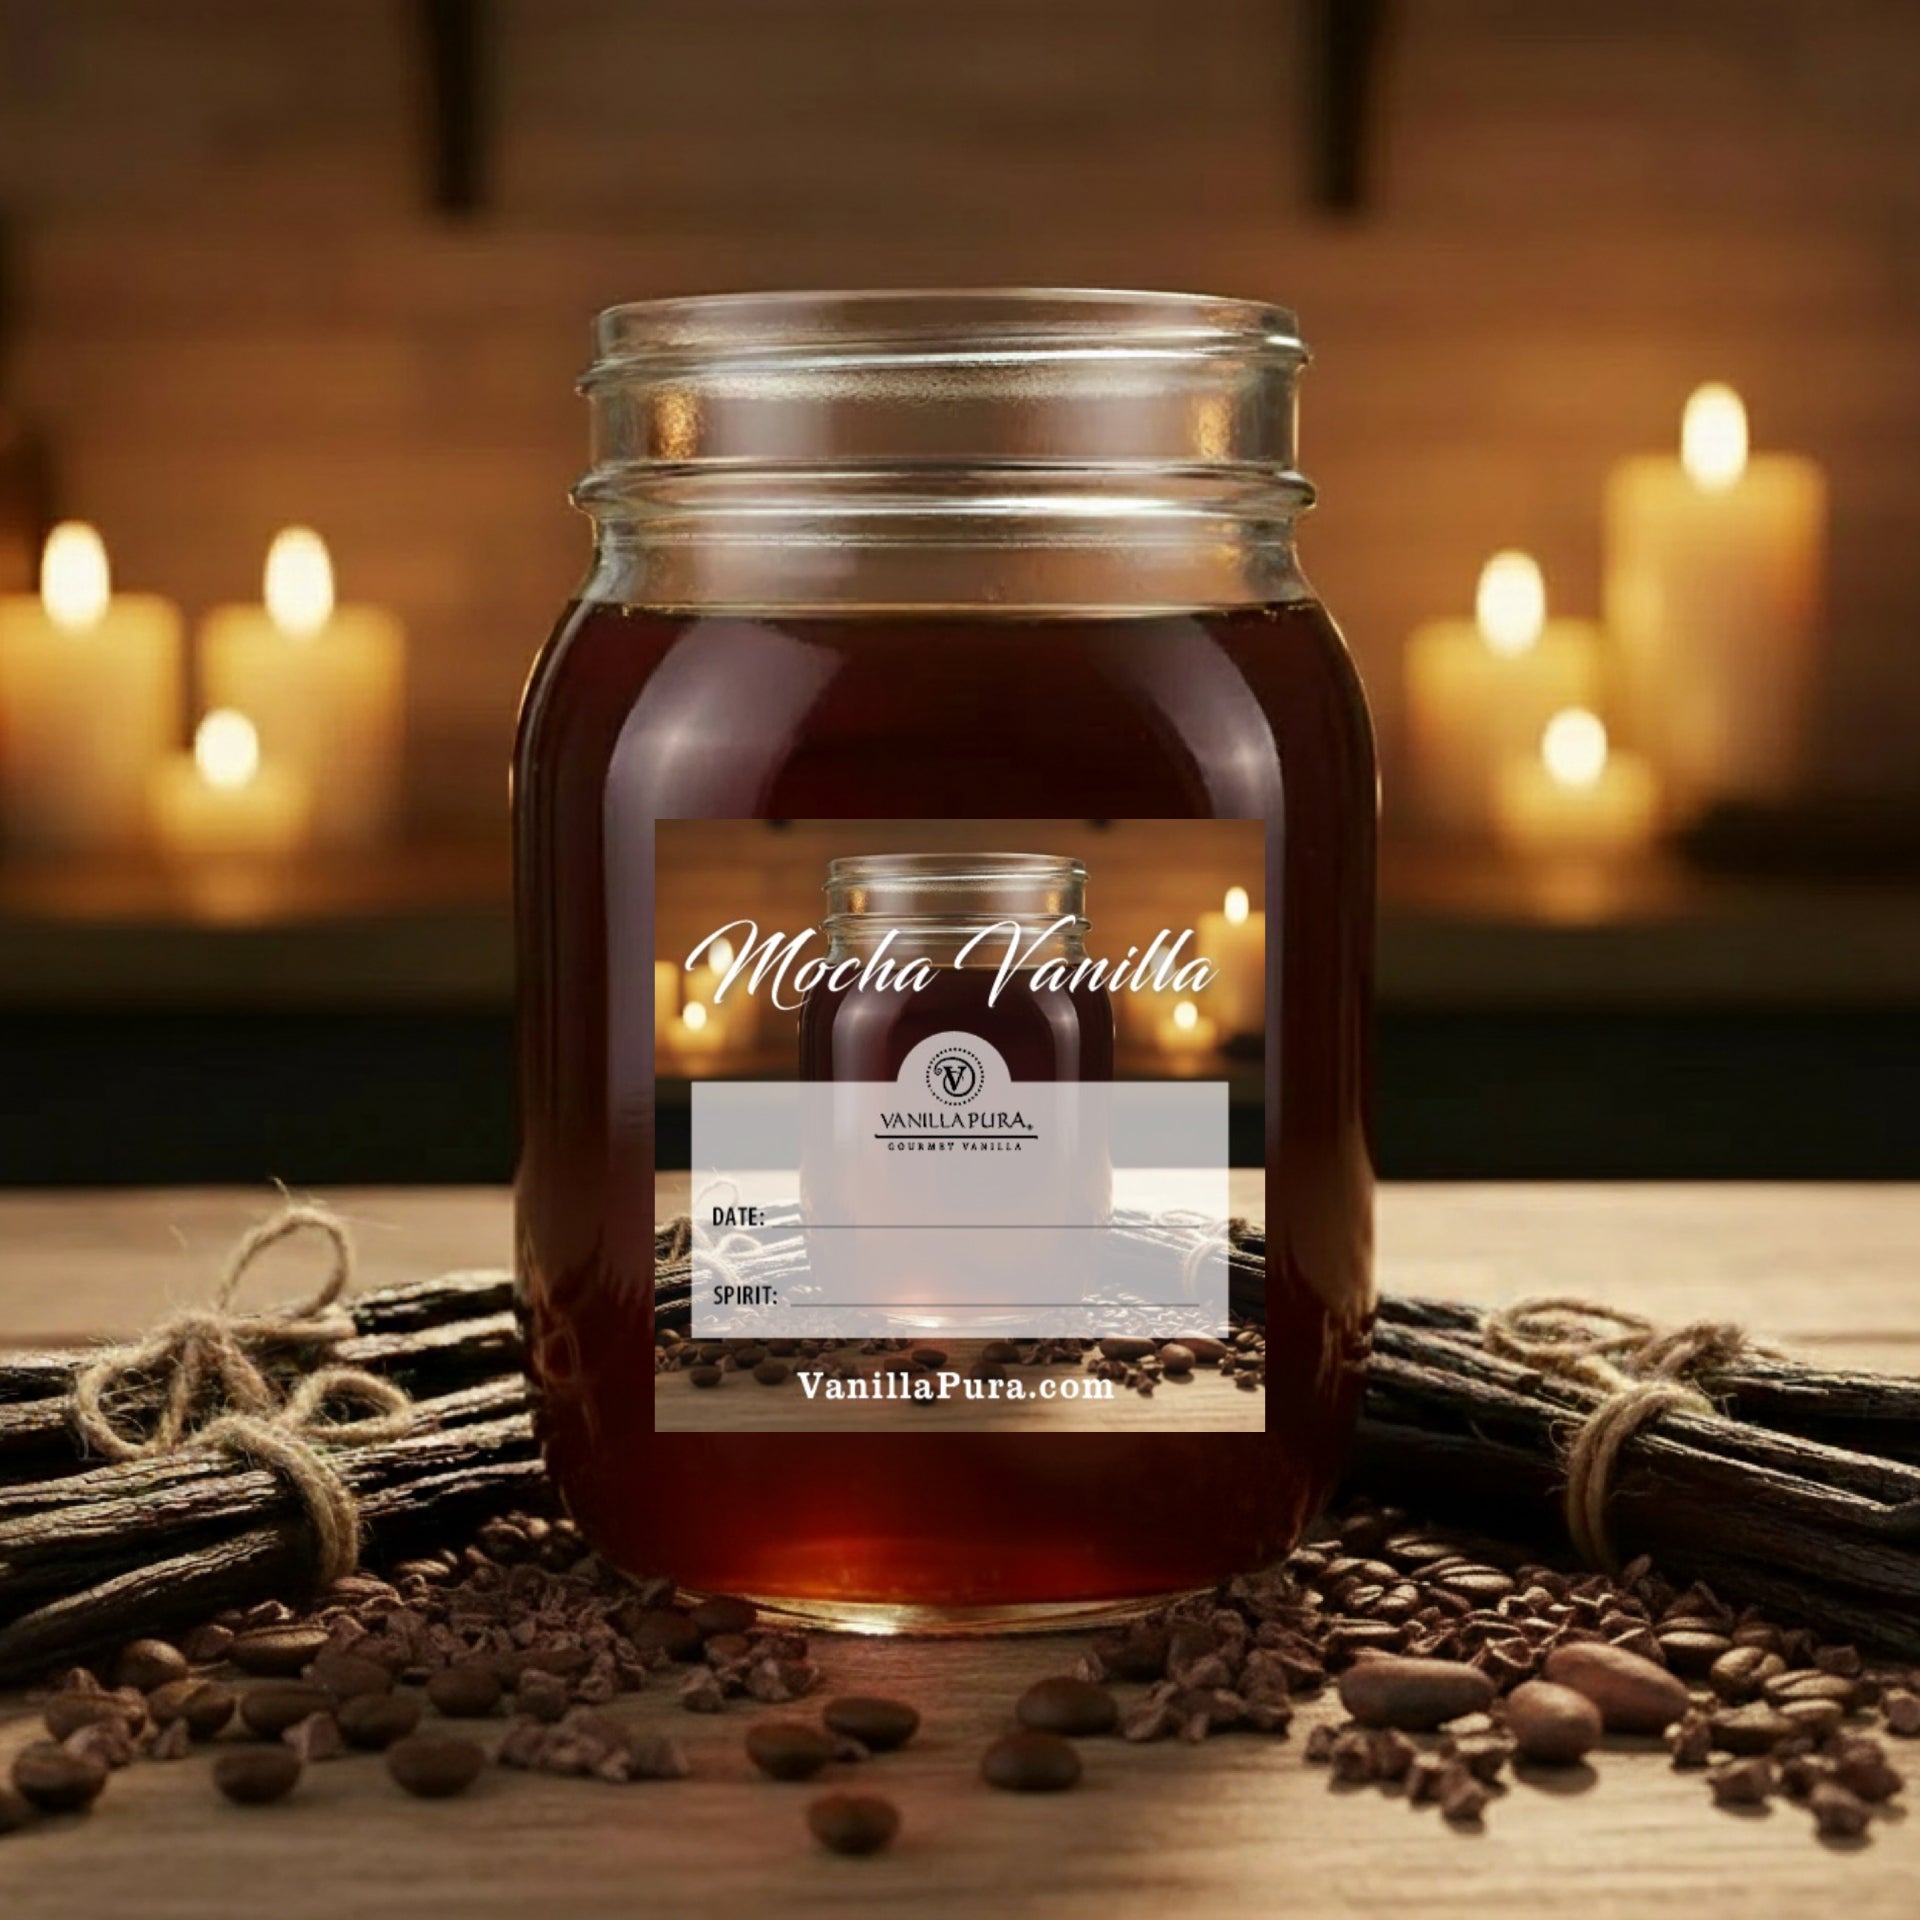
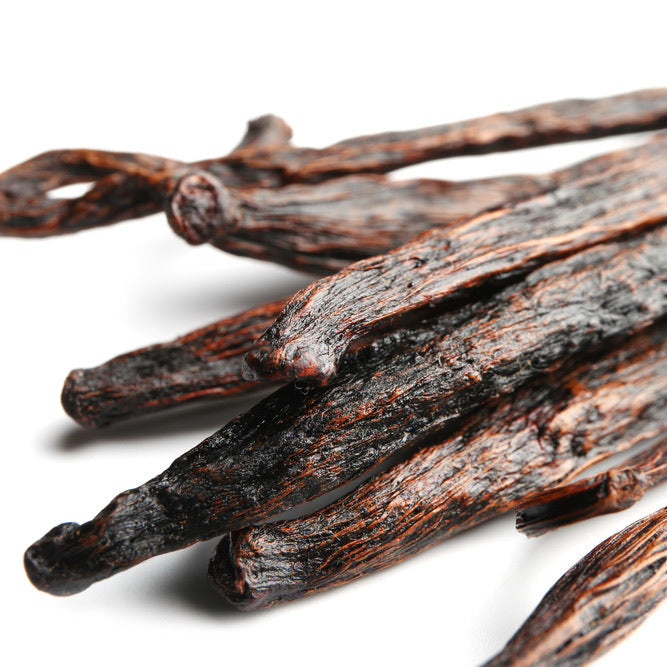
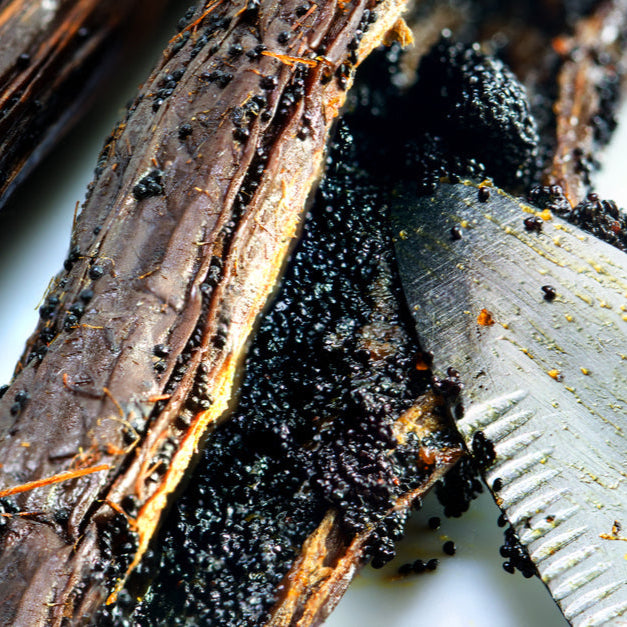
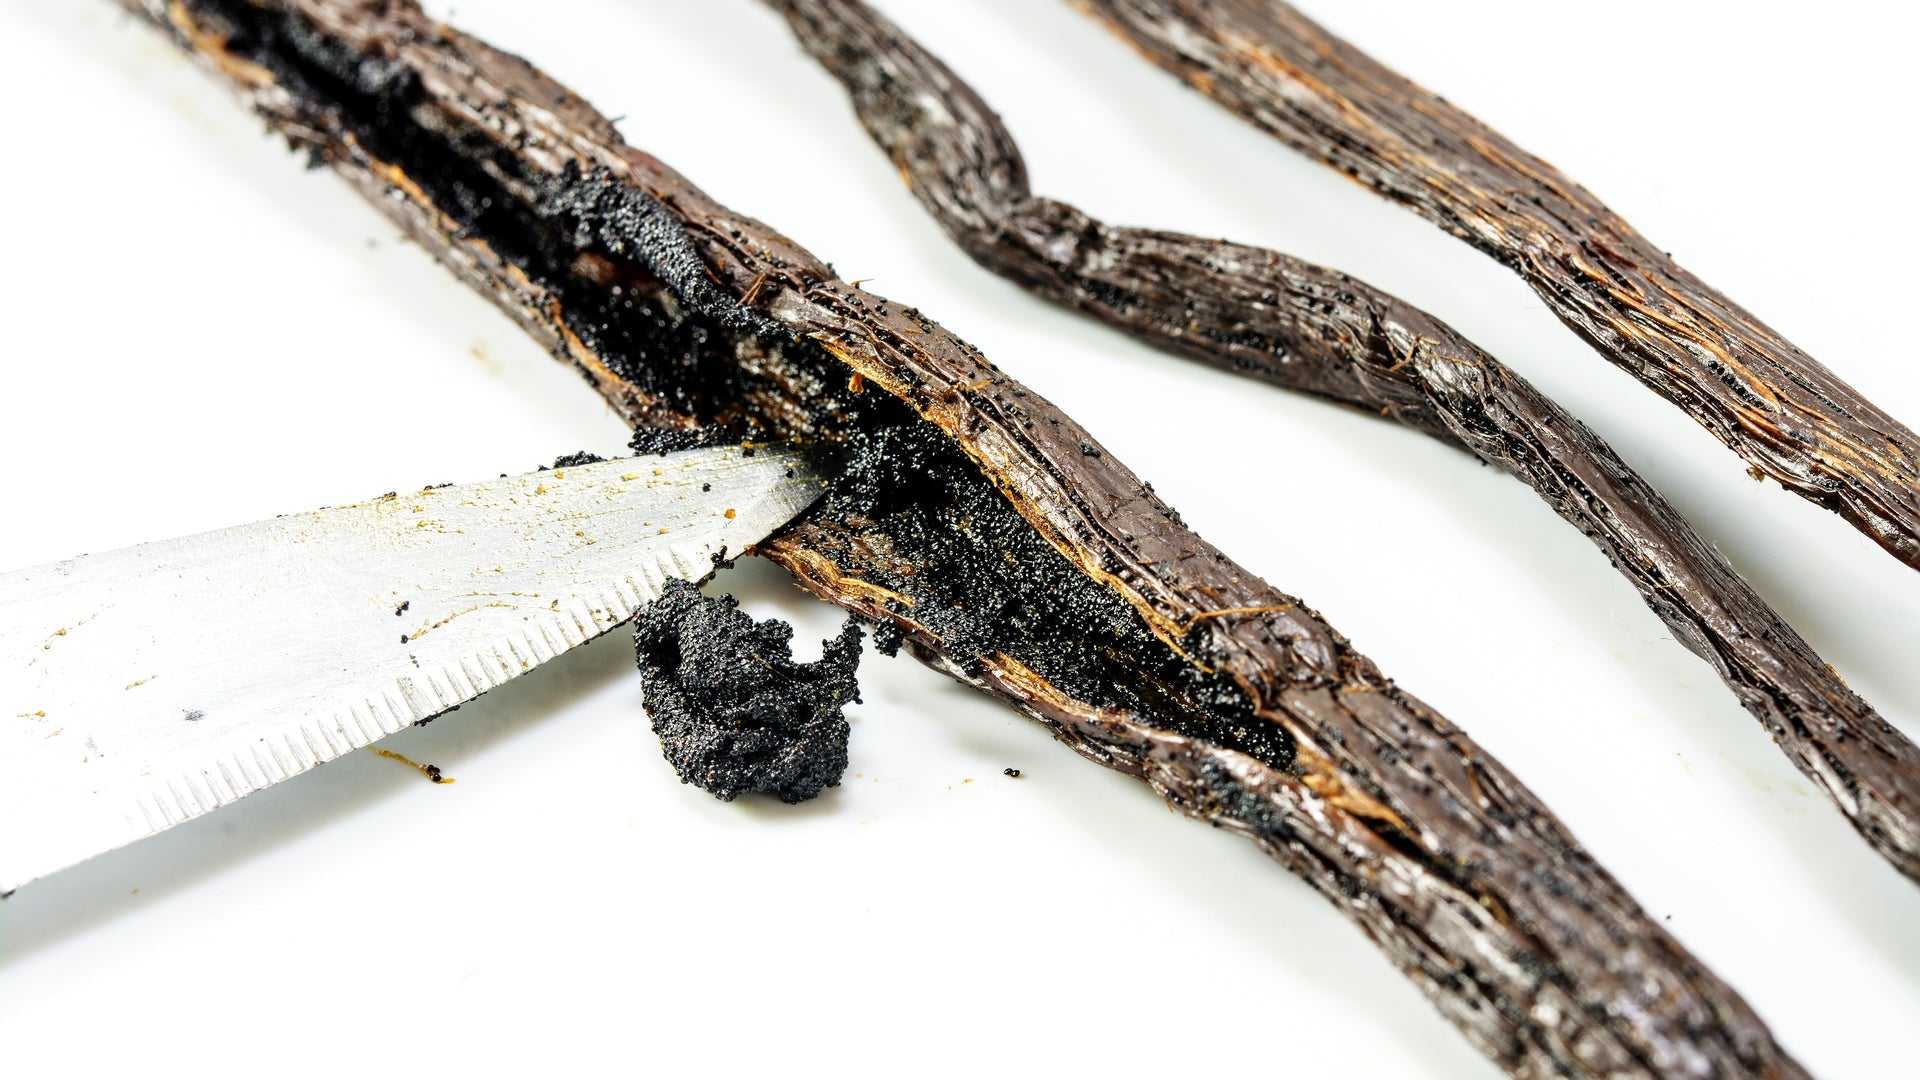
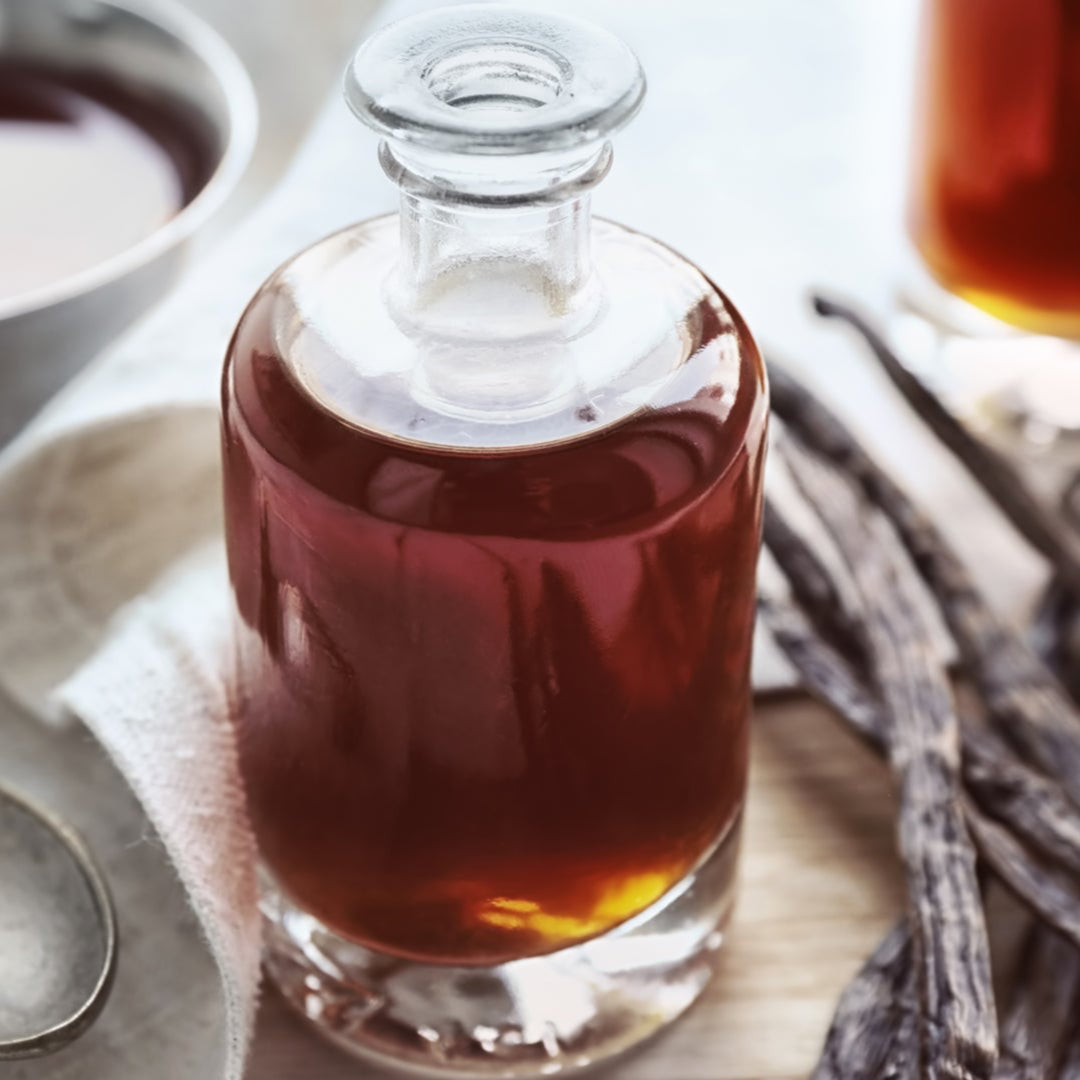
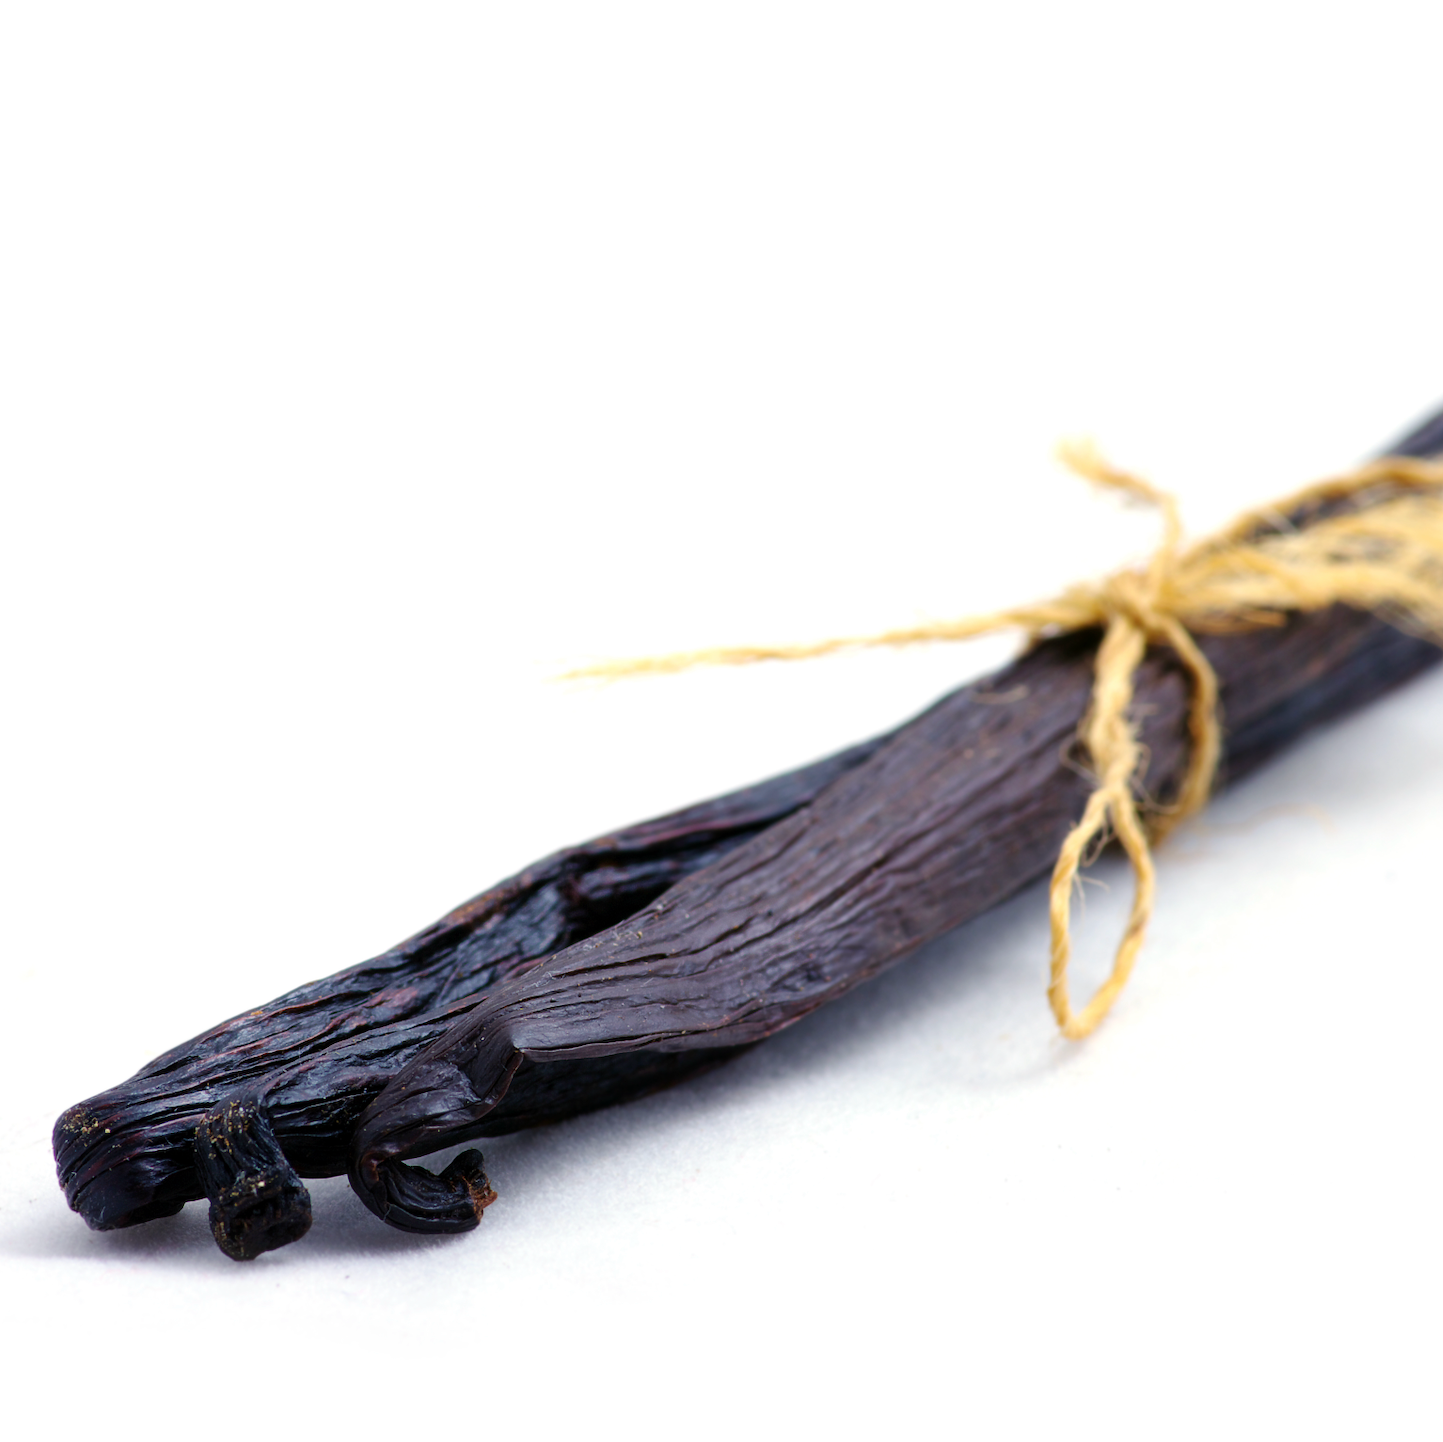
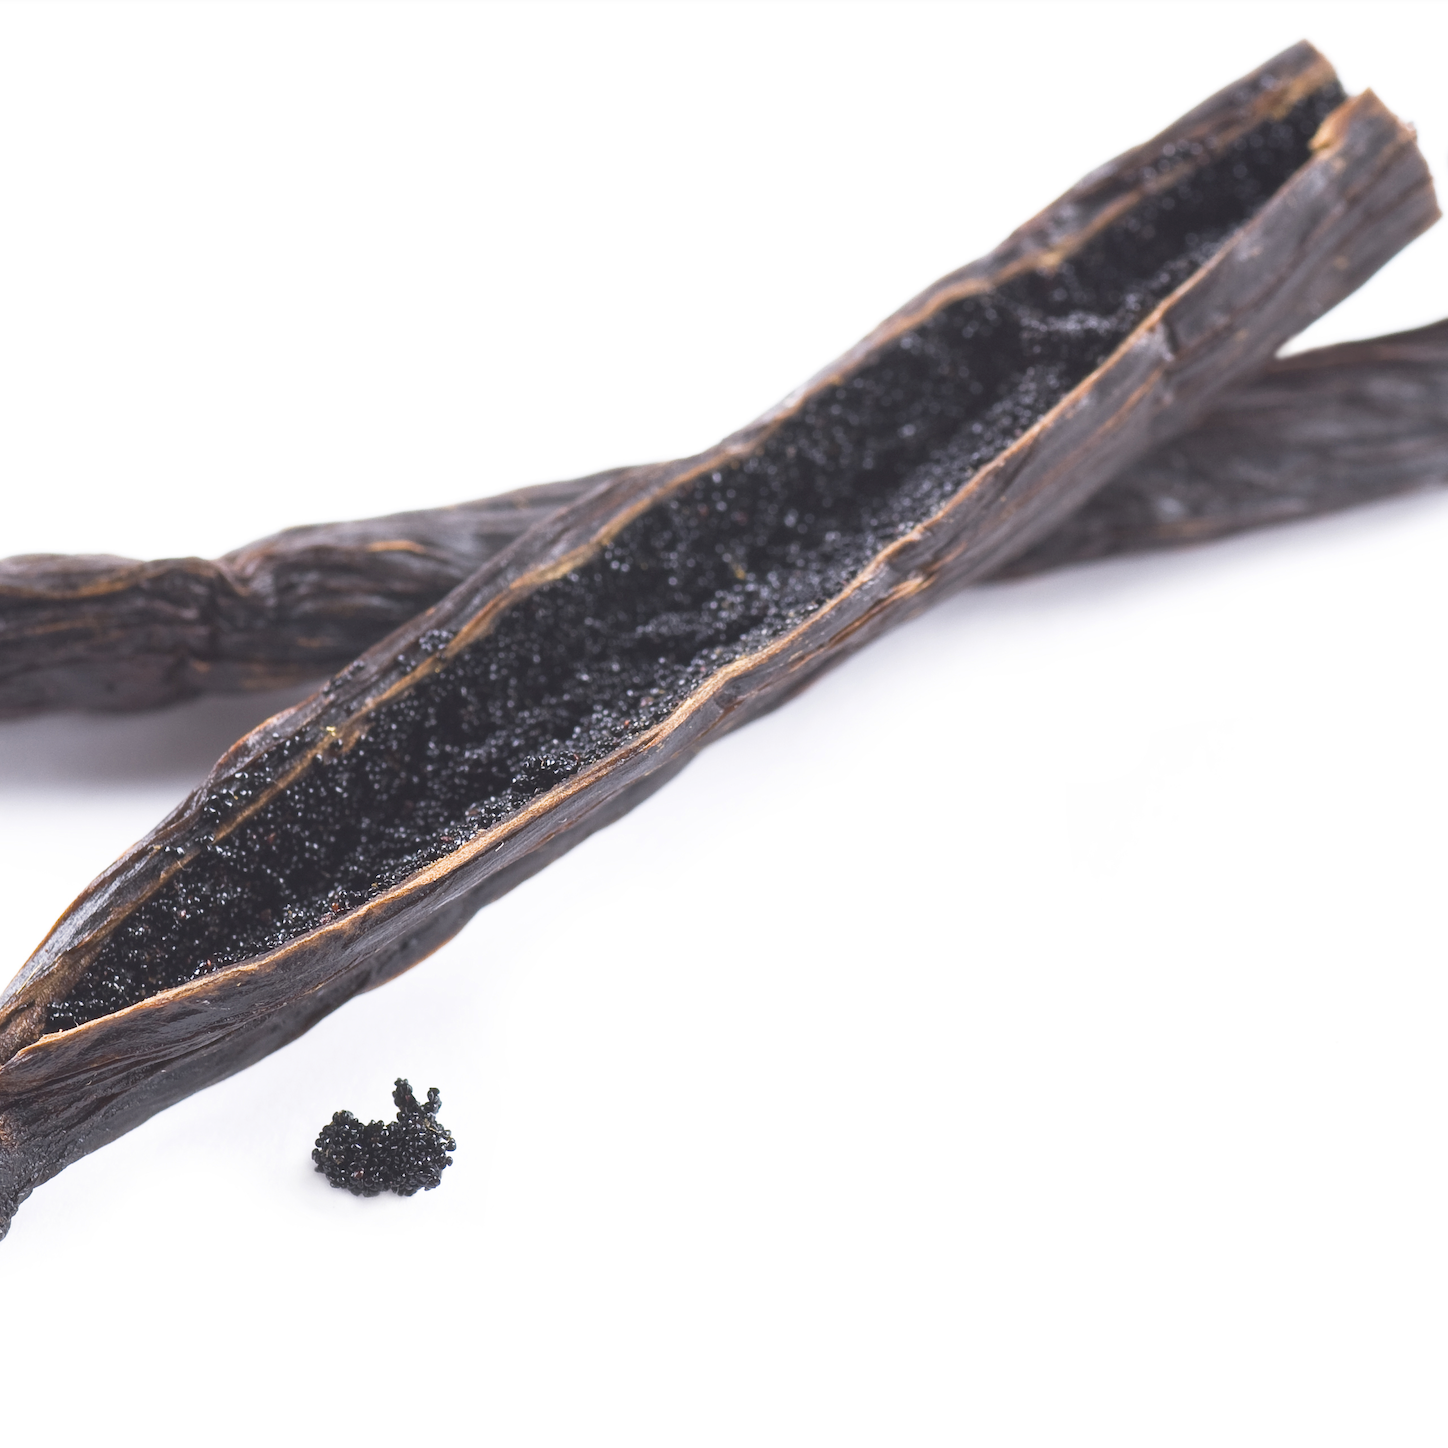
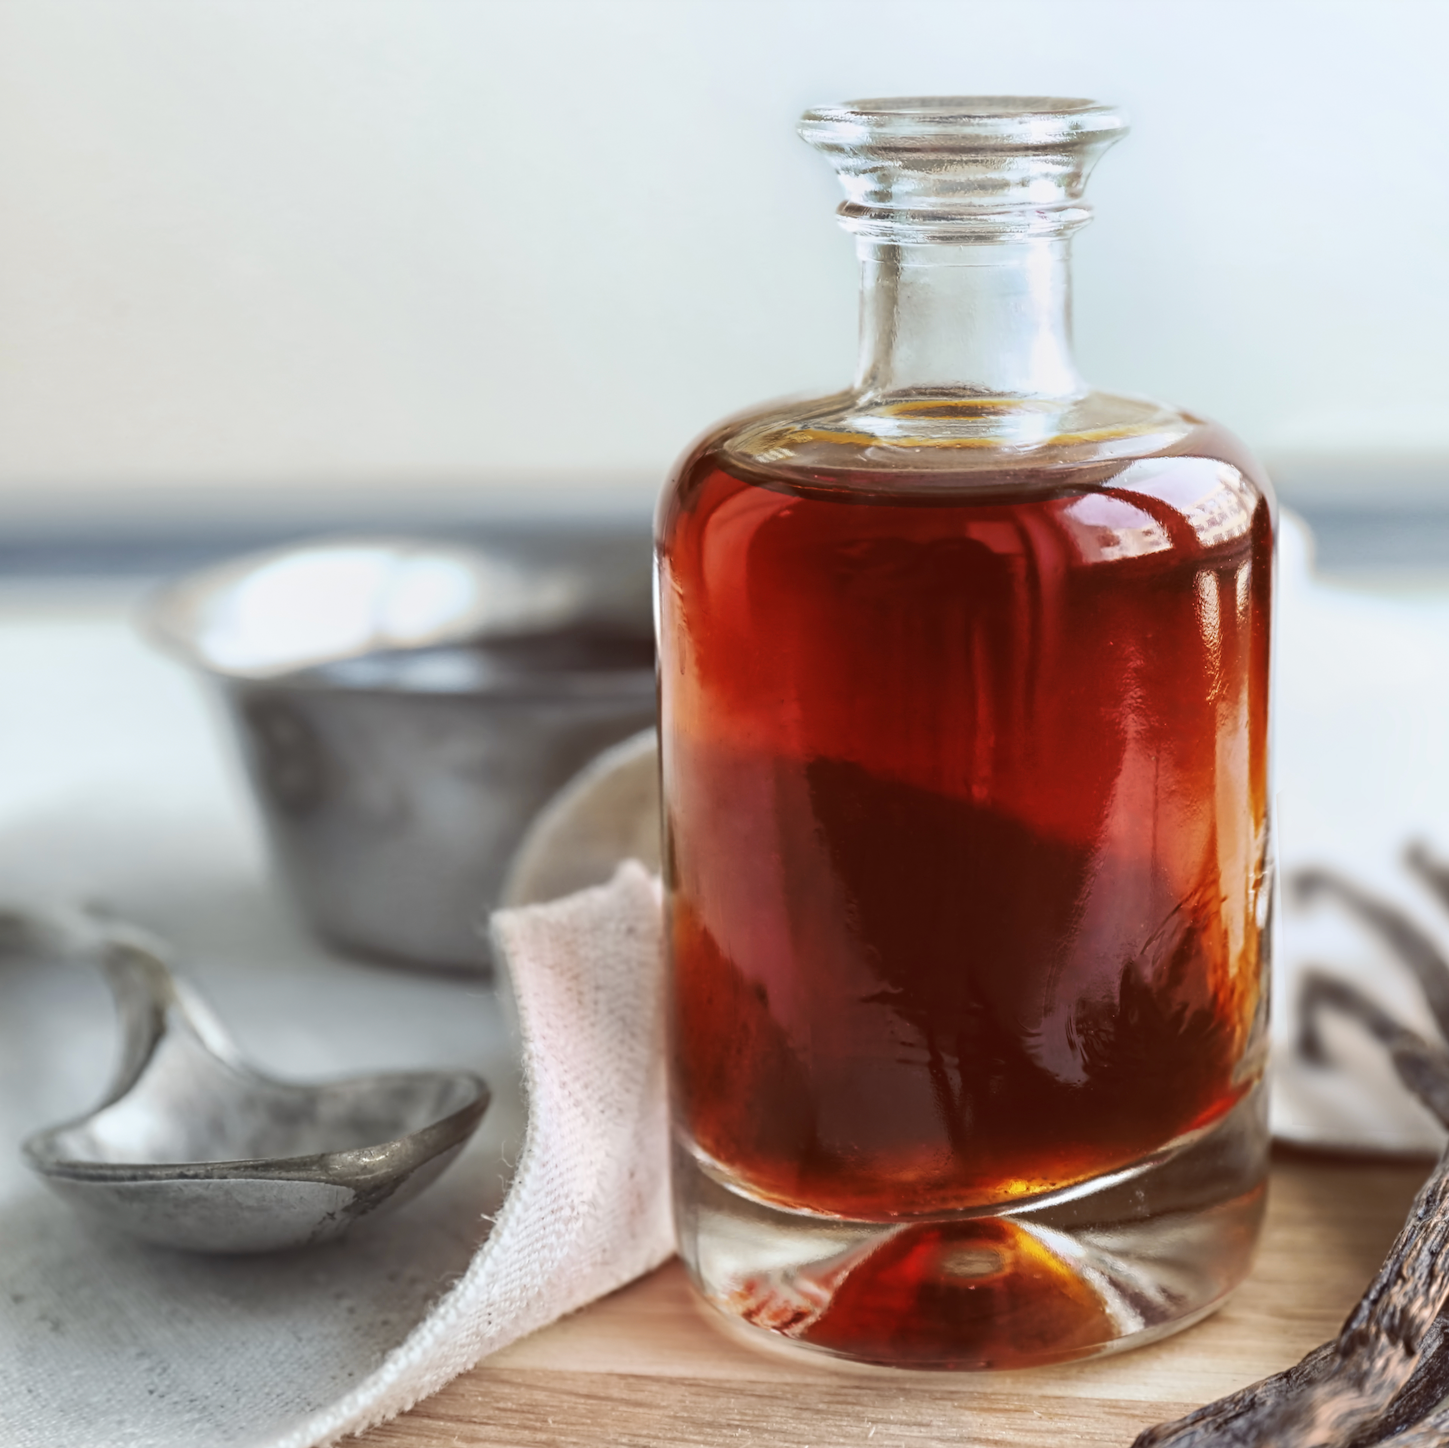
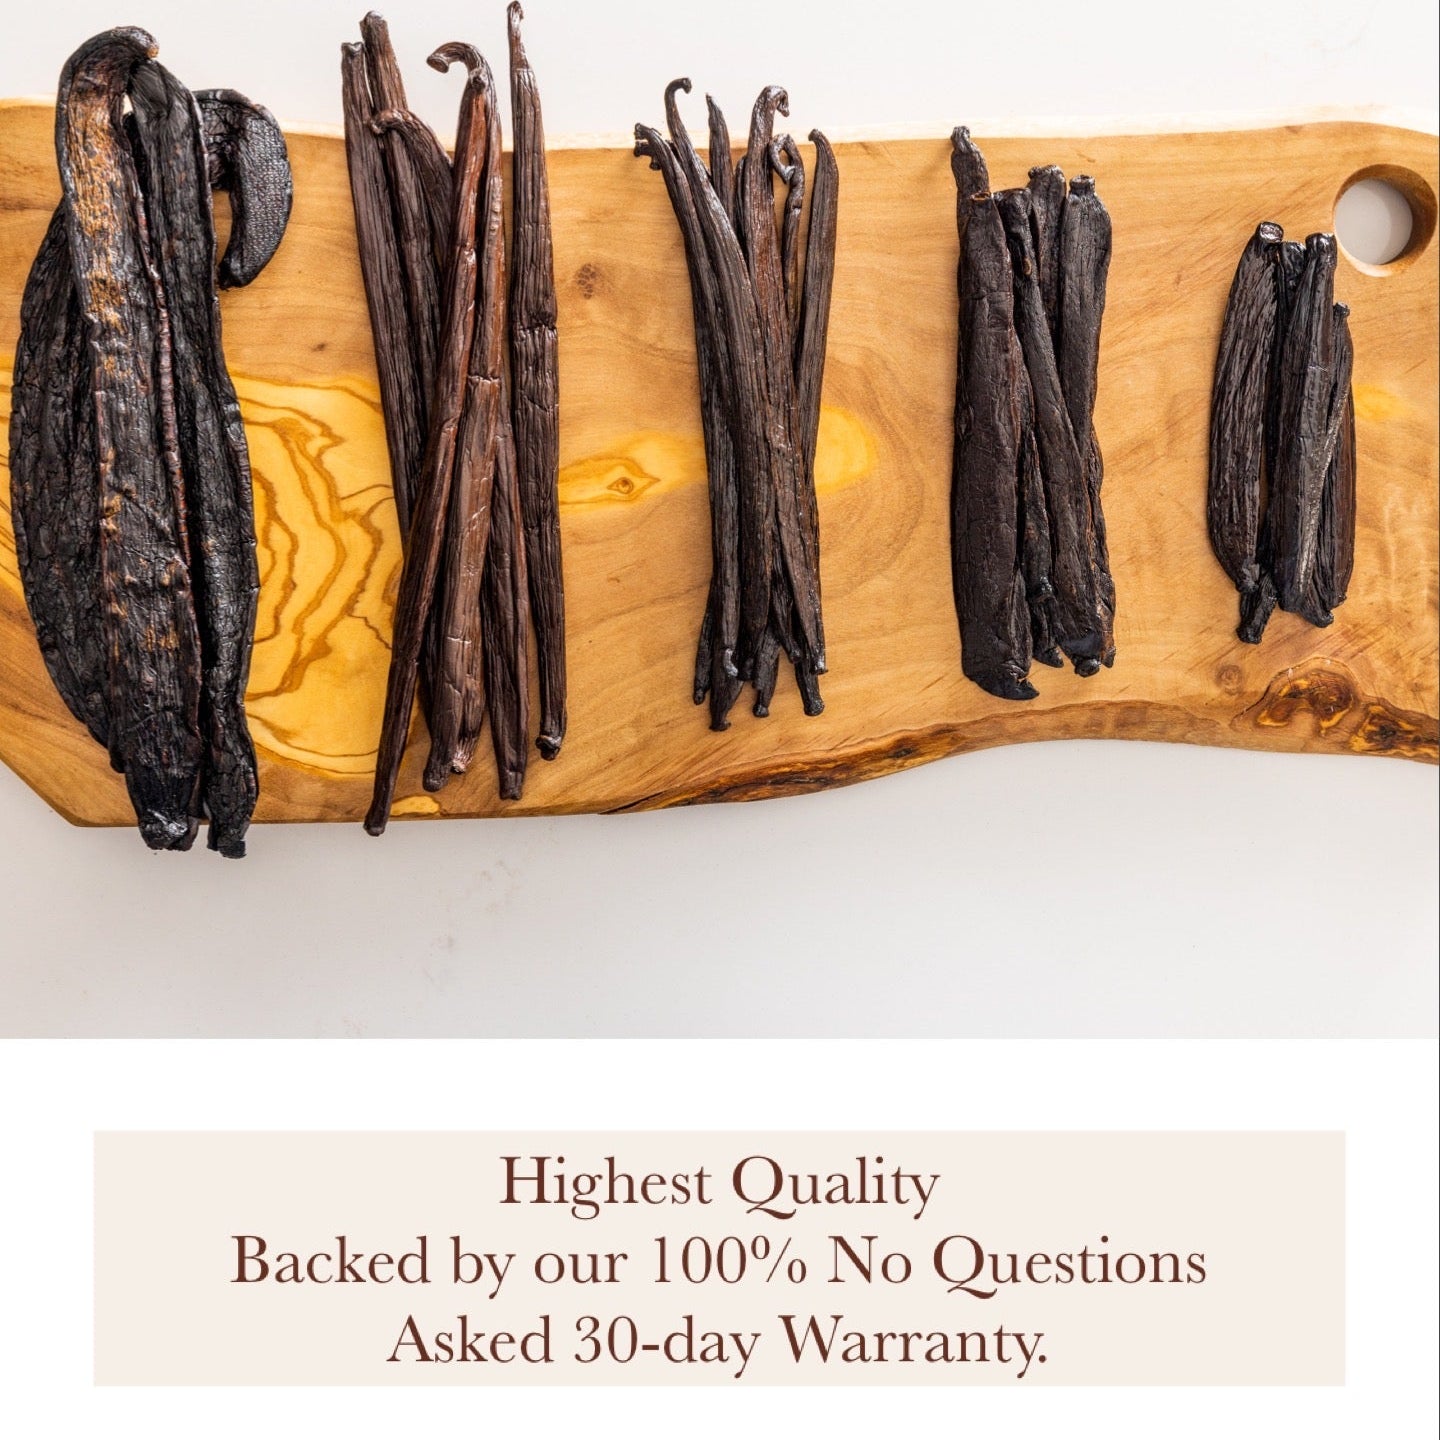
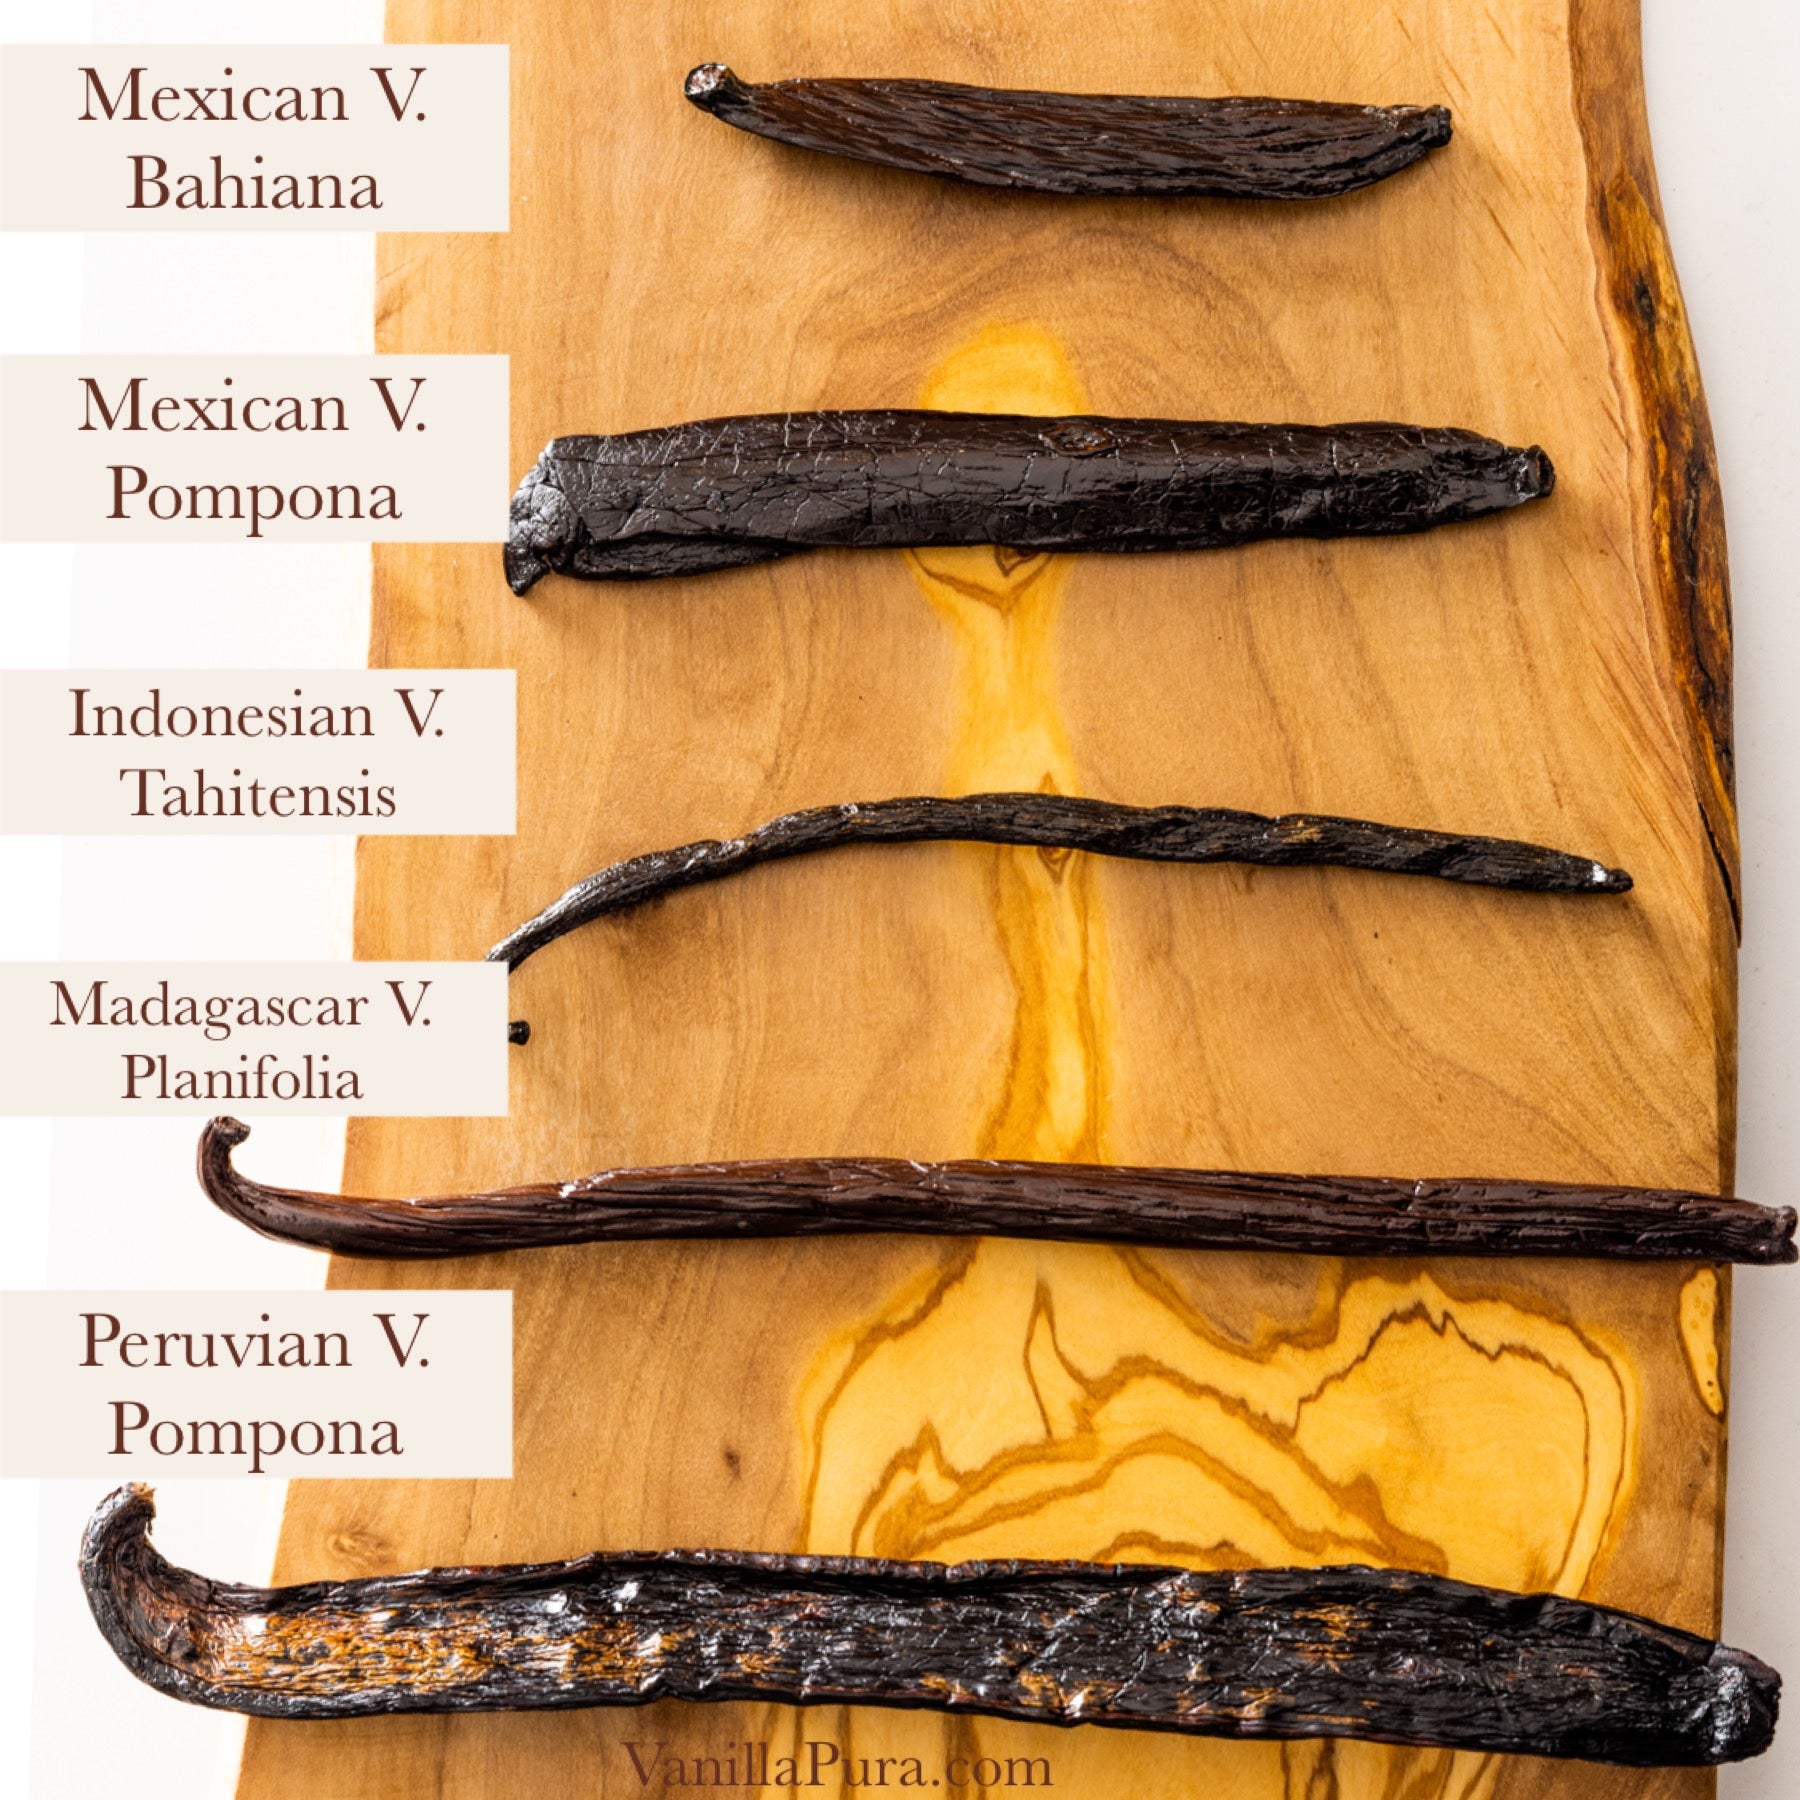
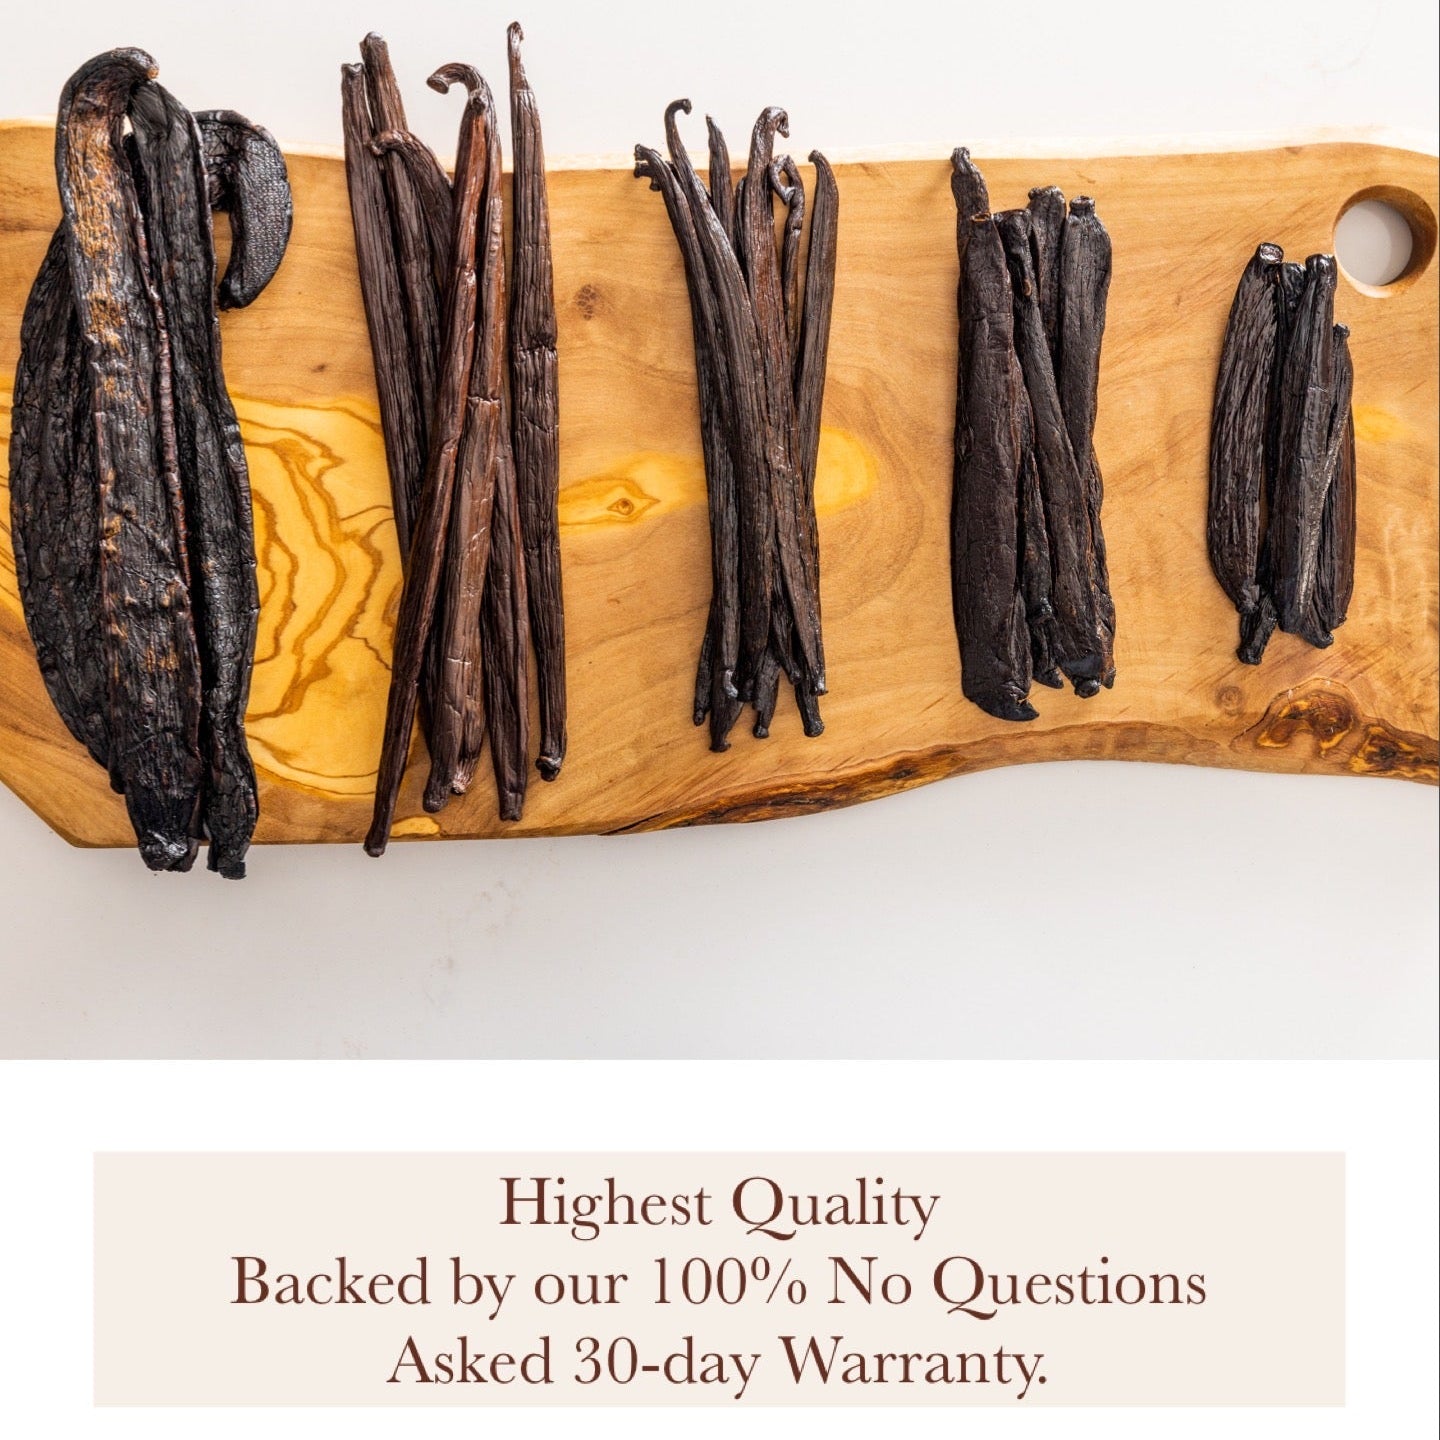
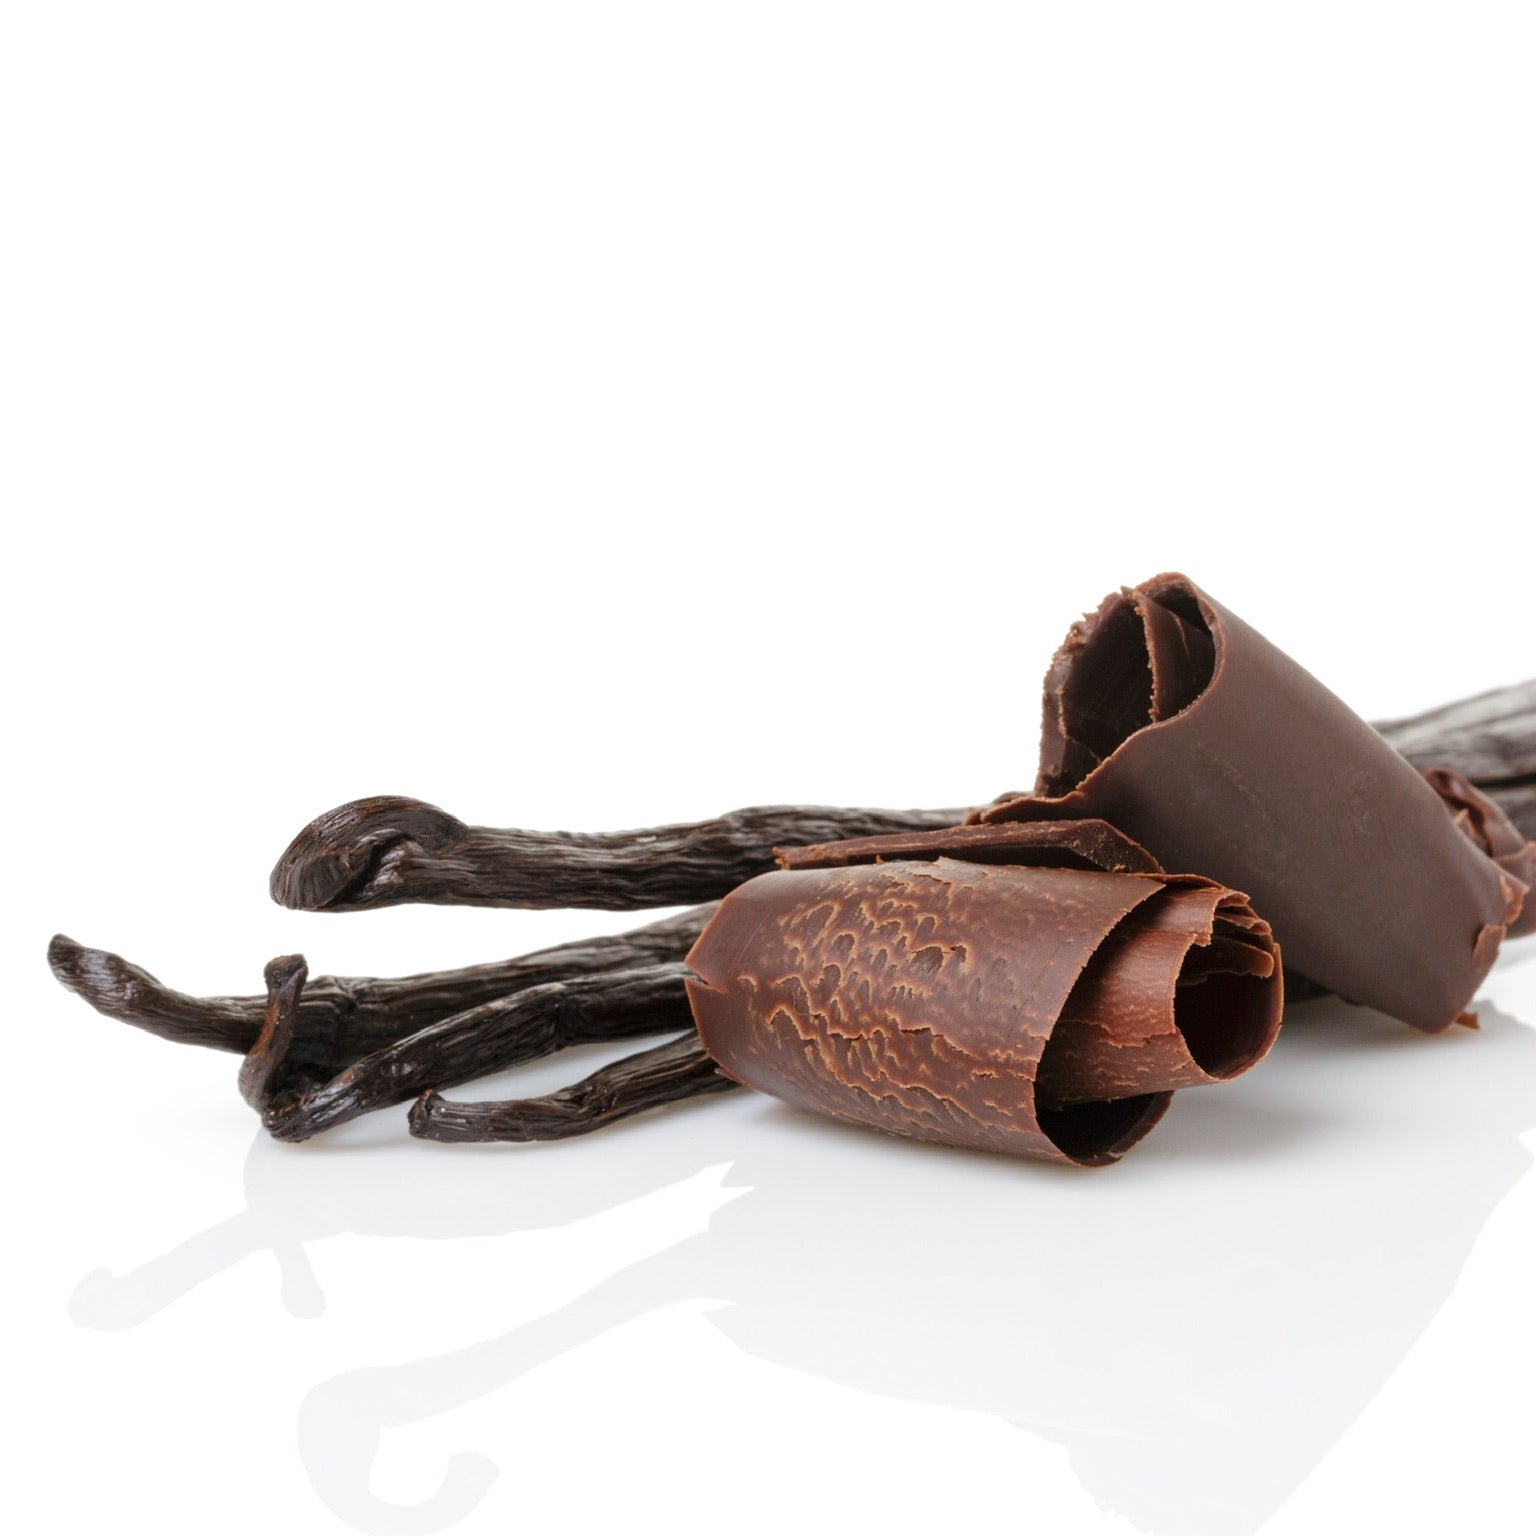
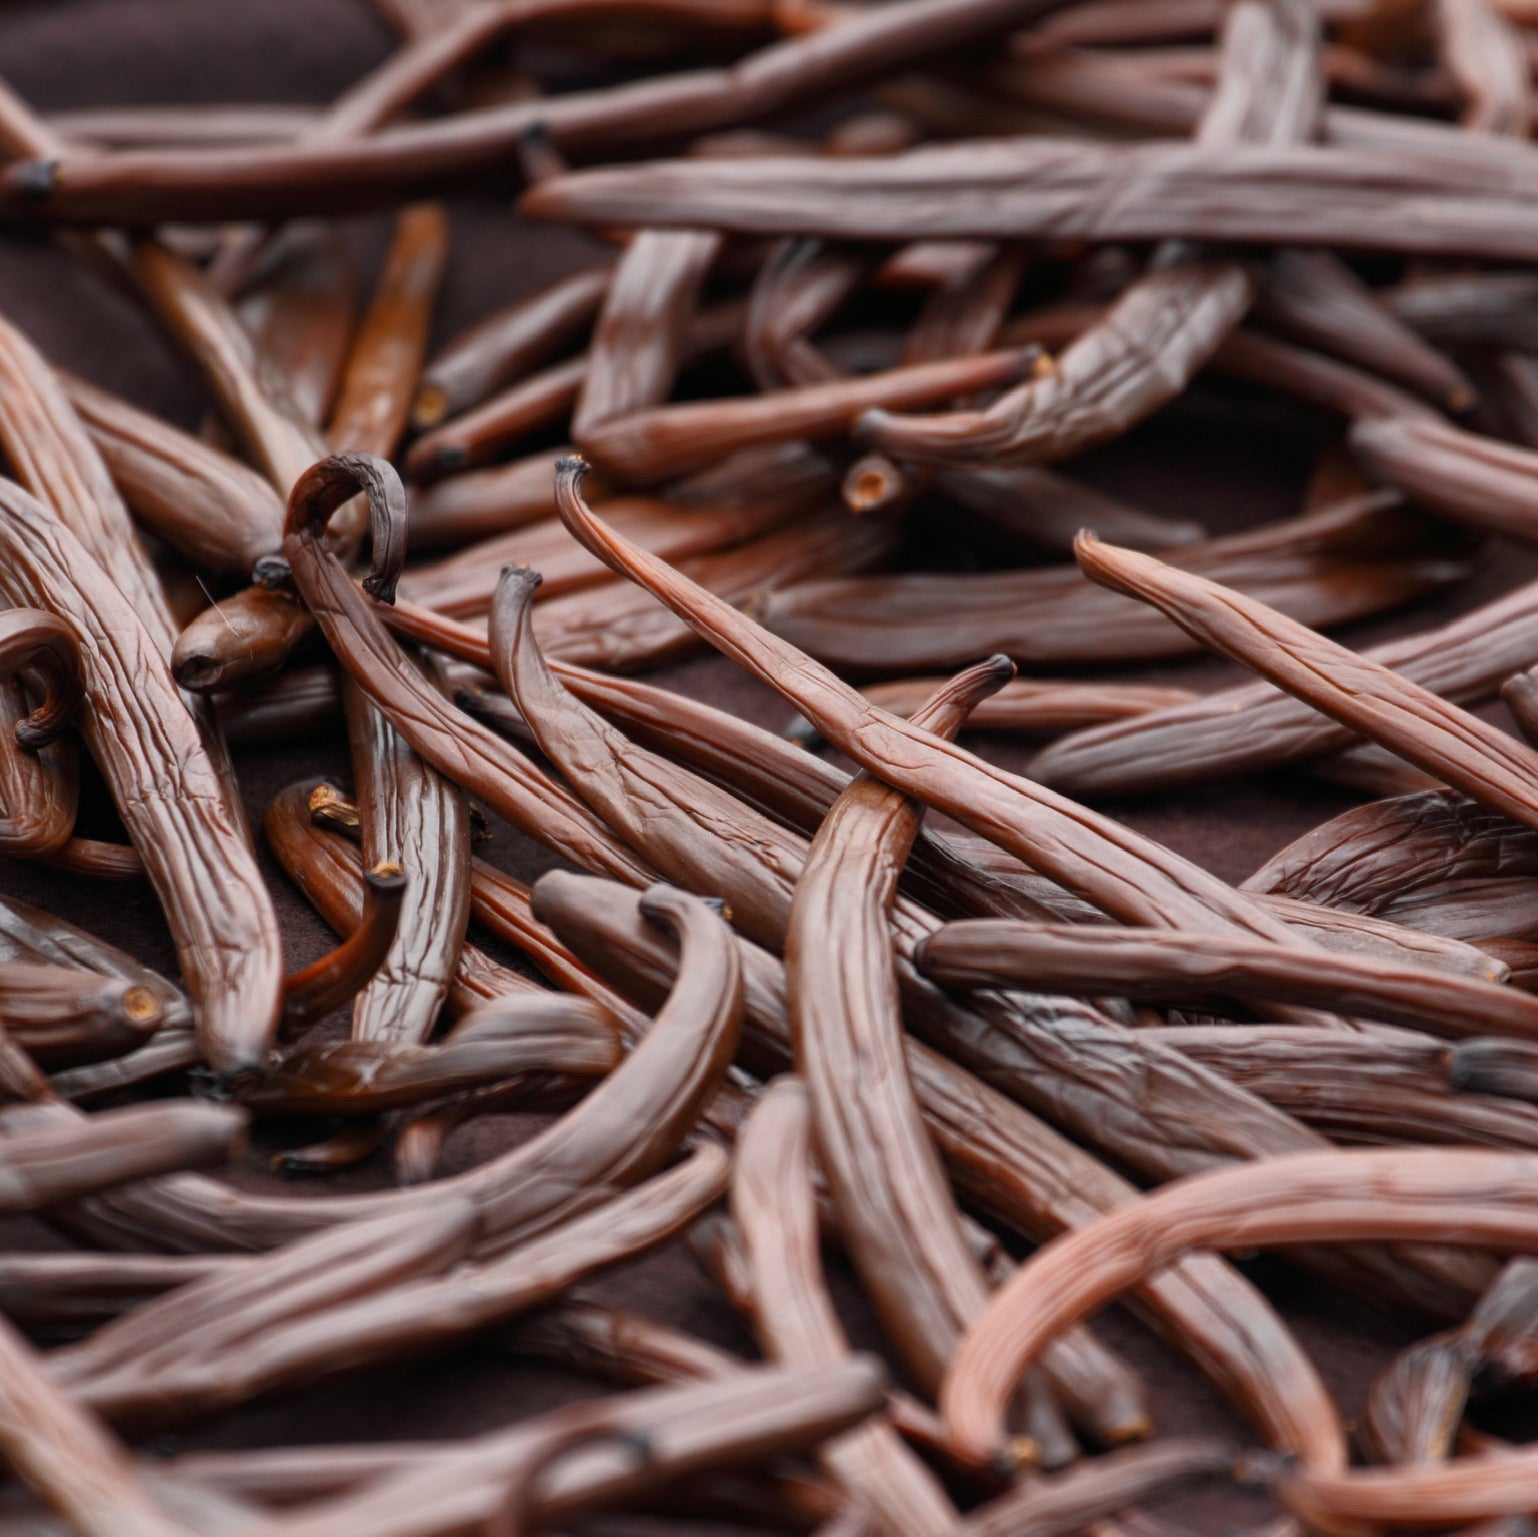
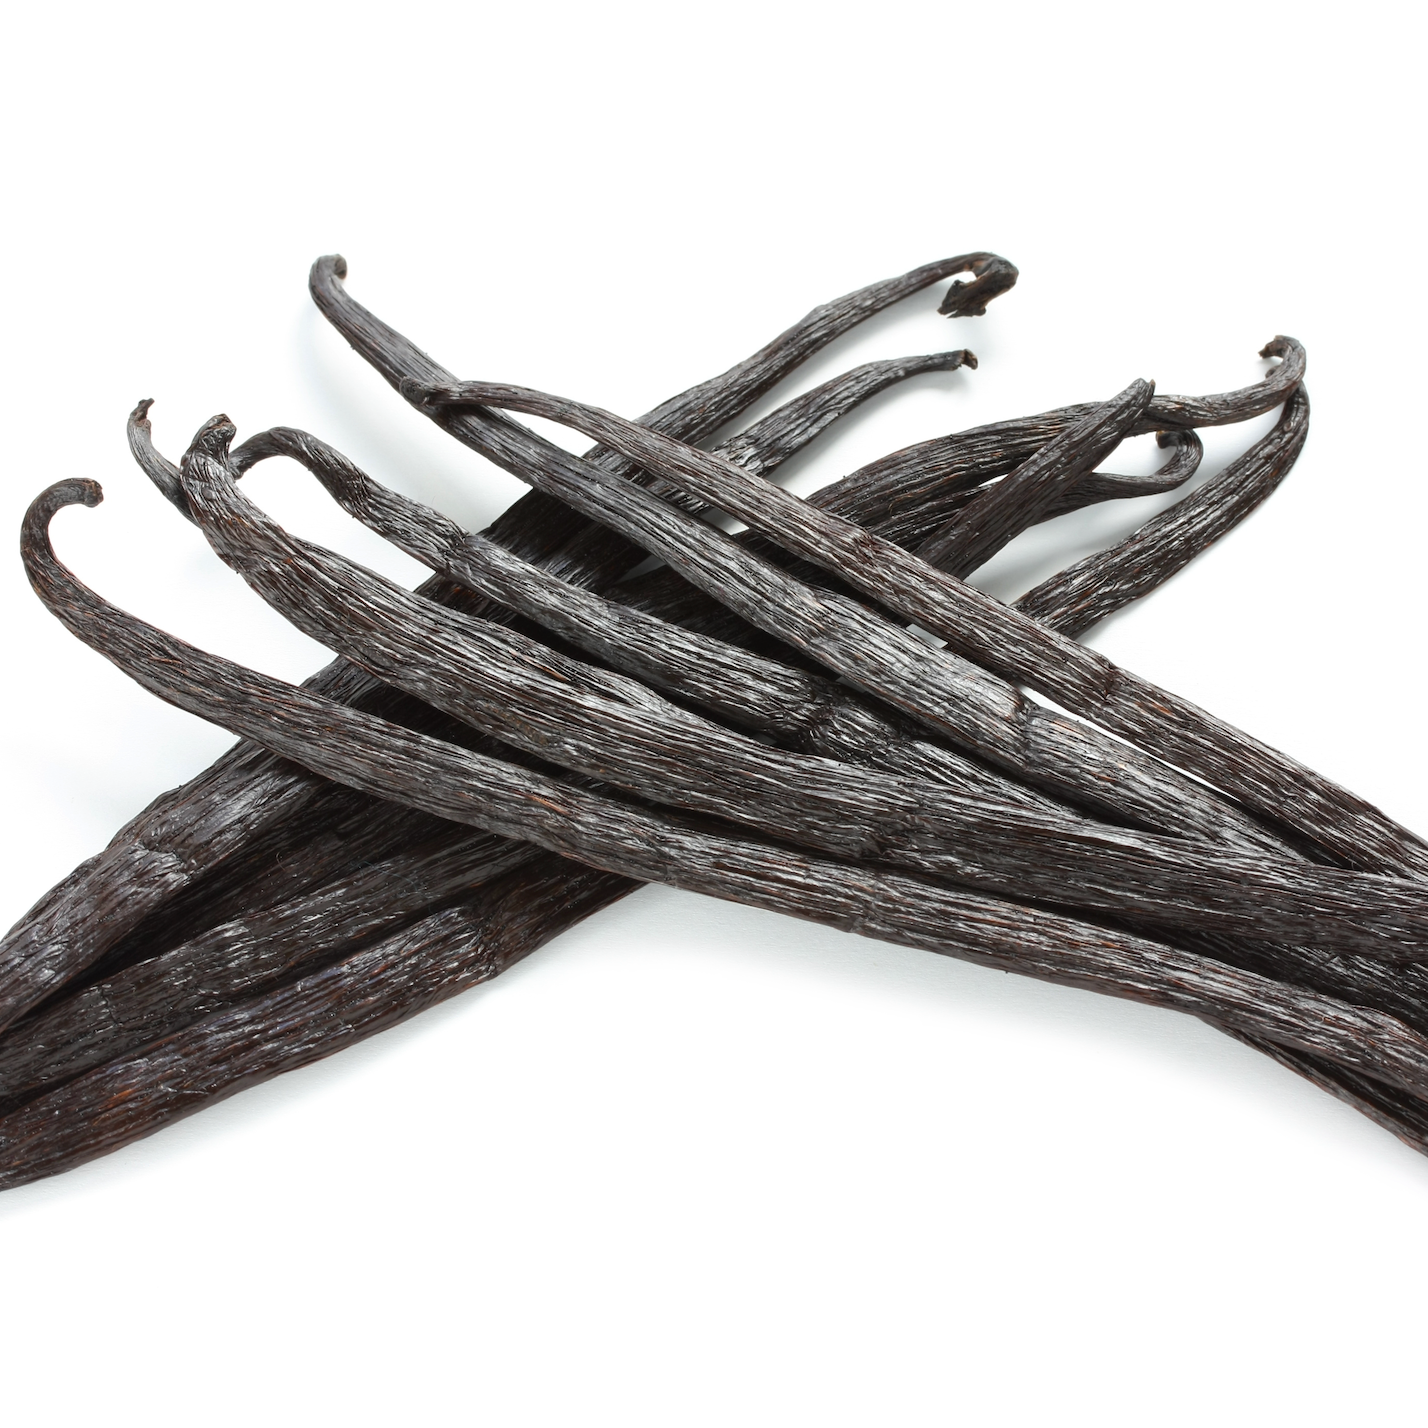
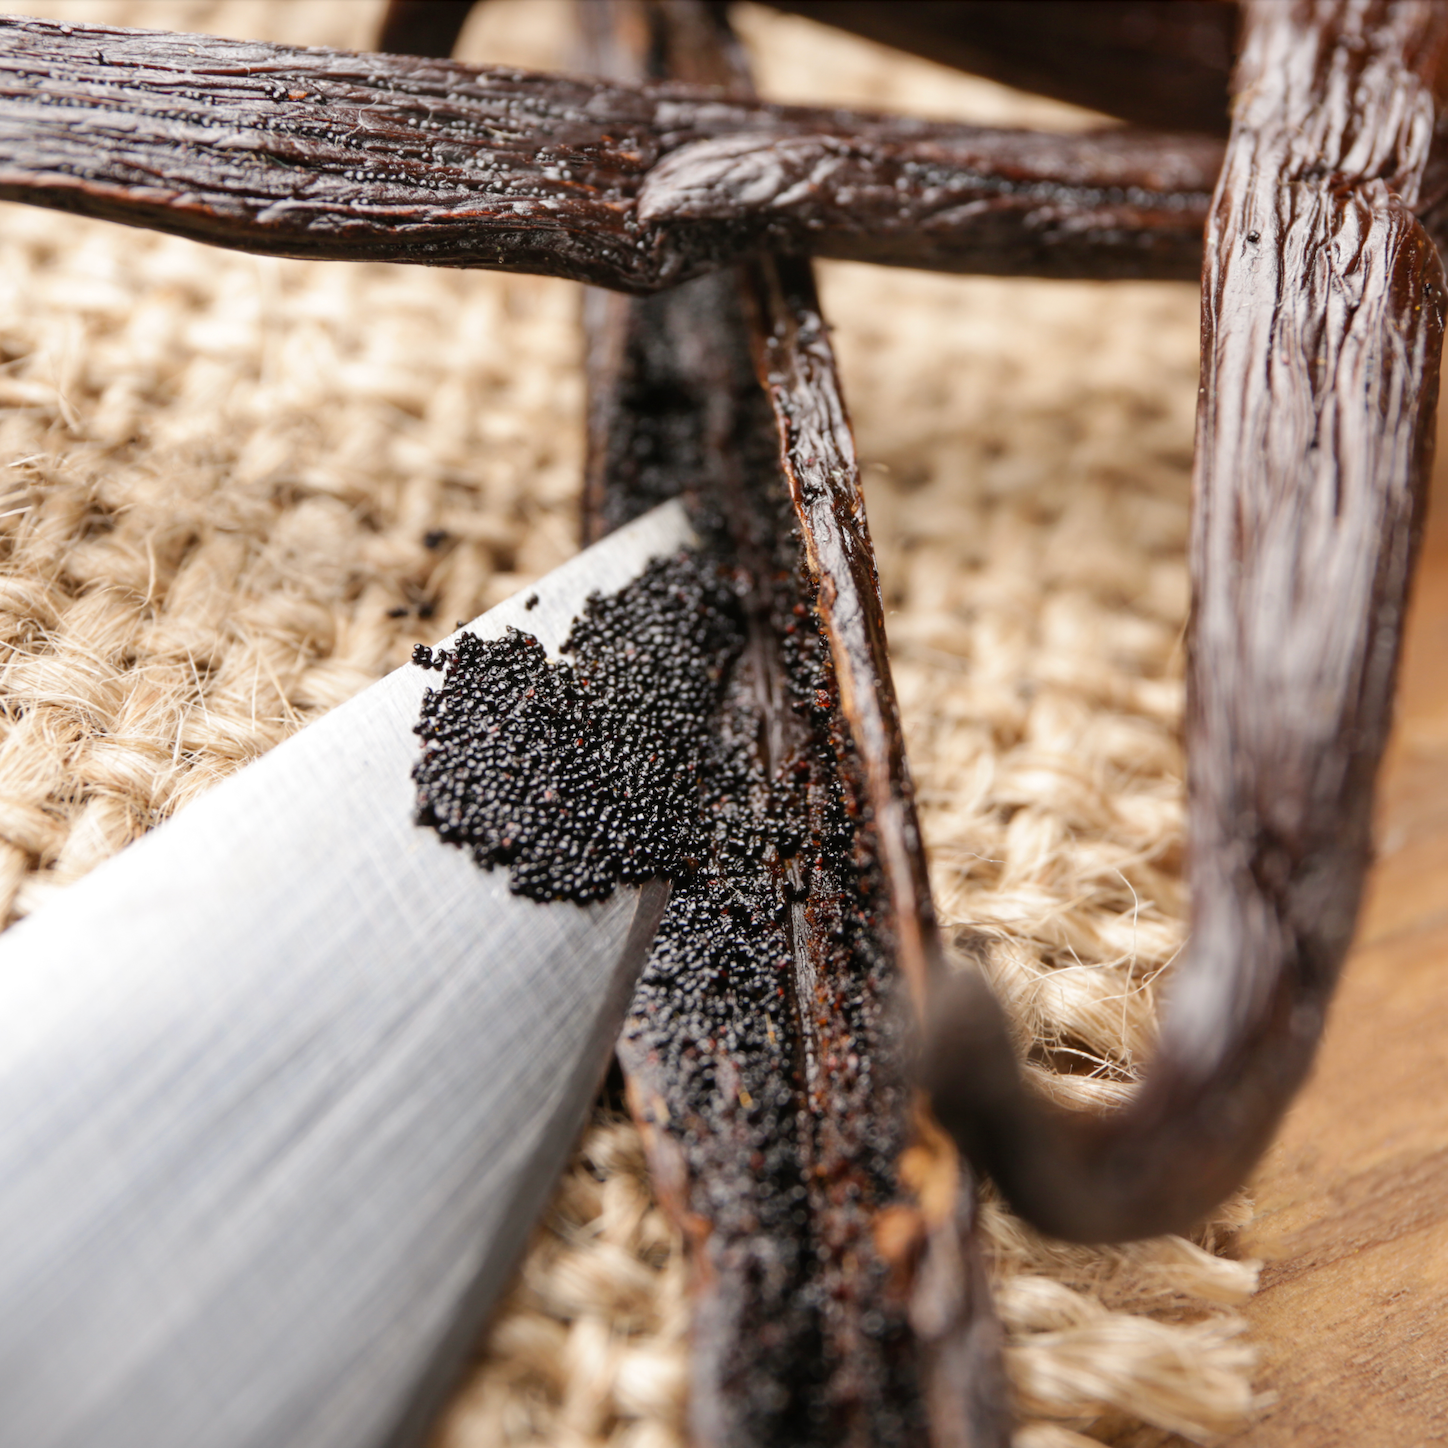
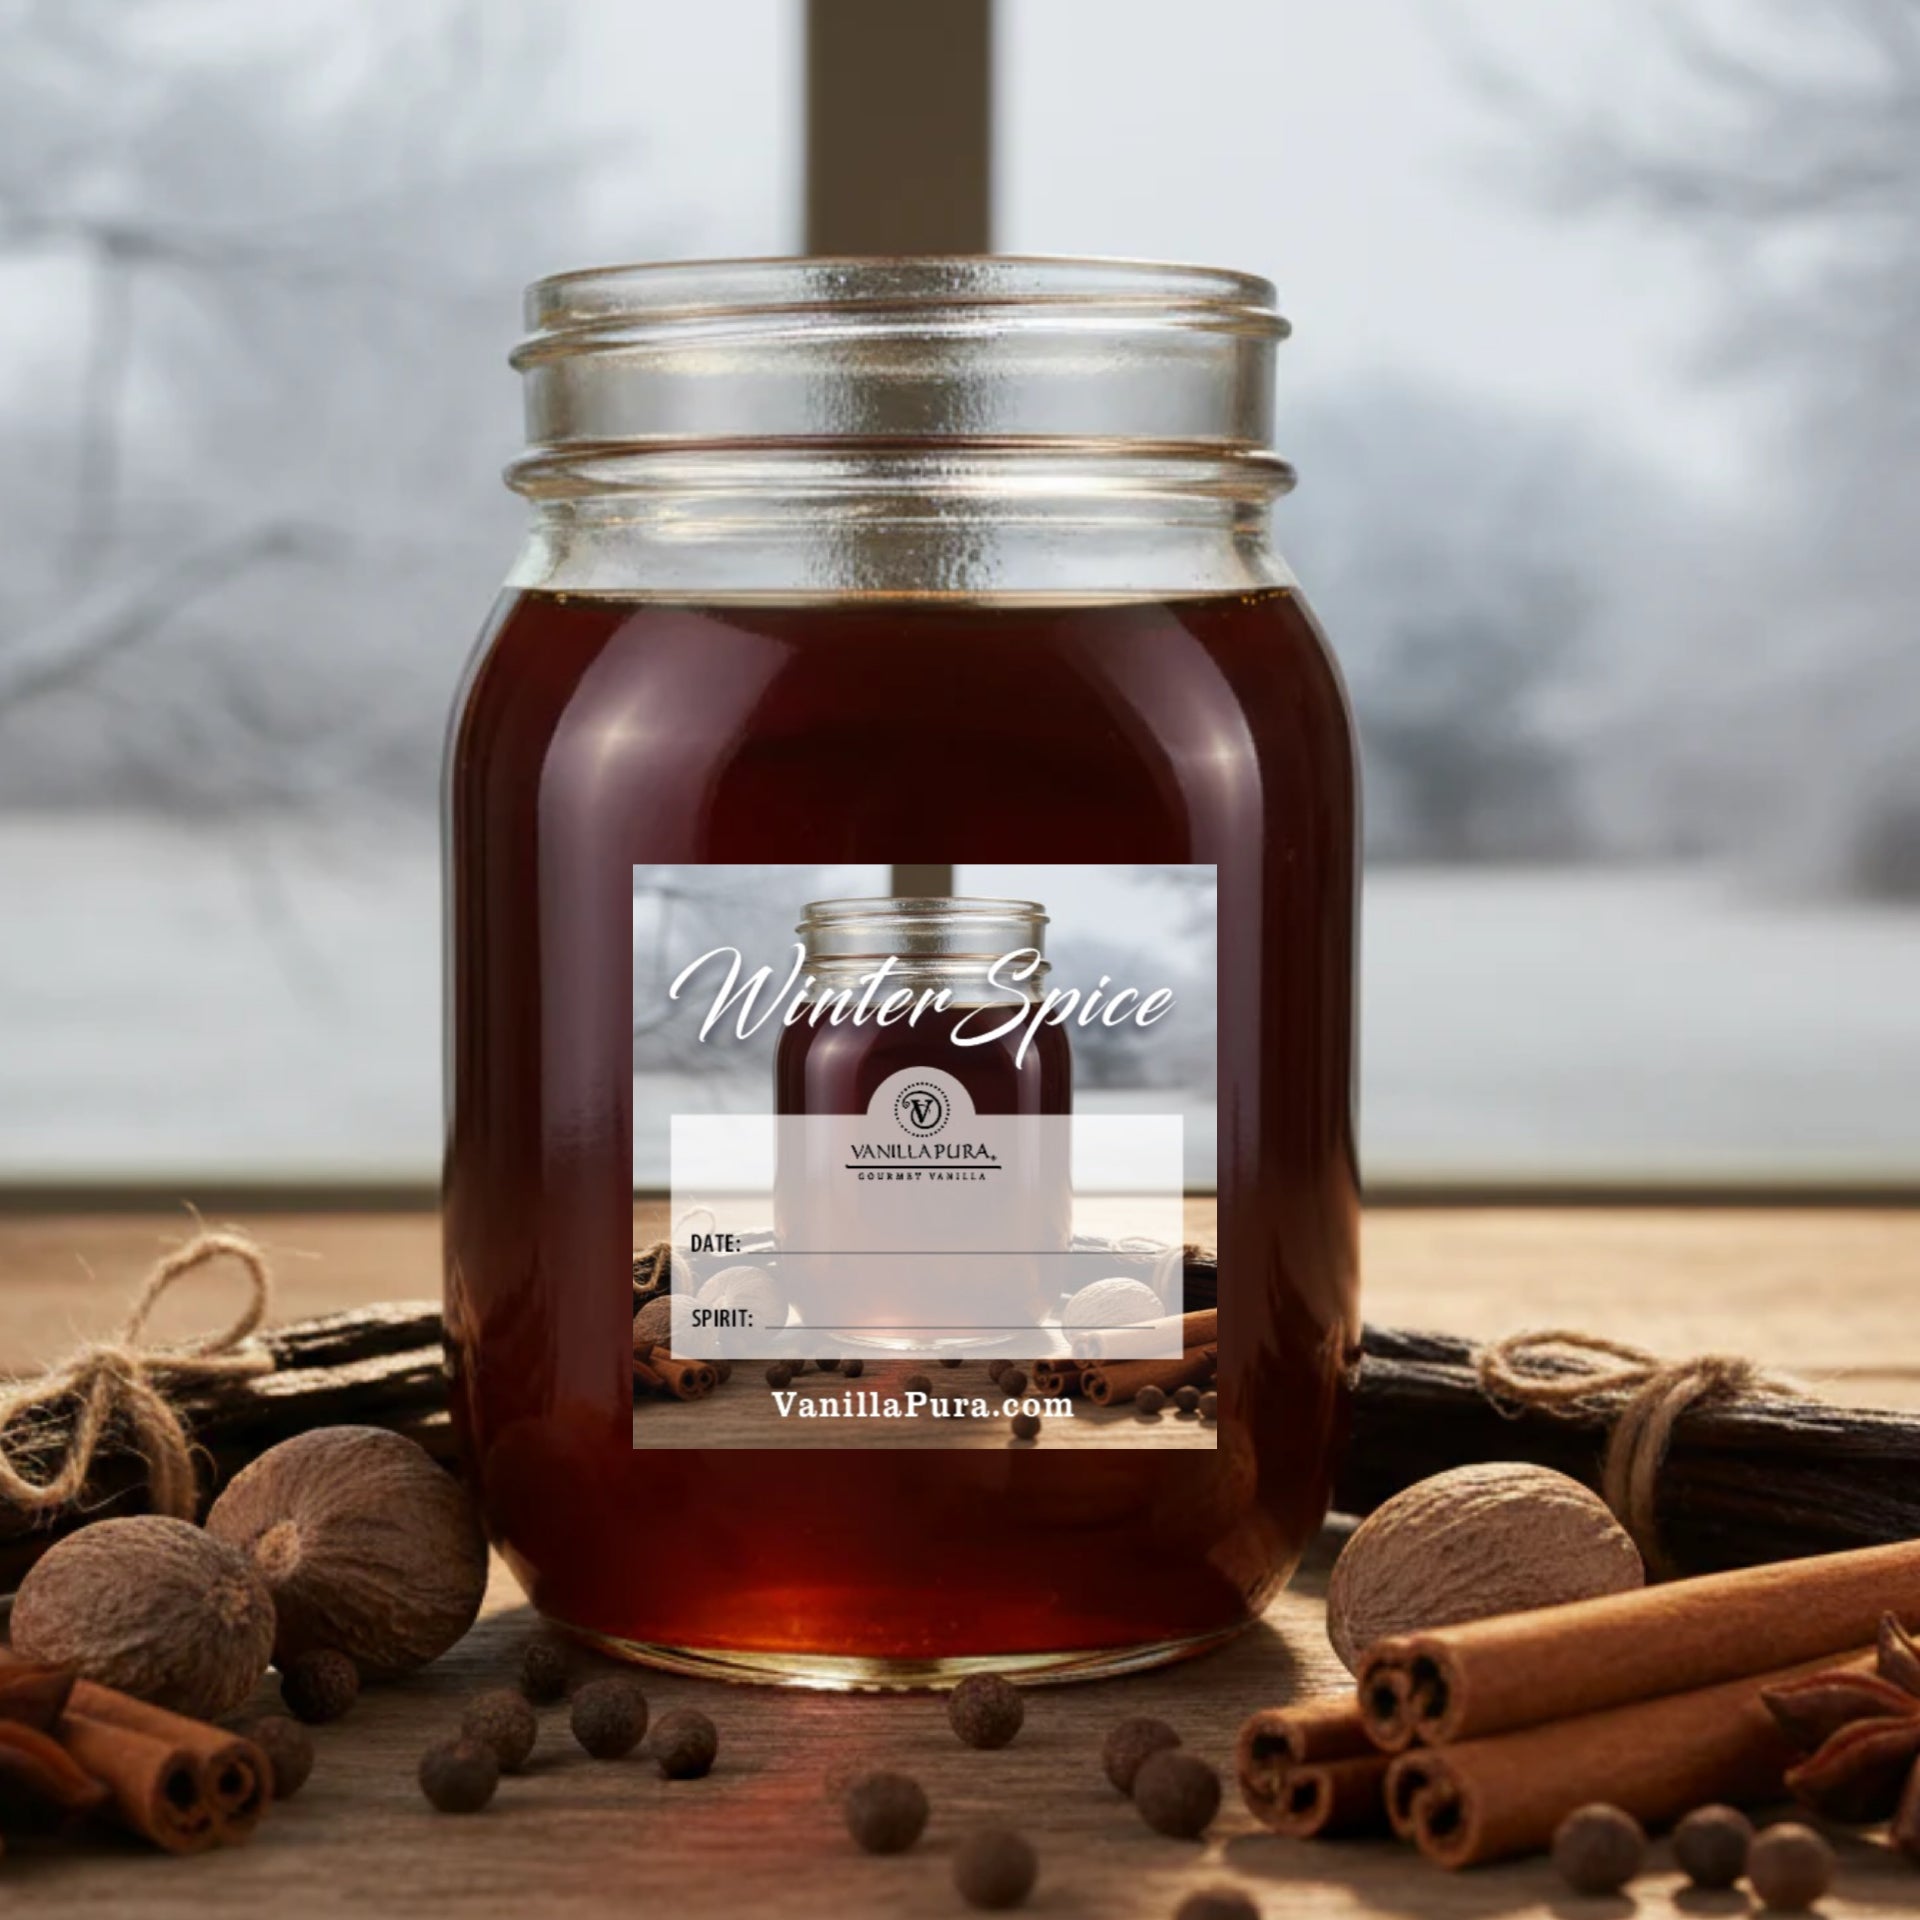
- 1 teaspoon VanillaPura Vanilla Extract (We prefer Ugandan Vanilla but any extract flavor will do!)
- Finely grated zest of 1 lemon
- 1/8 teaspoon salt
- 3 large eggs
Topping
- 3/4 cup cold heavy cream
- 1/3 cup powdered sugar
- 1 teaspoon VanillaPura Vanilla Extract
- additional blackberries for decoration
Instructions
Blackberry swirl
-
Place the blackberries in the bowl of a food processor and process until fully pureed; scrape down the bowl of the food processor as necessary.
-
Pour the puree into a fine mesh sieve set over a mixing bowl and use a rubber spatula to press as much liquid out as possible. (Don’t worry about it if a few seeds sneak into the liquid; you just don’t want all the seeds.)
-
You should have about 1 cup of liquid; if you don’t, puree and strain a few more berries. Discard solids.
-
Stir in the sugar into the puree and set aside.
Crust
-
Preheat the oven to 350 degrees. Spray a 9-inch springform pan with cooking spray and set aside.
-
Combine the graham cracker crumbs, butter, sugar, cinnamon (if using), and salt in a small bowl and stir until the crumbs are evenly moistened. Press the mixture into the bottom and about 1 inch up the sides of the prepared pan.
-
Place in the freezer while you work on the filling.
Filling
-
Combine the cream cheese and sugar in a large mixing bowl and beat on medium with an electric mixer until smooth.
-
Beat in the sour cream, vanilla extract, lemon zest, and salt to combine.
-
Beat in the eggs 1 at a time, mixing on low speed until just combined. Scrape down the sides and bottom of the bowl, then beat about 1 minute more to ensure everything is mixed together well.
-
Pour half of the filling into the crust. Dollop half of the blackberry puree over that and use a butter knife to swirl the two together a bit. BE SURE TO NOT TO DISTURB THE GRAHAM CRACKER CRUST while you’re swirling!
-
Repeat this process with the remaining filling and the remaining puree. Set the cheesecake on a rimmed baking sheet to catch any butter that might leak out and make a mess in the oven.
-
Bake for 55 to 65 minutes, until the center barely jiggles when you tap the side of the pan.
-
Cool your cheesecake to room temperature, then cover loosely with plastic wrap and refrigerate overnight.
Topping
-
Once your cheesecake has chilled overnight, make the whipped cream topping.
-
Place a mixing bowl and the beaters for an electric mixer in the fridge to chill for 20 to 30 minutes (so your whipped cream will be extra stiff for piping).
-
Beat the heavy cream until it thickens, then add the powdered sugar and vanilla extract and beat until the cream holds stiff peaks. (It’s at stiff peaks when you can remove the beaters from the whipped cream and the cream holds its shape rather than folding in on itself.)
-
Pipe the whipped cream around the perimeter of the cheesecake. (If you prefer, you can just spread or dollop the whipped cream on top.)
-
Top with blackberries, then slice and serve.
-
Uneaten cheesecake can be stored, covered, in the fridge for 3 or 4 days or in the freezer, tightly wrapped, for about a month.
Recipe Notes
- The cinnamon in the crust is totally optional but its flavor really complements the blackberries so I strongly recommend it.
- Be sure your cream cheese is at room temperature before you make your filling. If it’s too cold, it won’t mix properly with the other ingredients and you could end up with chunks of cream cheese in the final product.
- Be sure your cheesecake cools completely to room temperature before you cover it and refrigerate it; if you cover it while it’s warm the cheesecake will sweat and get soggy.
- Run your knife around the cheesecake to loosen it before you remove it from the pan when you’re ready to serve.
- See the body of this post for instructions on freezing your cheesecake whole (or in slices).
- I strongly recommend using heavy cream rather than whipping cream to top your cheesecake because heavy cream holds its shape better than whipping cream does.
Thanks The Itsy-Bitsy Kitchen for sharing!