How To Make Homemade Vanilla Extract

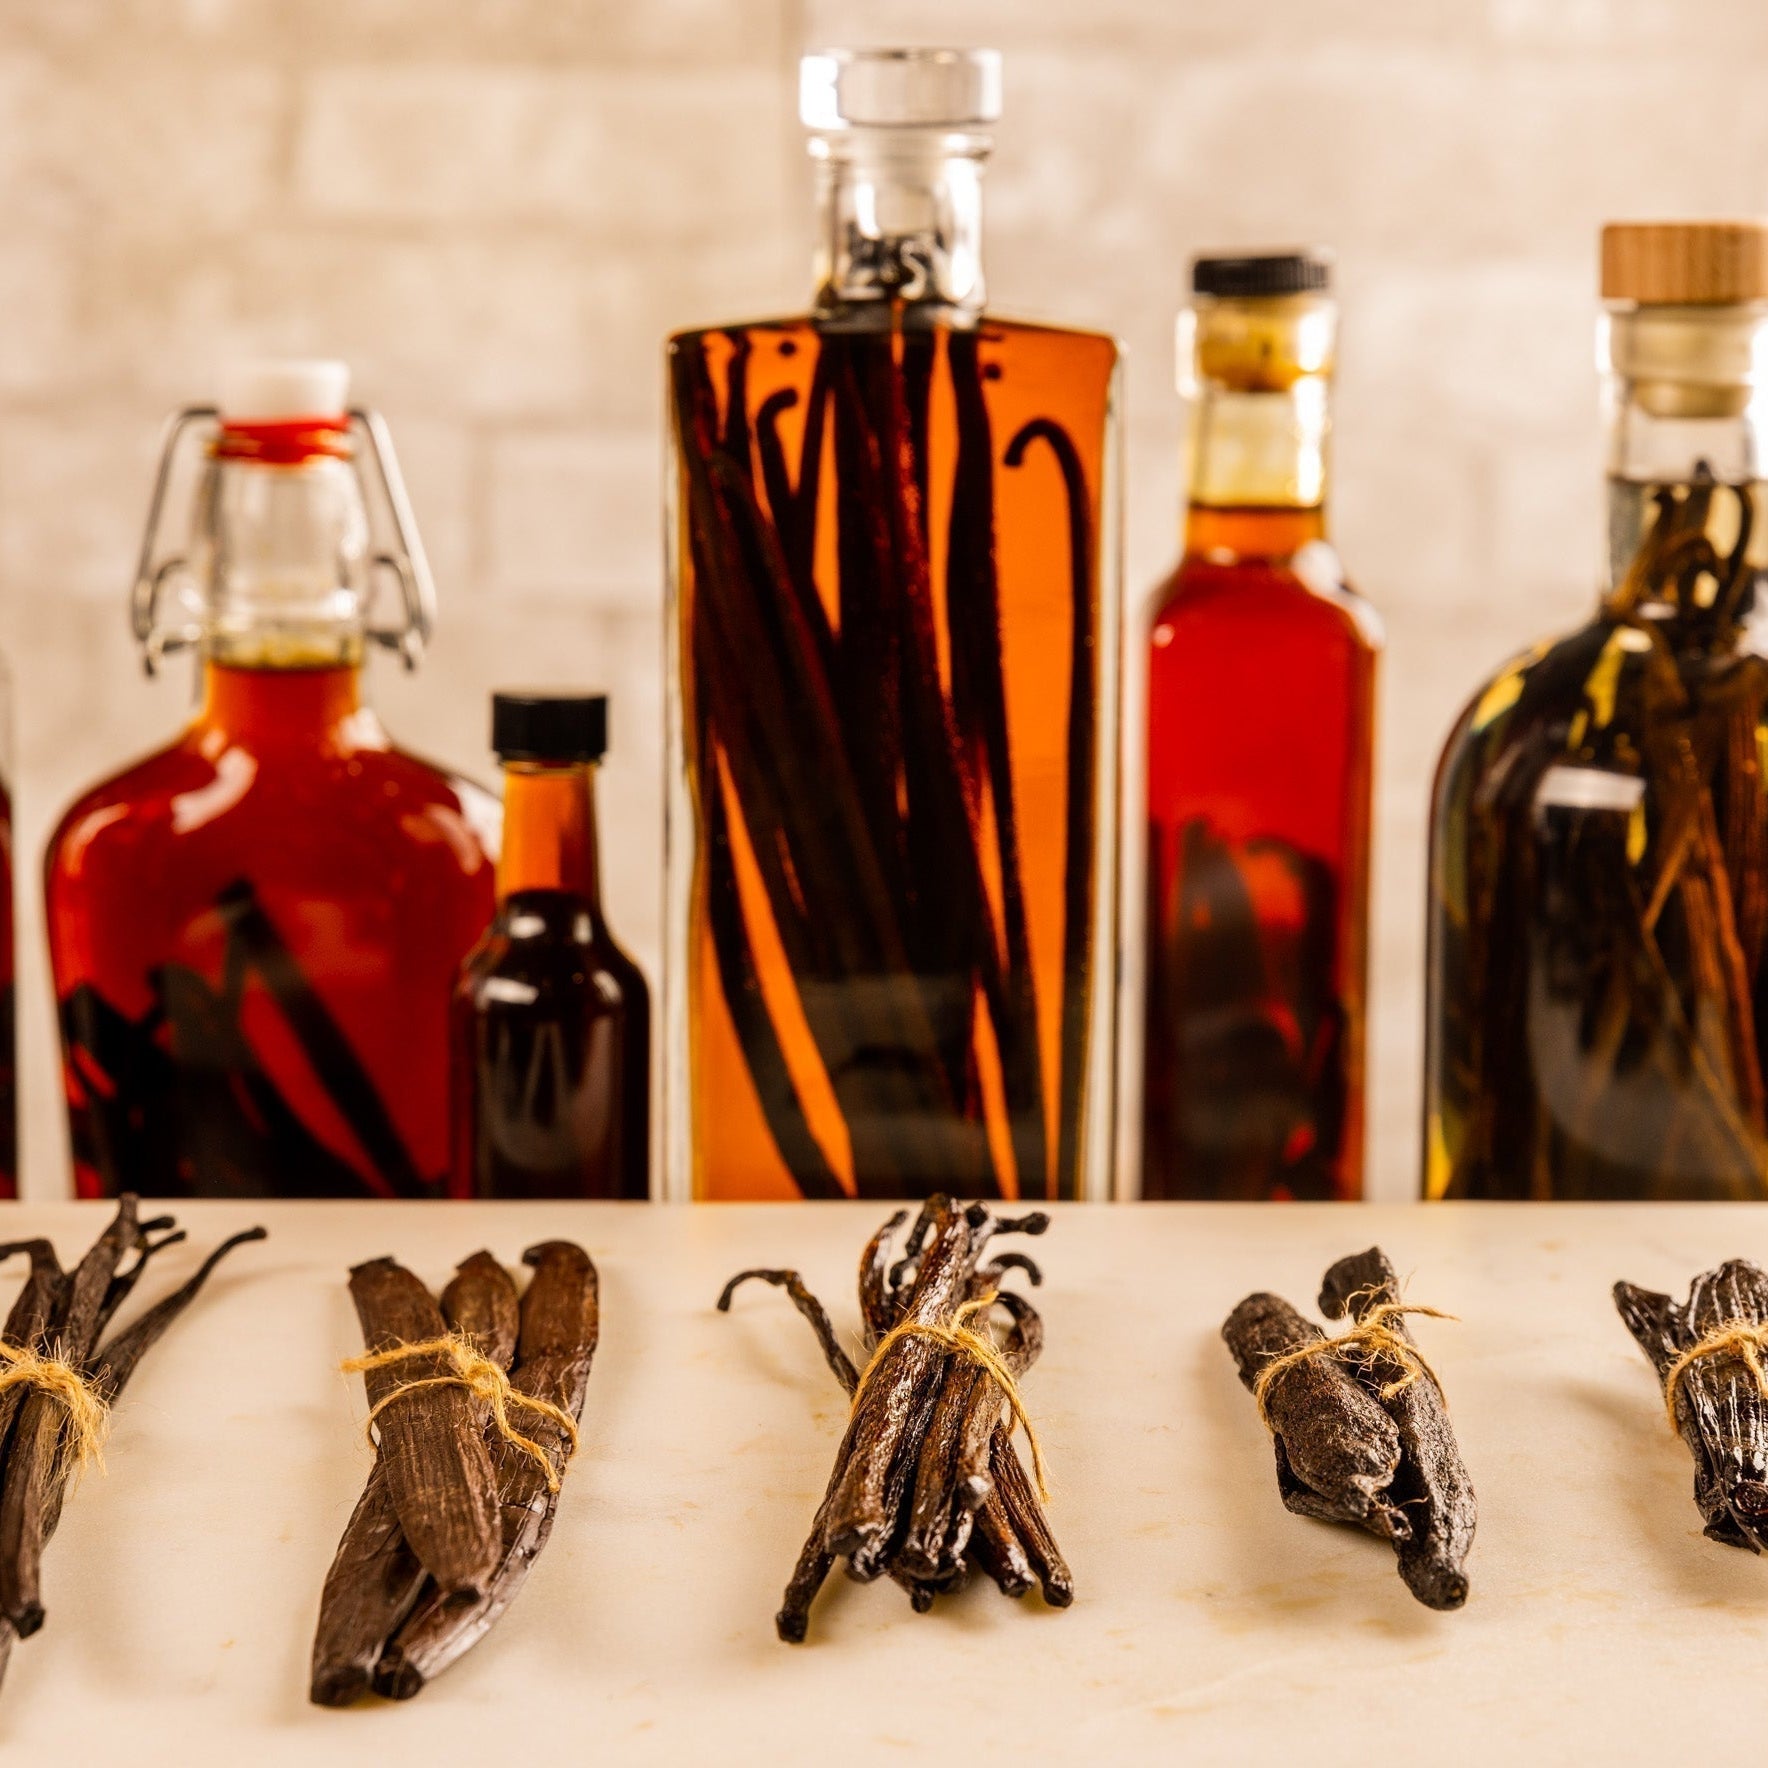
Pure vanilla extract is derived from vanilla bean essential oils. By submersing a vanilla bean in alcohol, the essential oil is extracted. Sounds easy, right? Well, there is a trick or two that will ensure the best possible outcome. Let's go through several critical steps together.
Here's a quick summary of how to make your first vanilla extract, and if you want more details you can continue reading more below:
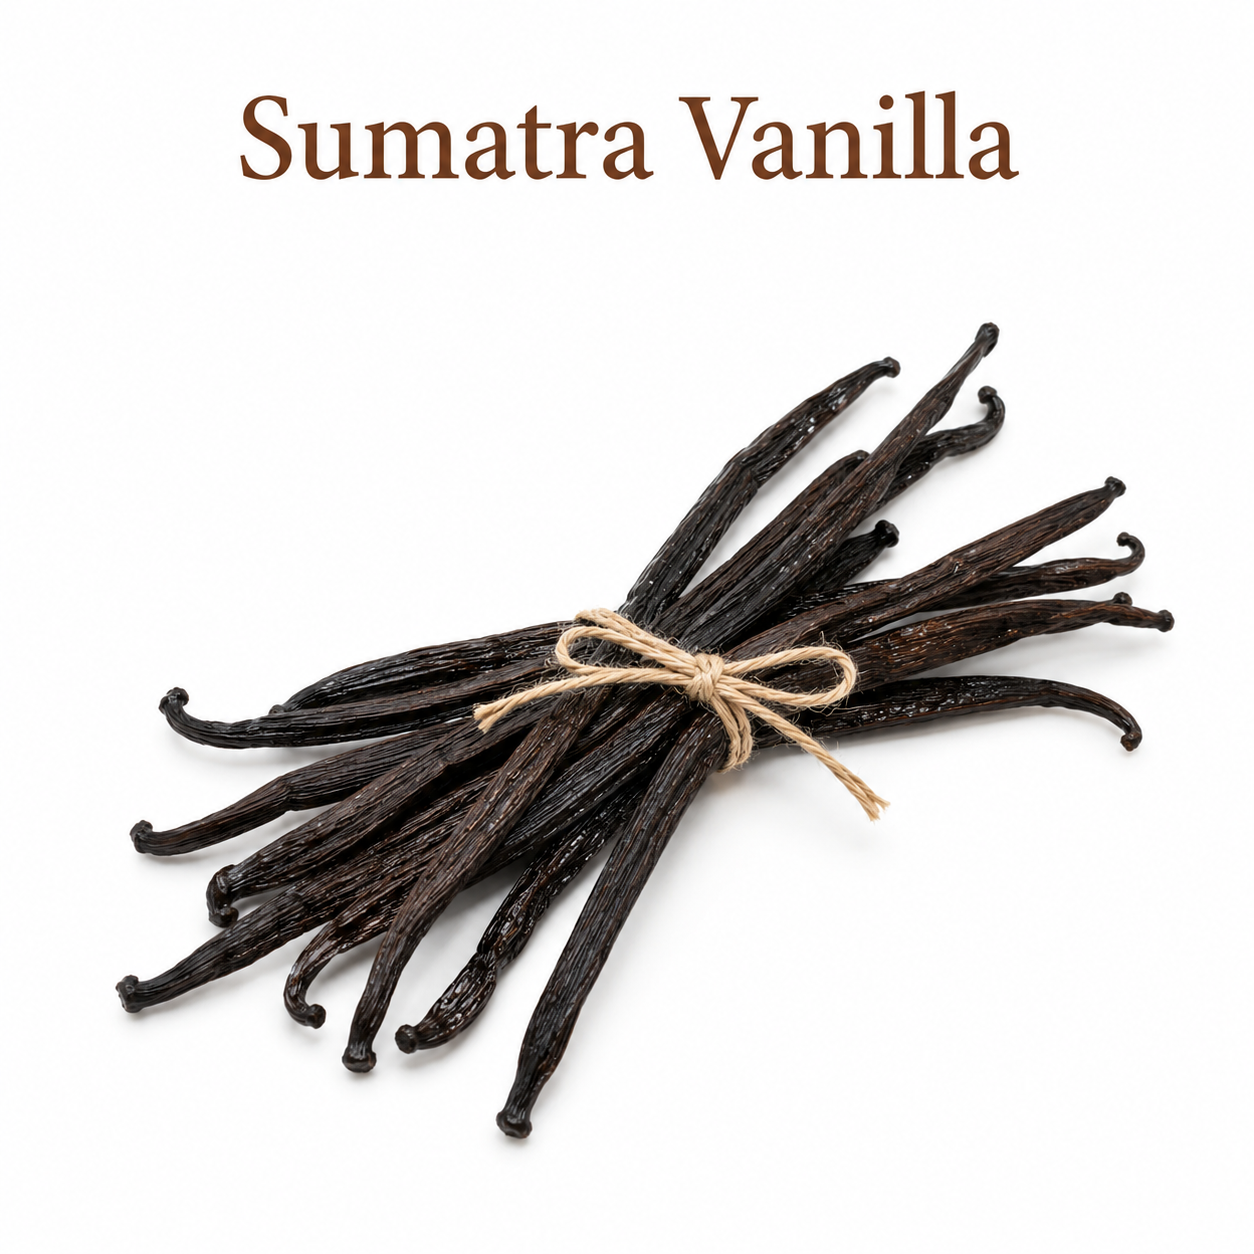
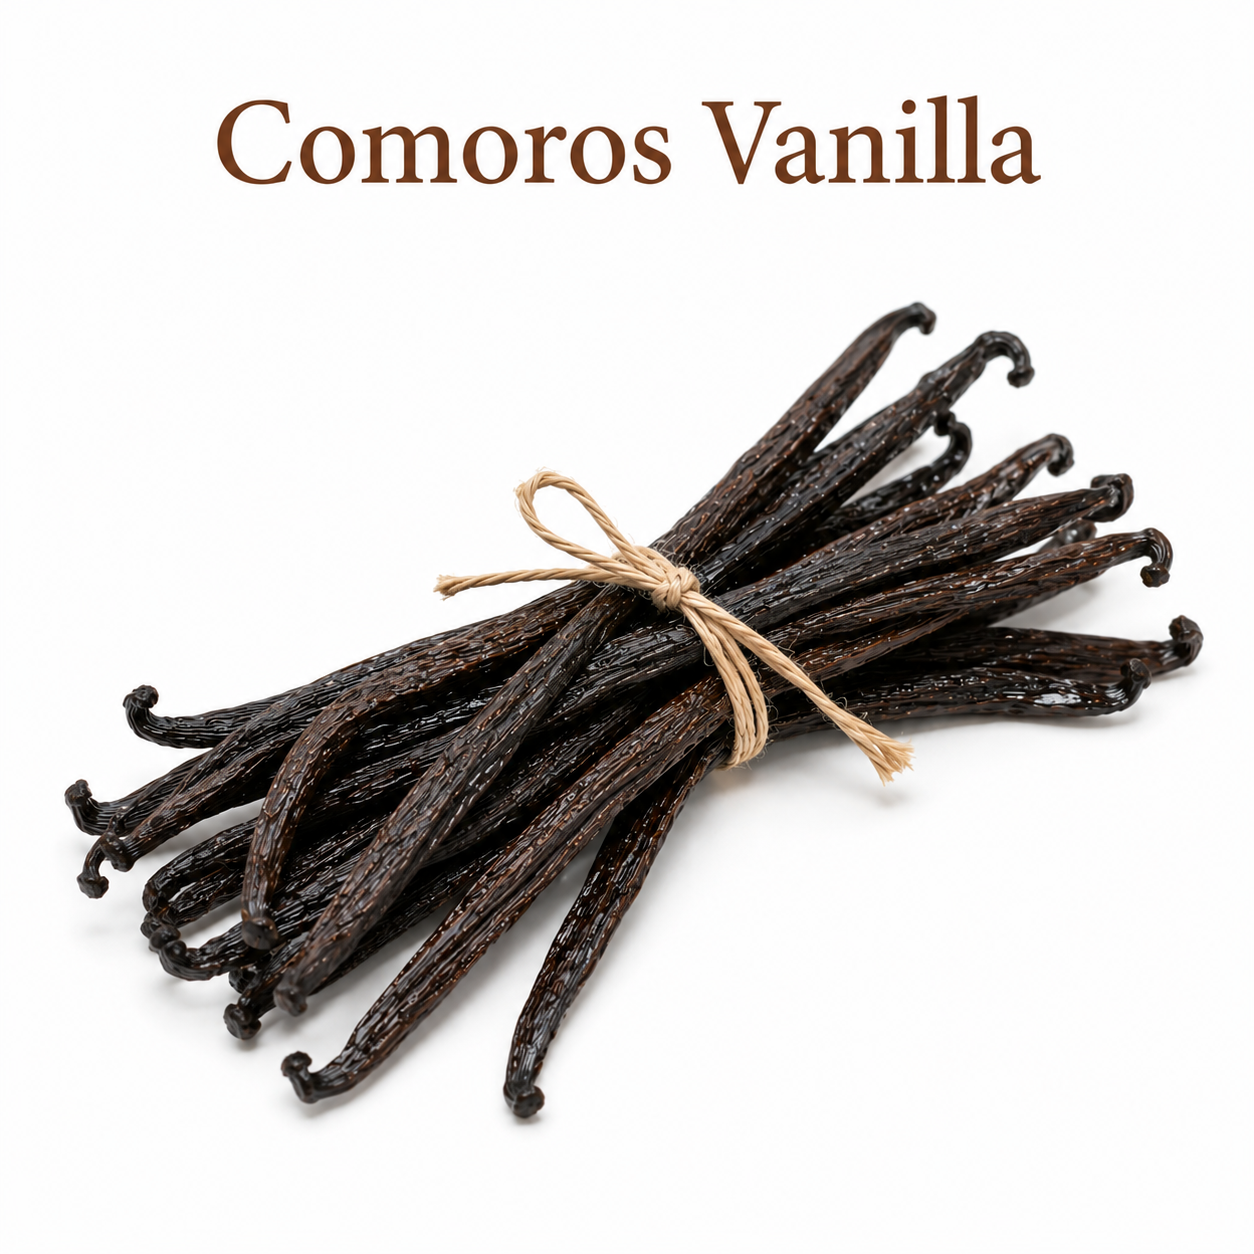
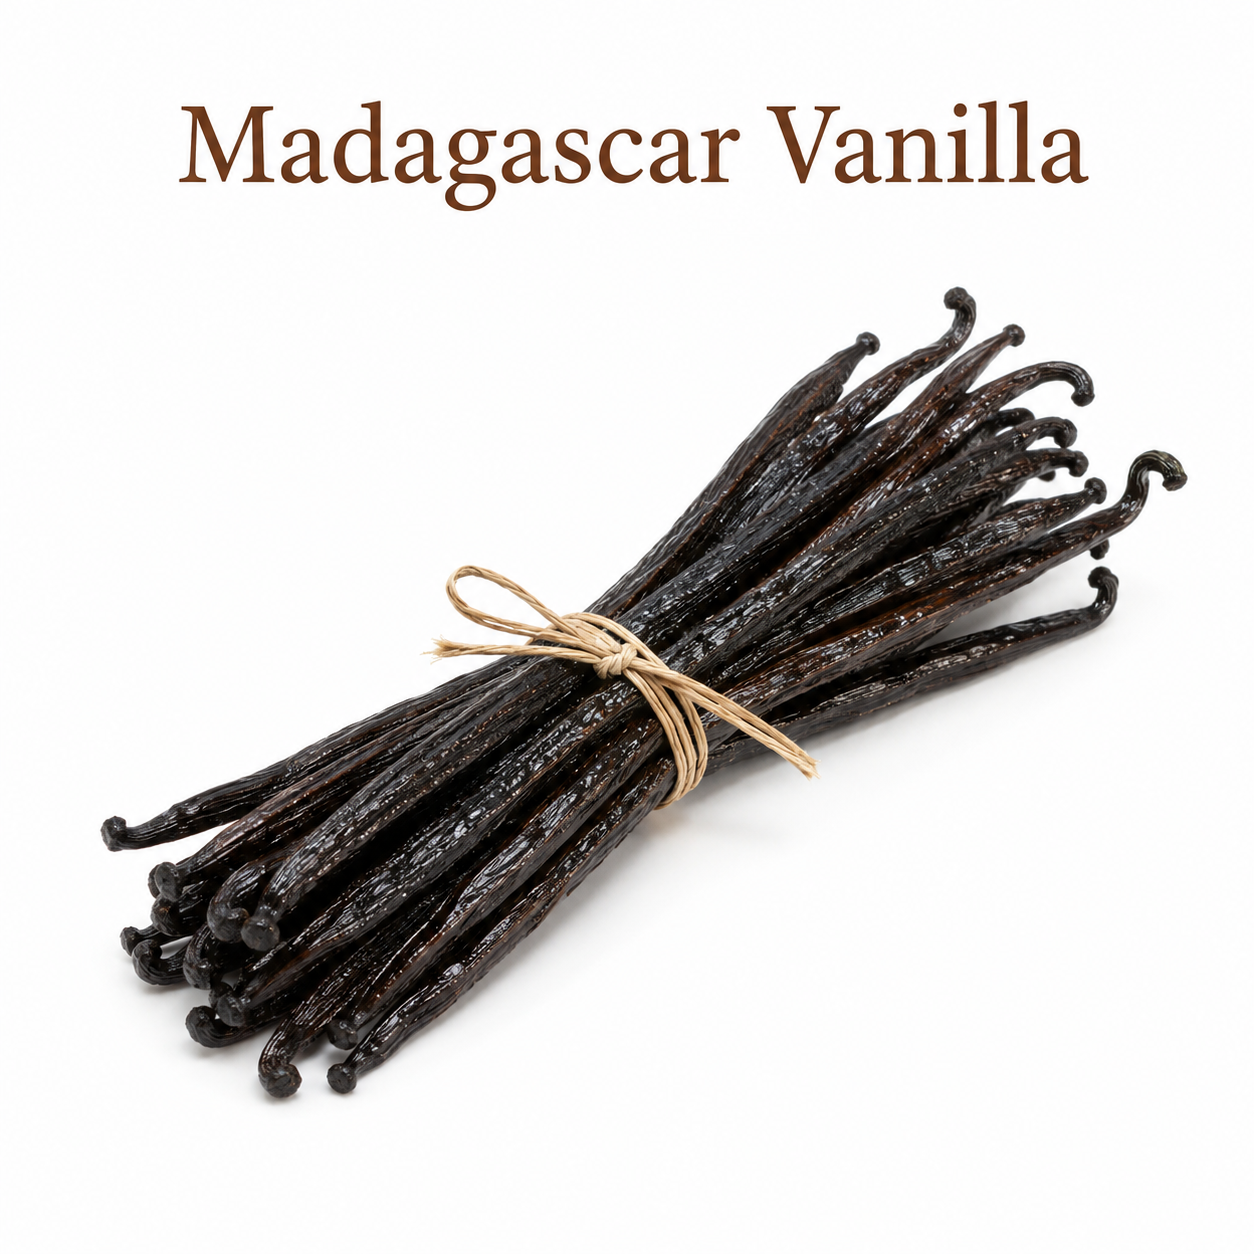
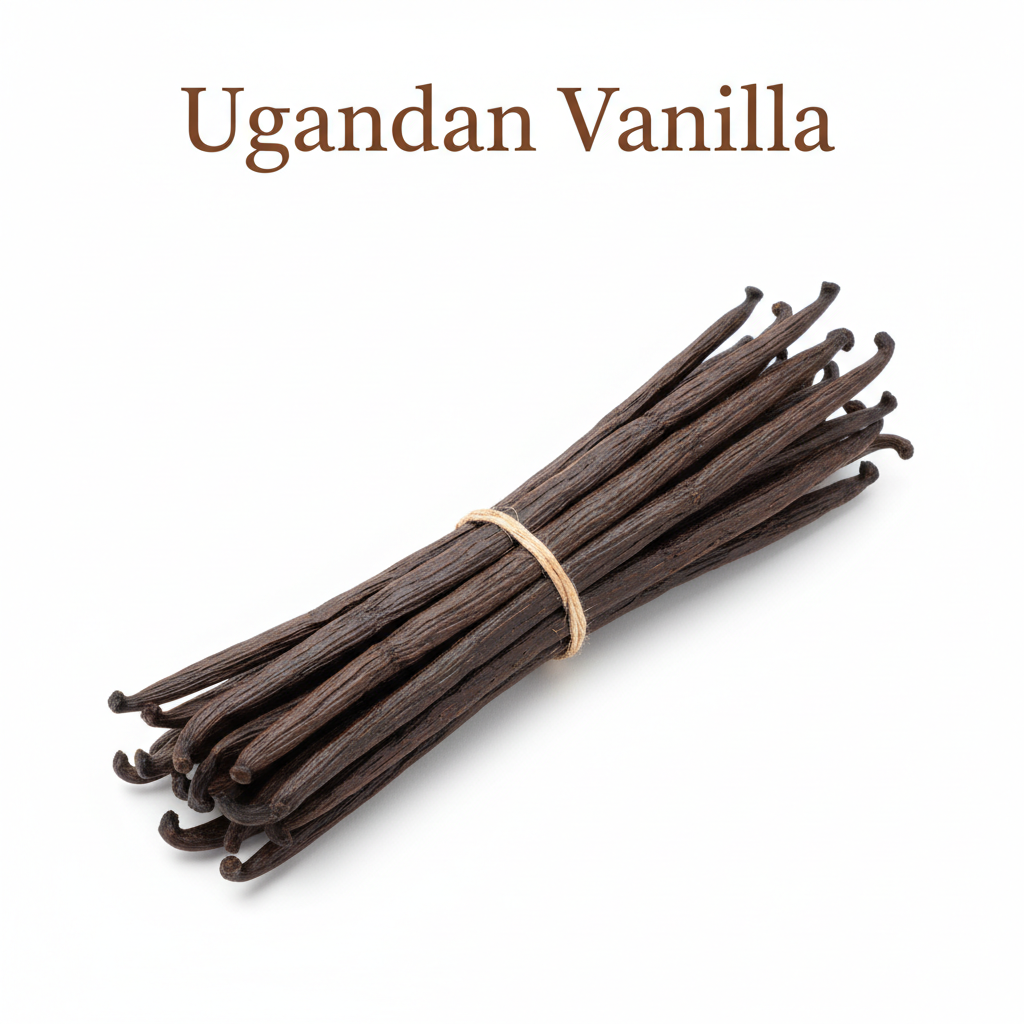
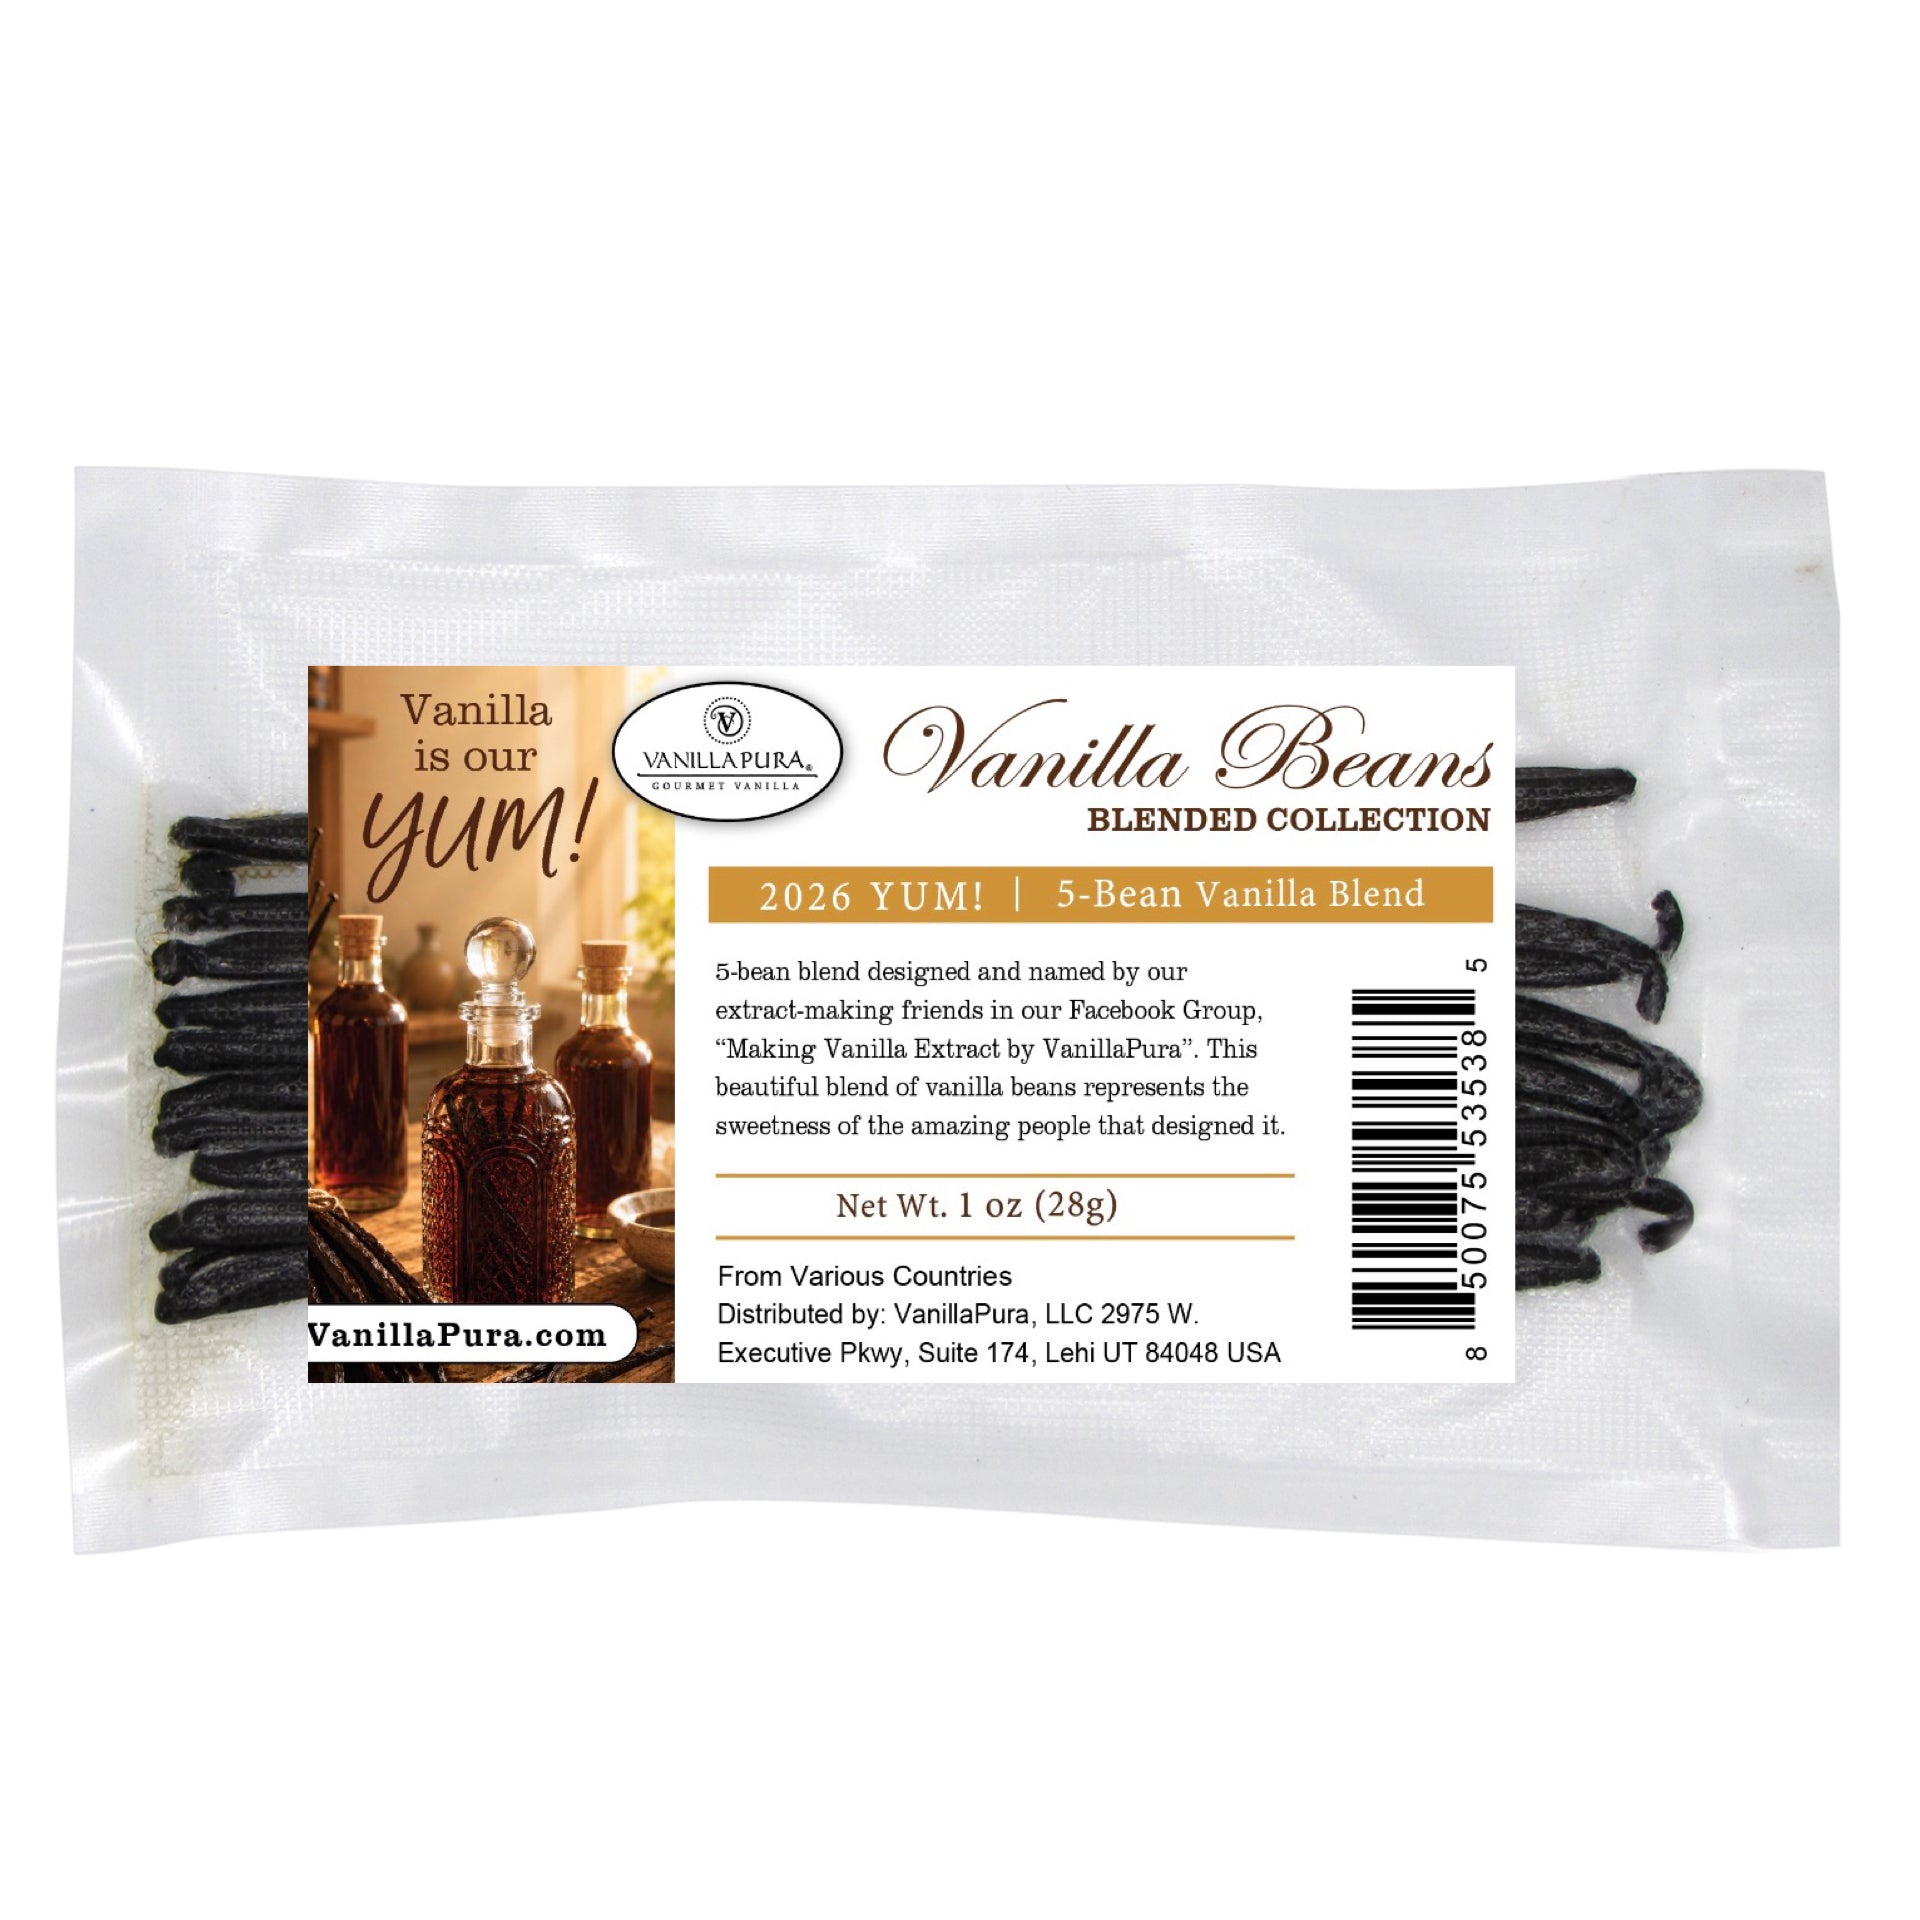
- Choose your vanilla beans. (Different origins will have different tastes)
- For single fold extract, you will need 1oz (28g) of vanilla beans for every 8oz (1 cup or .24 liters) of alcohol.
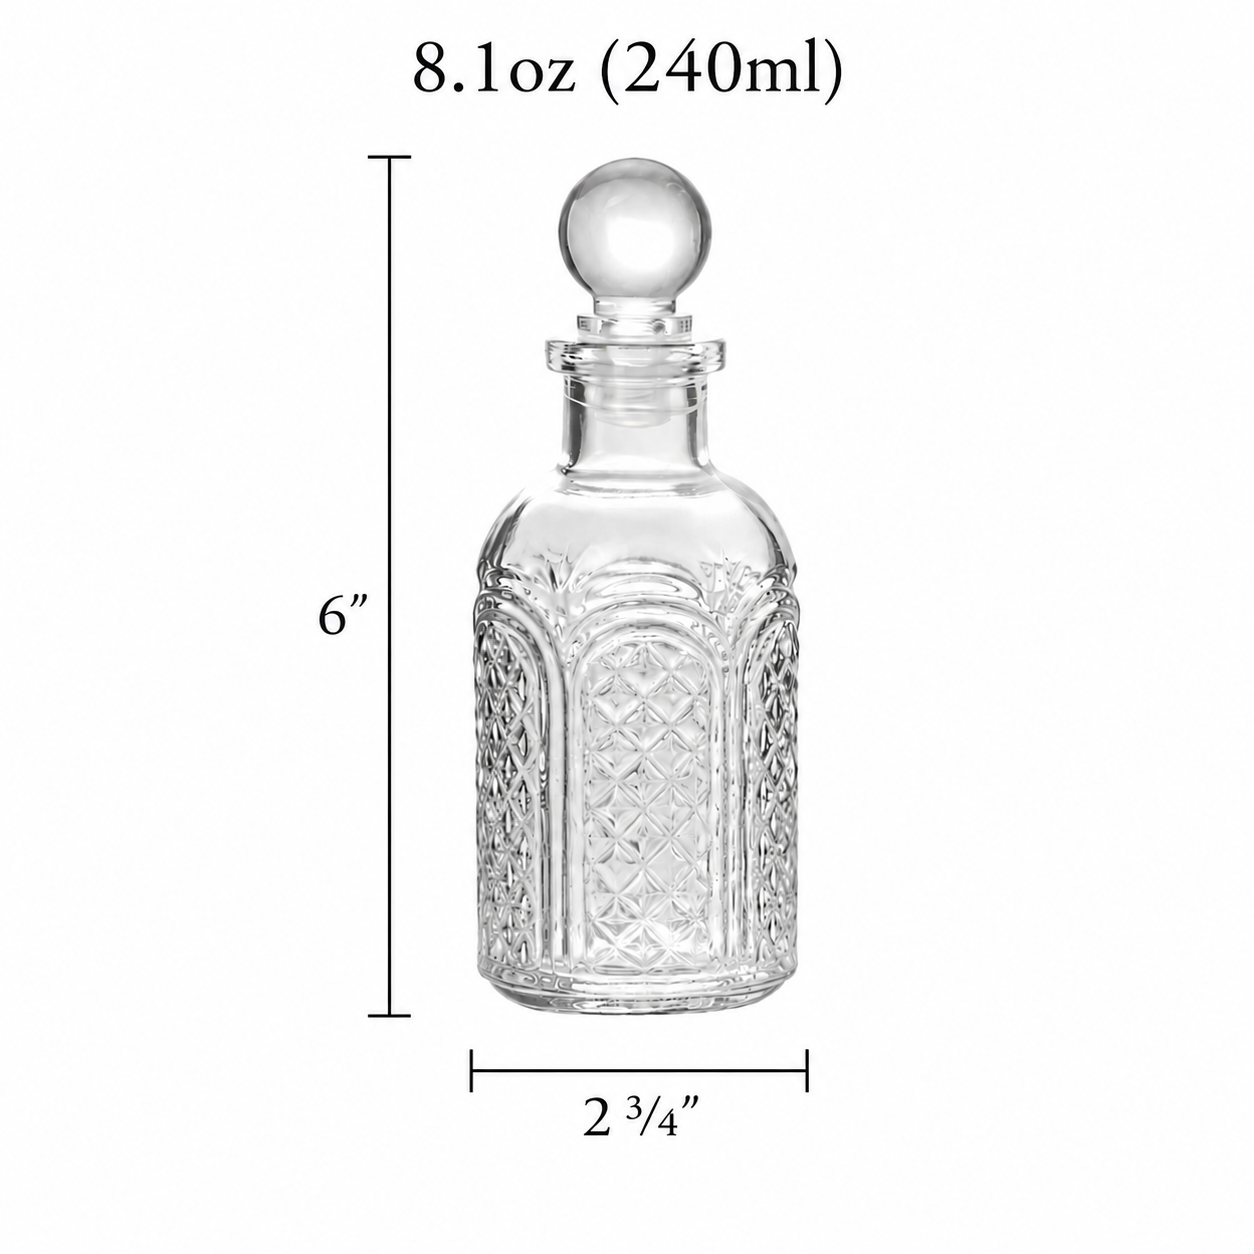
- Choose your bottles. We recommend using a glass, food-safe bottle. For single fold, you will need an 8oz (237ml) bottle. For double fold or extracts with more ingredients, you may need a larger bottle.
- Slice, fold or knot your vanilla beans or leave them whole. It's up to you.
- Choose your spirit. Vodka? Rum? Bourbon? They all have pros/cons. Make sure that whatever you choose, it is 35%-50%abv, which is 70-100 proof.
- Put the vanilla beans in your bottle and then pour in the spirit. Make sure the beans are fully submerged.
- Store your extract in a cool/dark place away from sunlight for at least 1 year.
- If you think it's ready, taste test your extract using a medium like milk or whip cream.
- Use your extract and re-use your vanilla beans in your mother jar.
Below is all of the detail regarding the simple recipe above.
Step 1: Choosing Your Vanilla Beans & Quantity
Like coffee, chocolate or any other bean-derived culinary treat, the quality of bean has the single greatest impact on the final product. Choose the highest quality beans that you can.
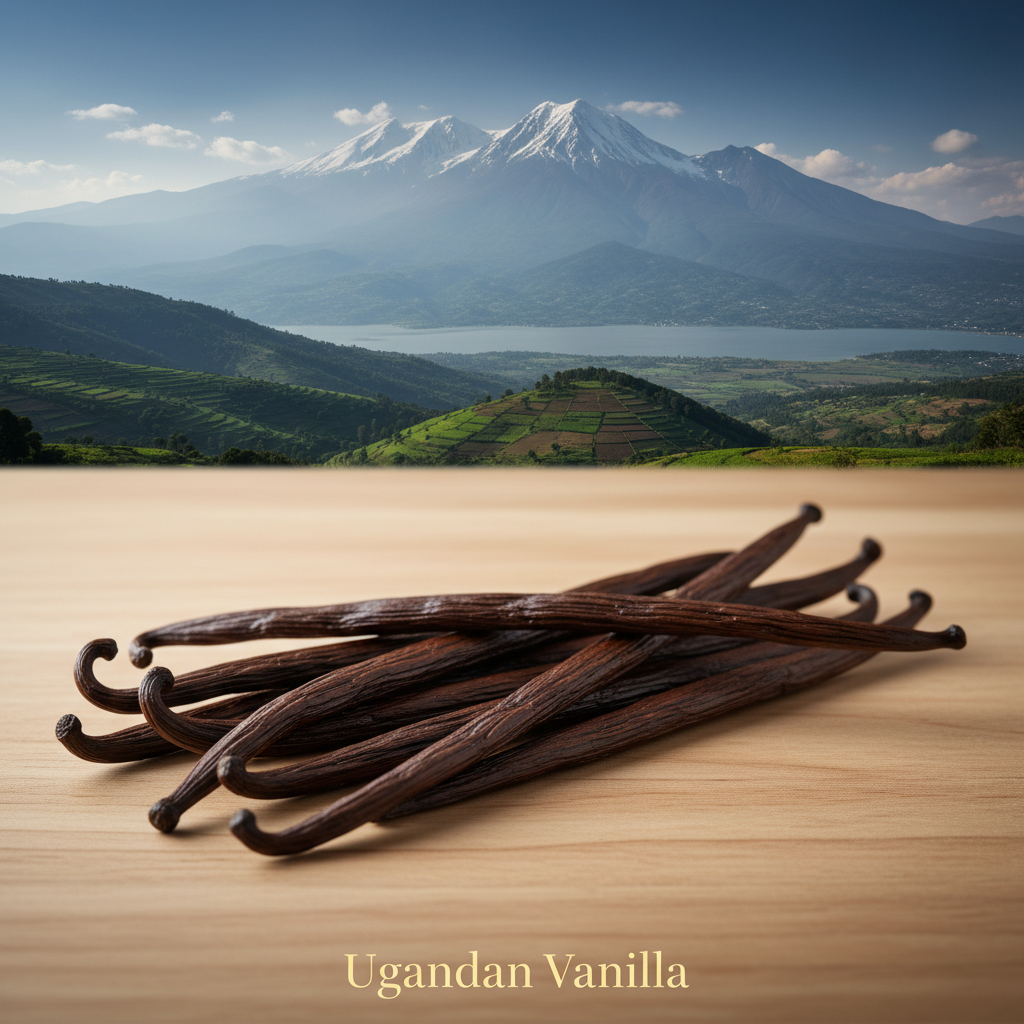
The first choice you need to make is the vanilla bean country of origin. Vanilla beans grow all around our world within the world's "bean belt". Tahiti, Tonga, Madagascar, Indonesia, Mexico and other countries all contribute to our global supply. Each bean from each region has its own flavor profile reflective of the soil and climate where it was grown. From rich and fruity, to dark and smokey, creamy and buttery. You can learn more about each region's distinct taste right here.

(Vanilla beans drying in Yucatan Mexico)
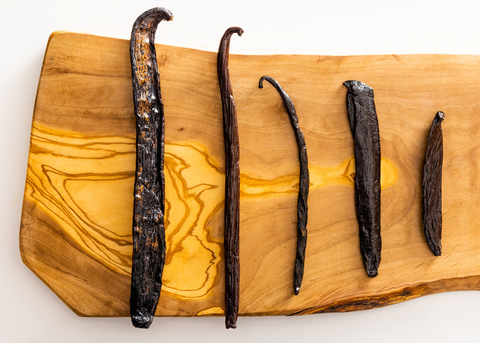
The next choice you need to make is to decide whether you want a grade-A vanilla bean or a grade-B vanilla bean. Grade-B vanilla beans are drier and less expensive. They are great for making home-made vanilla bean powder and vanilla extracts, but not much more. Grade-A has a higher moisture content. These beans are fantastic for homemade extracts, pastes and many other applications. They are typically a little more expensive.

(Grade B Madagascar on the left. Grade A on the right.)
Last, you need to decide if you want single or double-fold extract. Single fold is the FDA minimum of 1oz of vanilla beans to 8oz of alcohol, but many people opt for double fold for double the sweetness. So instead of 1oz of vanilla beans for 8oz of alcohol, you need 2oz of vanilla beans for 8oz of alcohol.
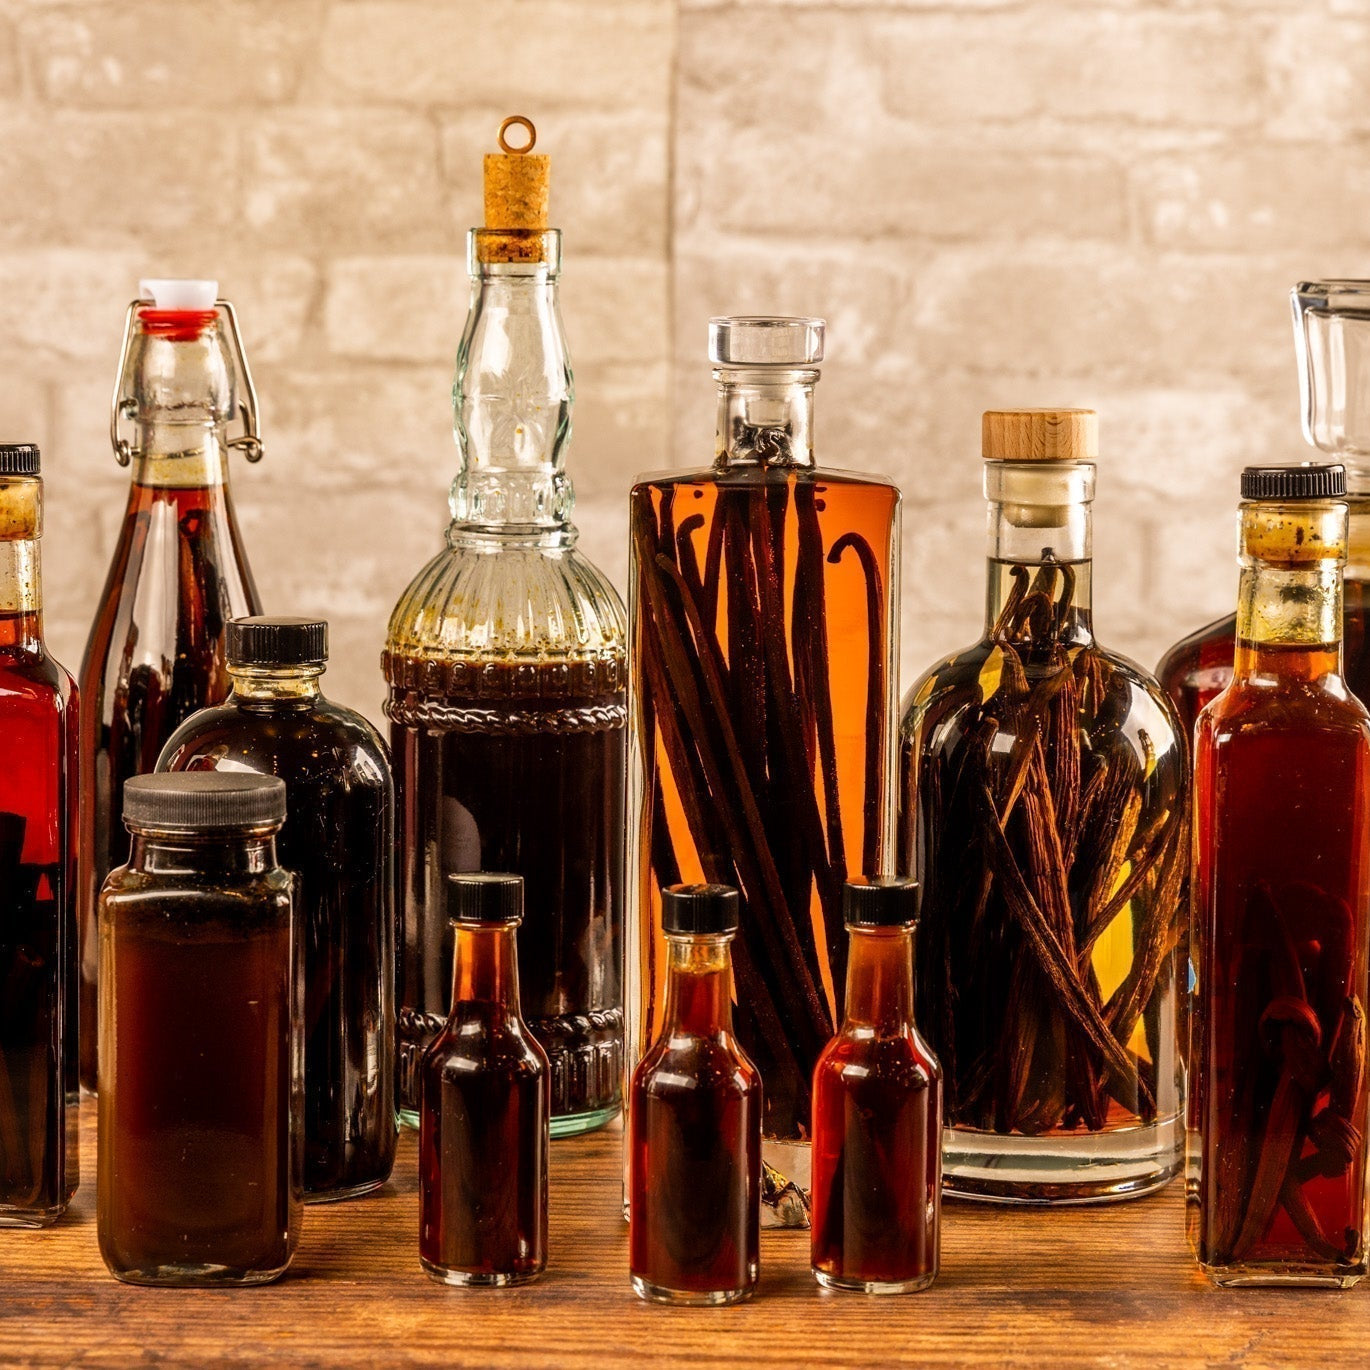
Step 2: Choosing Your Extract Bottle
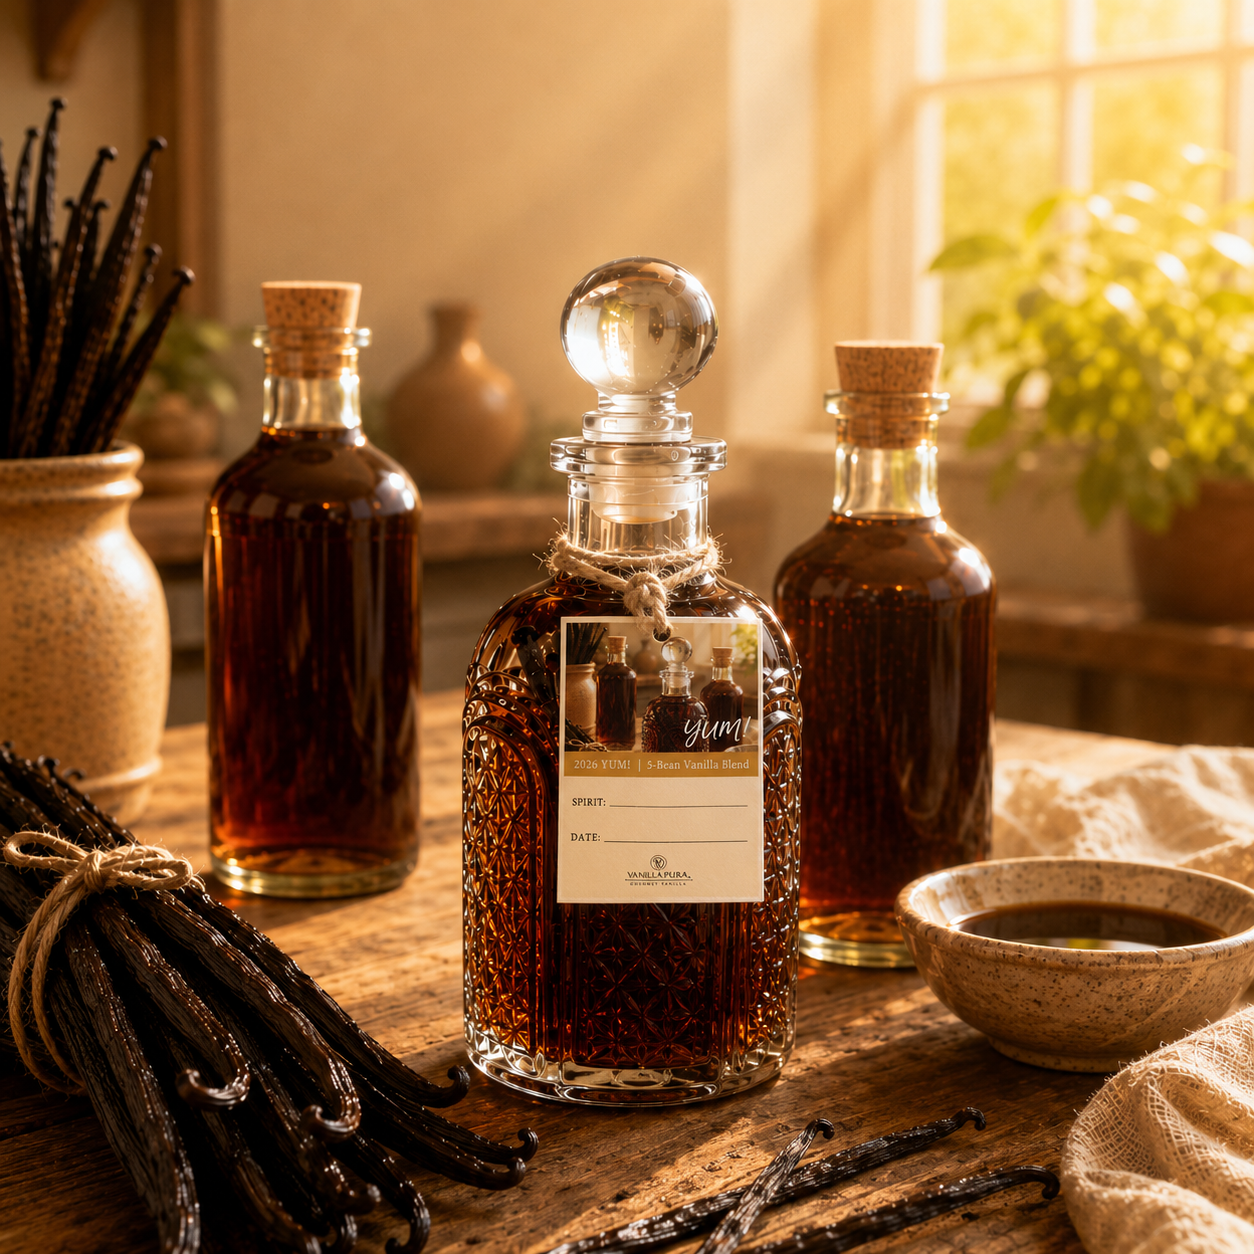
VanillaPura offers a number of customer-favorite extract bottles, but it's almost impossible to carry every bottle imaginable. Bottles are a fun medium to express your personality. For some, it's all about function. For others, it's all about aesthetics. If you're making vanilla extract as a party gift or hostess gift, then the bottle needs to be small and cute. If you're making vanilla extract for your own baking needs, then it may just be about finding a bottle that is tried and true for your own use. The wonderful part about this step is that it is entirely up to you! Have fun. Be creative.

We recommend that you only use glass bottles. There are many reasons why you should use glass instead of plastic such as environmental considerations and the impact on taste. We recommend using clear, glass bottles so you can watch the extraction take place. When the extract becomes dark and amber, a clear glass bottle will give you a visual cue that your extract may be ready.
If you are making a single fold vanilla extract, then choose an 8oz (or larger) bottle. If you are making a double fold extract, or an extract with more ingredients, then you may want to choose a larger bottle with an open neck for easy access to your ingredients. Just because your bottle is large, it doesn't mean you need to fill it to the top, only enough to cover your ingredients. We make 8oz of extract in 16oz bottles quite often, to allow for more room.
Step 3: Slicing, Dicing, Cutting or Leaving Your Vanilla Beans Whole
Your vanilla beans have arrived! Now what? This is the fun part, because in this step, your kitchen will begin to fill with the aroma of vanilla. It's a sweet, pure, subtle aroma that makes everyone smile.
There are multiple opinions about dicing & slicing vanilla beans. Some people choose not to dice to preserve the vanilla caviar within the bean for drying and powdering after the extract is made, or easily accessing the caviar to add to their vanilla ice cream for those beautiful speckles.
Others like to dice because they like those speckles inside their extract. Many people have also experienced faster extract time when the beans are sliced, which makes sense as the alcohol comes into contact with more vanilla pod surface area.
Others simply use scissors to cut the vanilla beans into small pieces.
Slicing, cutting, dicing or leaving the beans whole is entirely up to you. Every option results in a beautiful extract.

Then, to ensure that your beans are fully submerged in the spirit within the bottle you have chosen, simply look at the extract container that you are going to use and make sure that you cut the beans to a size that will be less than the level of spirits in your container. You want 100% of your vanilla beans to be fully submerged during extraction. (If you aren't dicing your beans, you can tie them in a knot or bend them to fit within your bottle to ensure that they are submerged.)
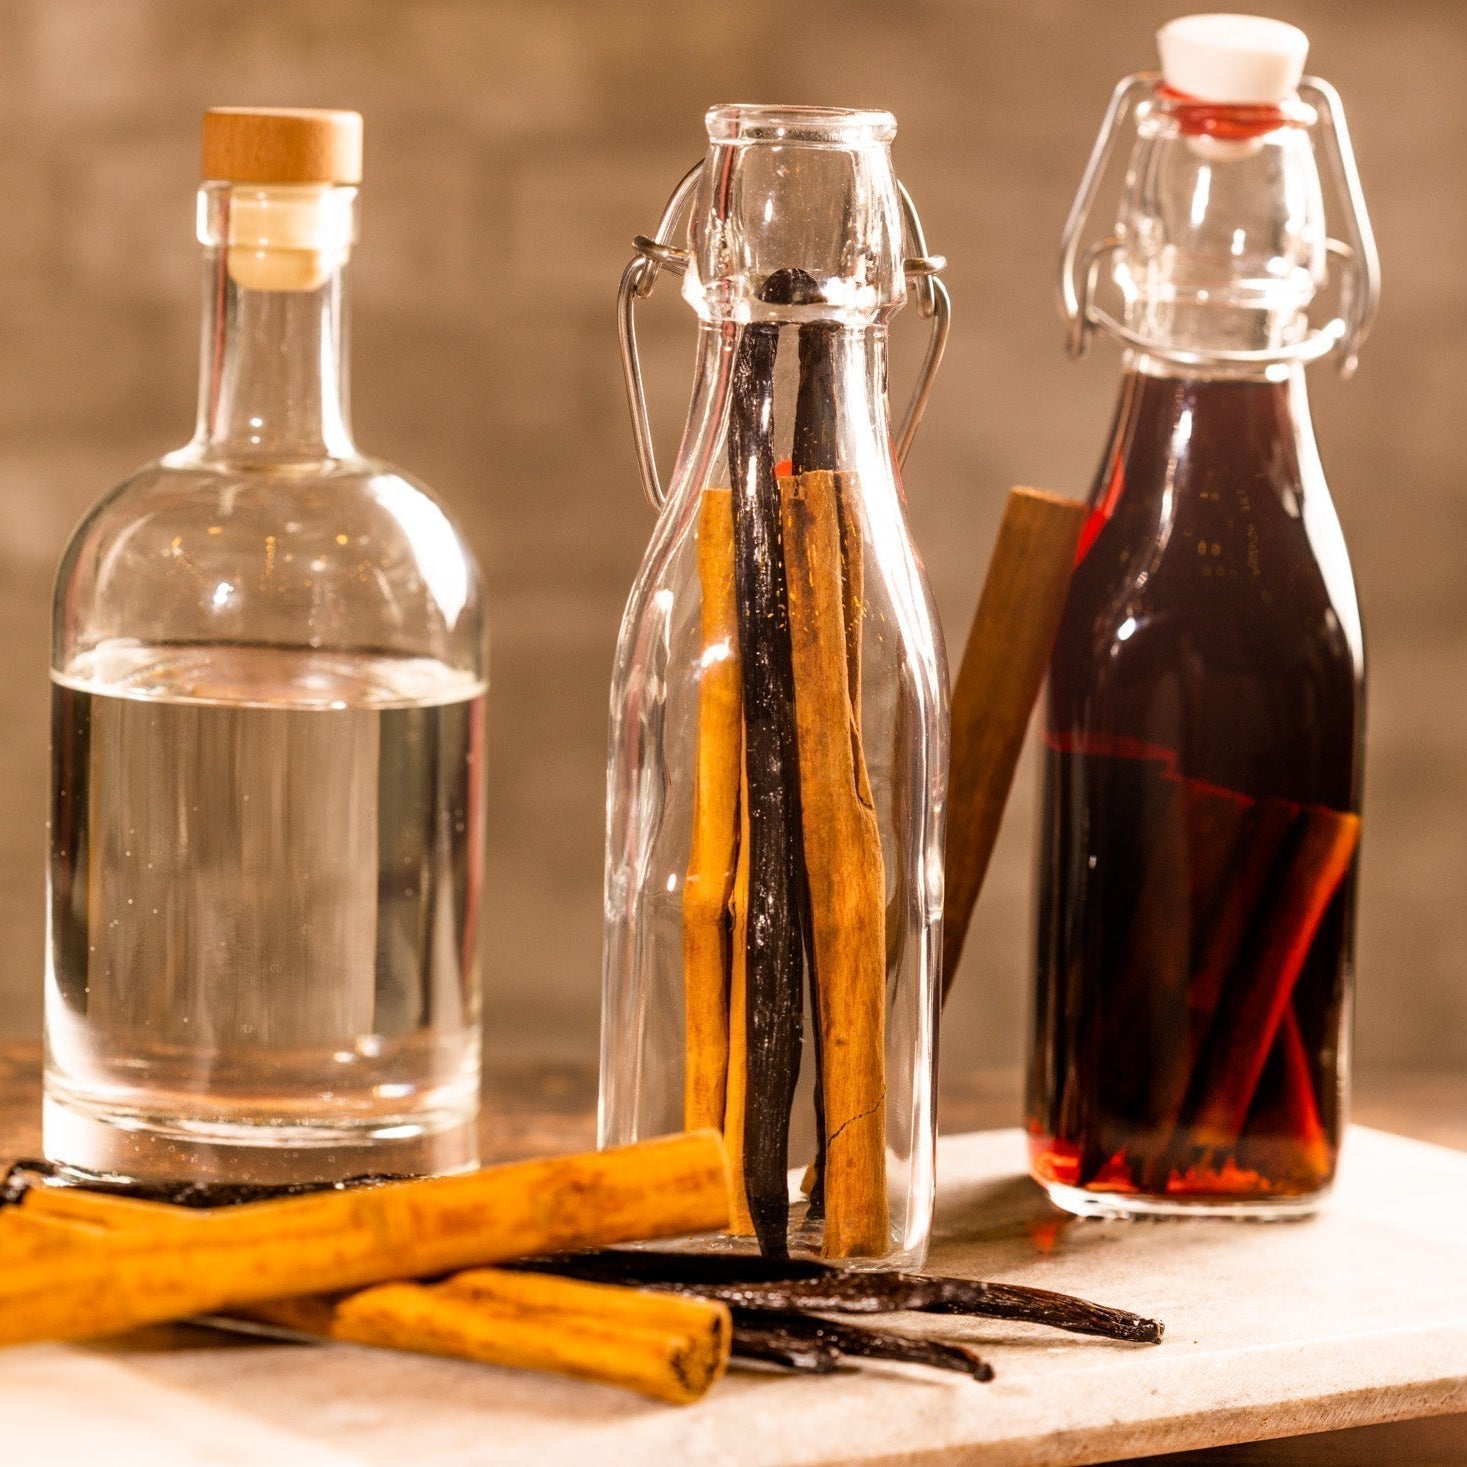
Step 4: Choosing Your Spirit
Second only to the type of bean you are using, the type of spirit that you choose will have a dramatic impact on the final product. If you use a less-expensive bottom-shelf spirit, then your extract will taste accordingly. The finer the spirt, the finer the outcome in our experience.
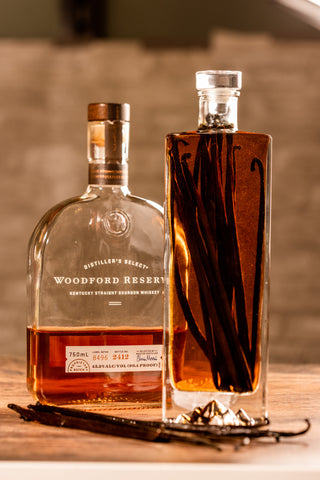
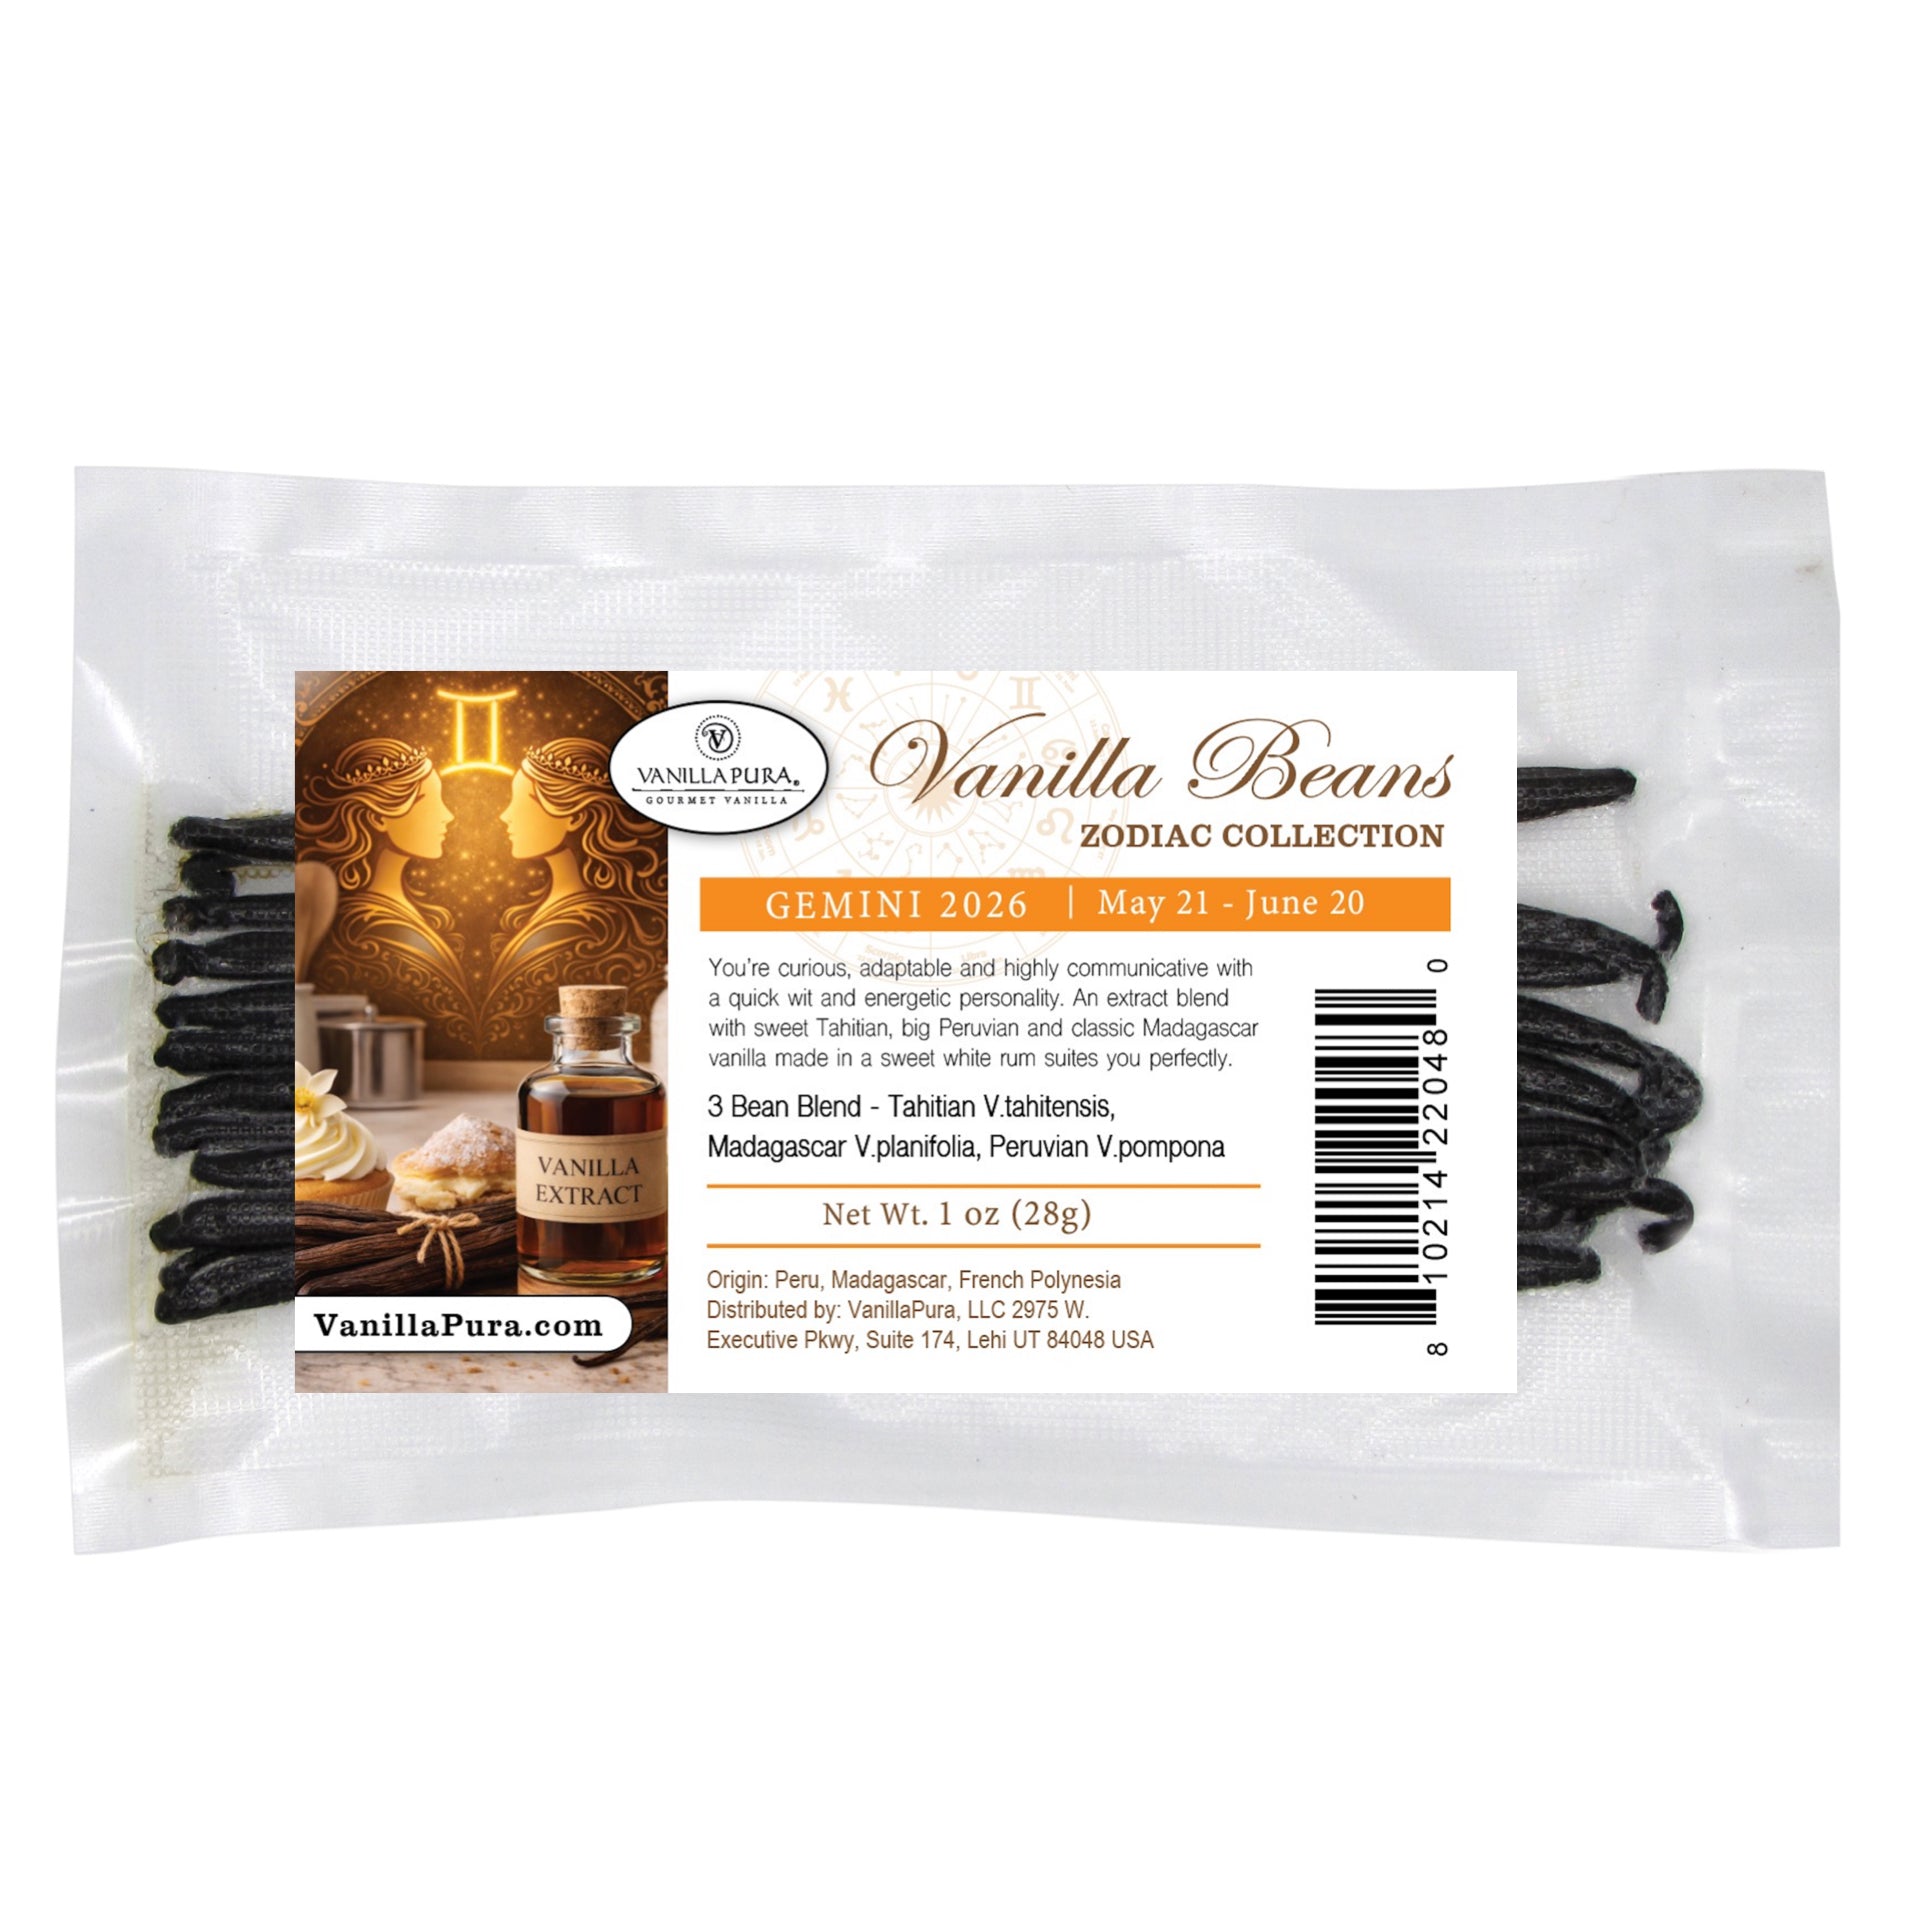
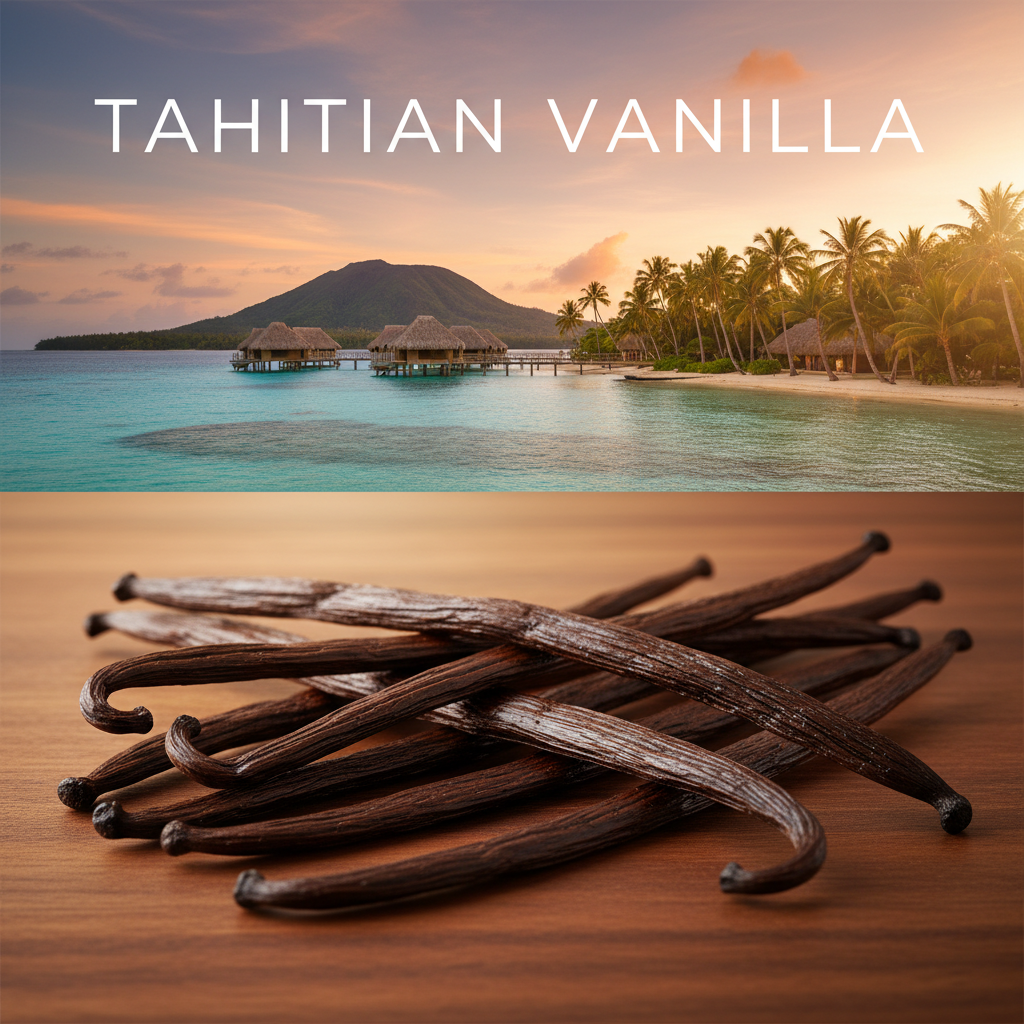
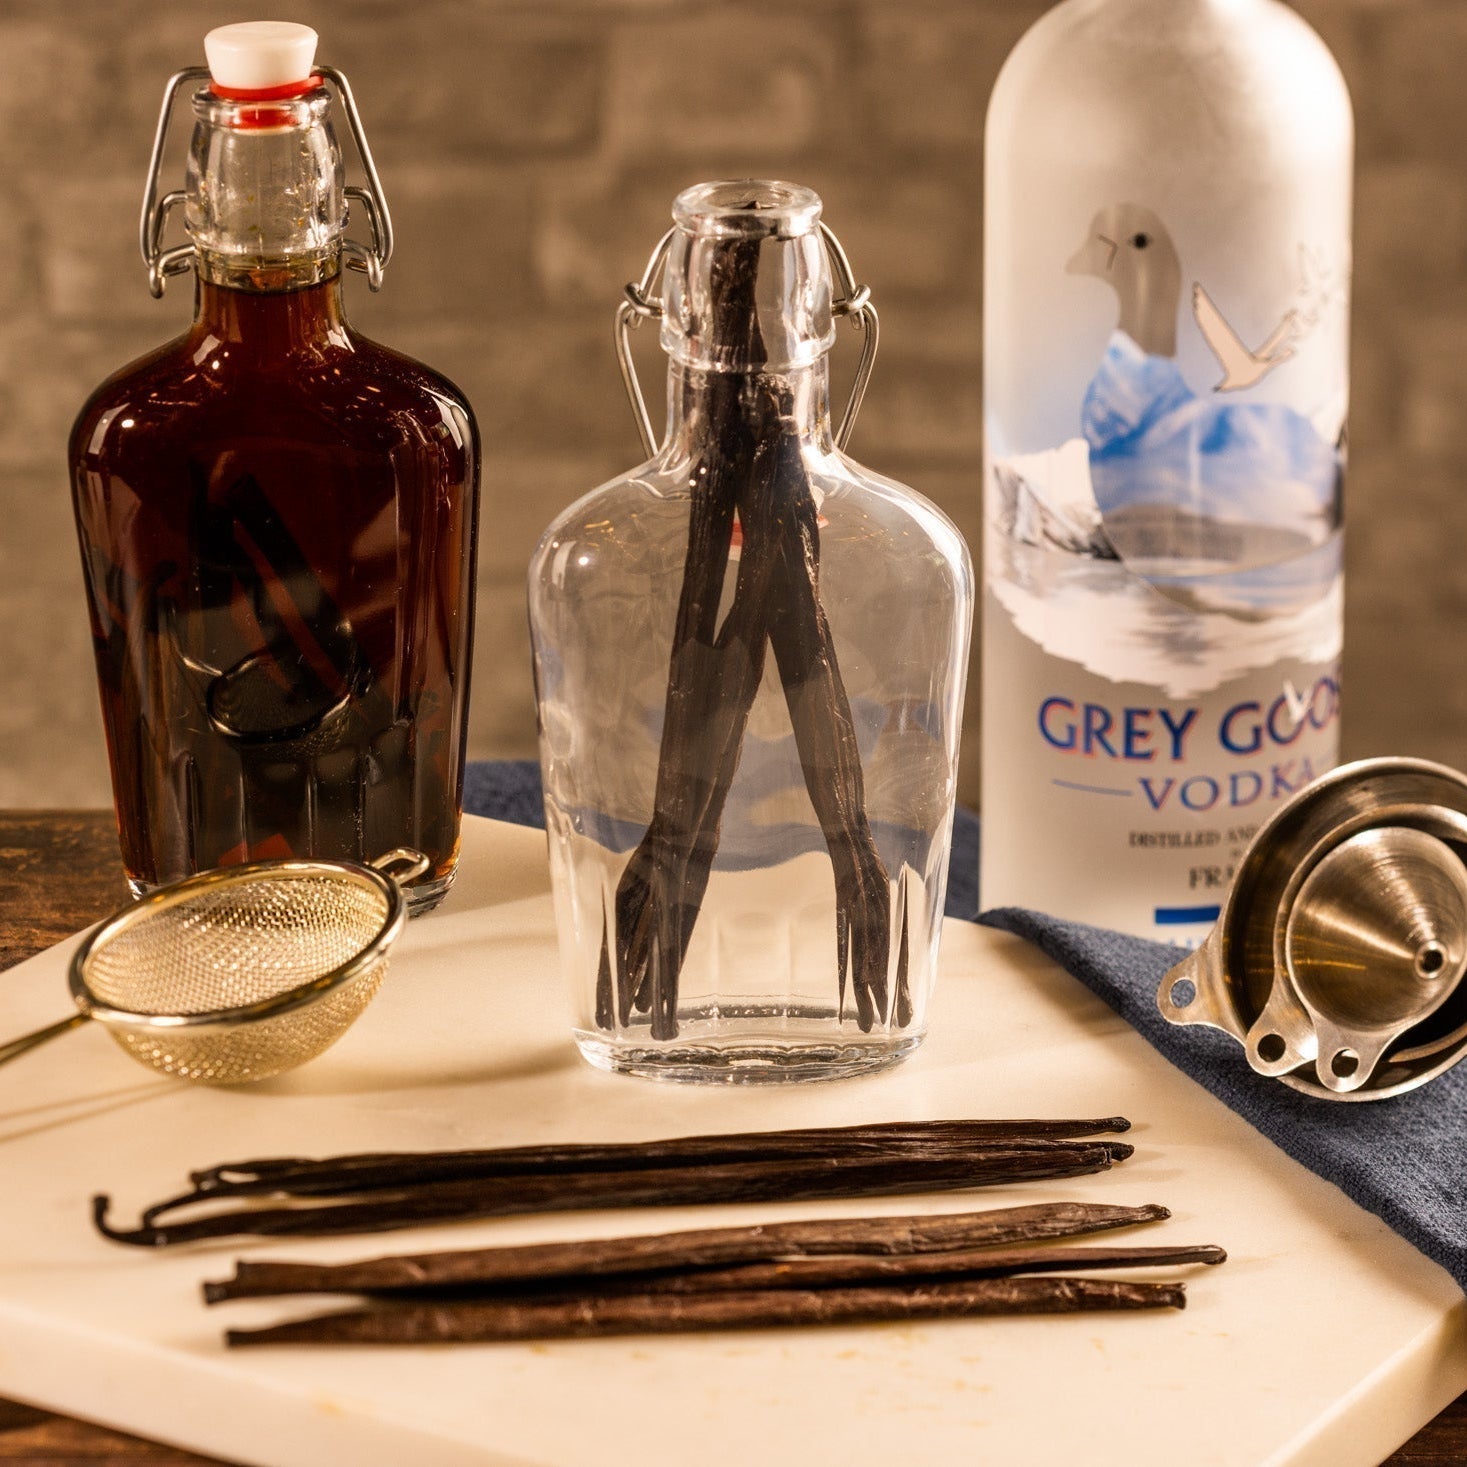
We only use aged, 5X distilled spirits for the smoothest, richest vanilla extract taste. Since vodka is tasteless, it is often a customer favorite because you will only smell and taste the pure vanilla bean. Bourbon, with its smokey undertones, is often used with Indonesian vanilla beans that are also dark and smokey. White rum, with its sugar-based origin, is a fantastic spirit to use for a sweeter Tahitian vanilla bean. Have fun with this step. Choose a spirit and a bean of your choosing to make an extract blend of your own design that the world has never seen!
Alcohol content should be no less than 35% (70 proof) and no more than 45% (90 proof) to ensure the sweetest, purest vanilla extract outcome.
Step 5: Filling Your Extract Bottle
Once you have selected your bottle, chosen your spirit and diced (or tied or folded) your vanilla beans, it's time to fill the bottle.
How many beans do you need? Here is a simplified chart of the number of vanilla beans you can use for single-fold homemade extract. For added sweetness, make double-fold extract by simply doubling the beans.

Feel free to add more beans for an even more-concentrated vanilla sweetness.
Since no two beans are the same, we always recommend using weight and not bean count for at home vanilla extract making. Otherwise you will may be using too few vanilla beans and, after waiting a year, you would hate to find that your extract isn't perfect. The FDA extract regulation calls for the use of weight and it calls for 13.35oz of vanilla beans to be used in every gallon of spirit. More details about how many vanilla beans are in 1oz can be found here.
Now, simply place the beans in the bottle. Then, utilizing the help of a funnel, carefully pour in your spirit until the beans are totally submerged and your bottle is full. Tighten your cap and you're finished. Now the wait begins...
Step 6: Storage
Extraction takes time and patience. Find a place in your home that is cool with limited to no sunshine. Set your extract on the shelf and slowly walk away from the bottle. It's hard to leave it alone after all that work, but it needs to be left alone for extraction to take place. The alcohol is slowly extracting all of the bean's essential oils. That's what pure vanilla extract is: vanilla bean essential oils.
Some people like to shake the bottles every few weeks and that may help speed the process somewhat, but we haven't seen much of a difference in our experience. Just good, old-fashioned patience is what you need most. It's also wise to "burp" your jars regularly to account for any expansion due to temperature changes.
You might see little "floaties", or oil bubbles or vanilla bean skin rising to the top or sinking to the bottom. That's normal and we'll tell you how to remove them in step 7 below.
Tip: Once you gauge how much extract you use each year (and remember, most people use more during the fall/winter holiday baking season) you will start to develop a system to make sure that you never run out of extract. The day you begin using your new extract is the day you should make a replacement bottle so it is ready when you run out.
Step 7: Use & Re-use
Now, you've waited long enough and it's time to start using your homemade extract. There are a few things to remember as you begin.
If you cut, diced or sliced your vanilla beans, the bottom of your bottle will contain a lot of seeds. Some people love seeds and others don't. If you fall into the latter category, then simply pour all of your extract from the bottle into a measuring cup through a coffee filter or a strainer. This will remove all of the beans and the seeds and it will make the product easier to pour. (The vanilla beans will feel very slimy. That's 100% normal after sitting in alcohol for months.)
You can now set all of the beans and seeds aside to dry them and use them for powders, sugars or, you can start your first Mother Jar.
By removing the beans and the seeds, it means that your vanilla extract will not continue to extract. You have reached maximum sweetness. By leaving the beans and the seeds in, however, your vanilla extract will continue to become sweeter as time goes on. It's 100% your decision.

That's it! Vanilla Extract making in just a few steps! Please share your pictures and your experiences with us because we love to hear of your original creations and what you make with your extracts.
Once you have a taste of real, pure vanilla extract, you'll never go back.
Visit our comprehensive extract-making guide center for more essential extract making tips and ongoing education.
Make your first vanilla extract in under 10 mins by watching this video from one of our Facebook Live extract making parties that we often hold in our Facebook group with more than 100,000 worldwide extract makers.