How to Move Your Vanilla Orchid From a Starter Pot to a Larger Pot & Trellis

Your baby vanilla vine is growing up and it's time to leave its small starter pot. What do you do?
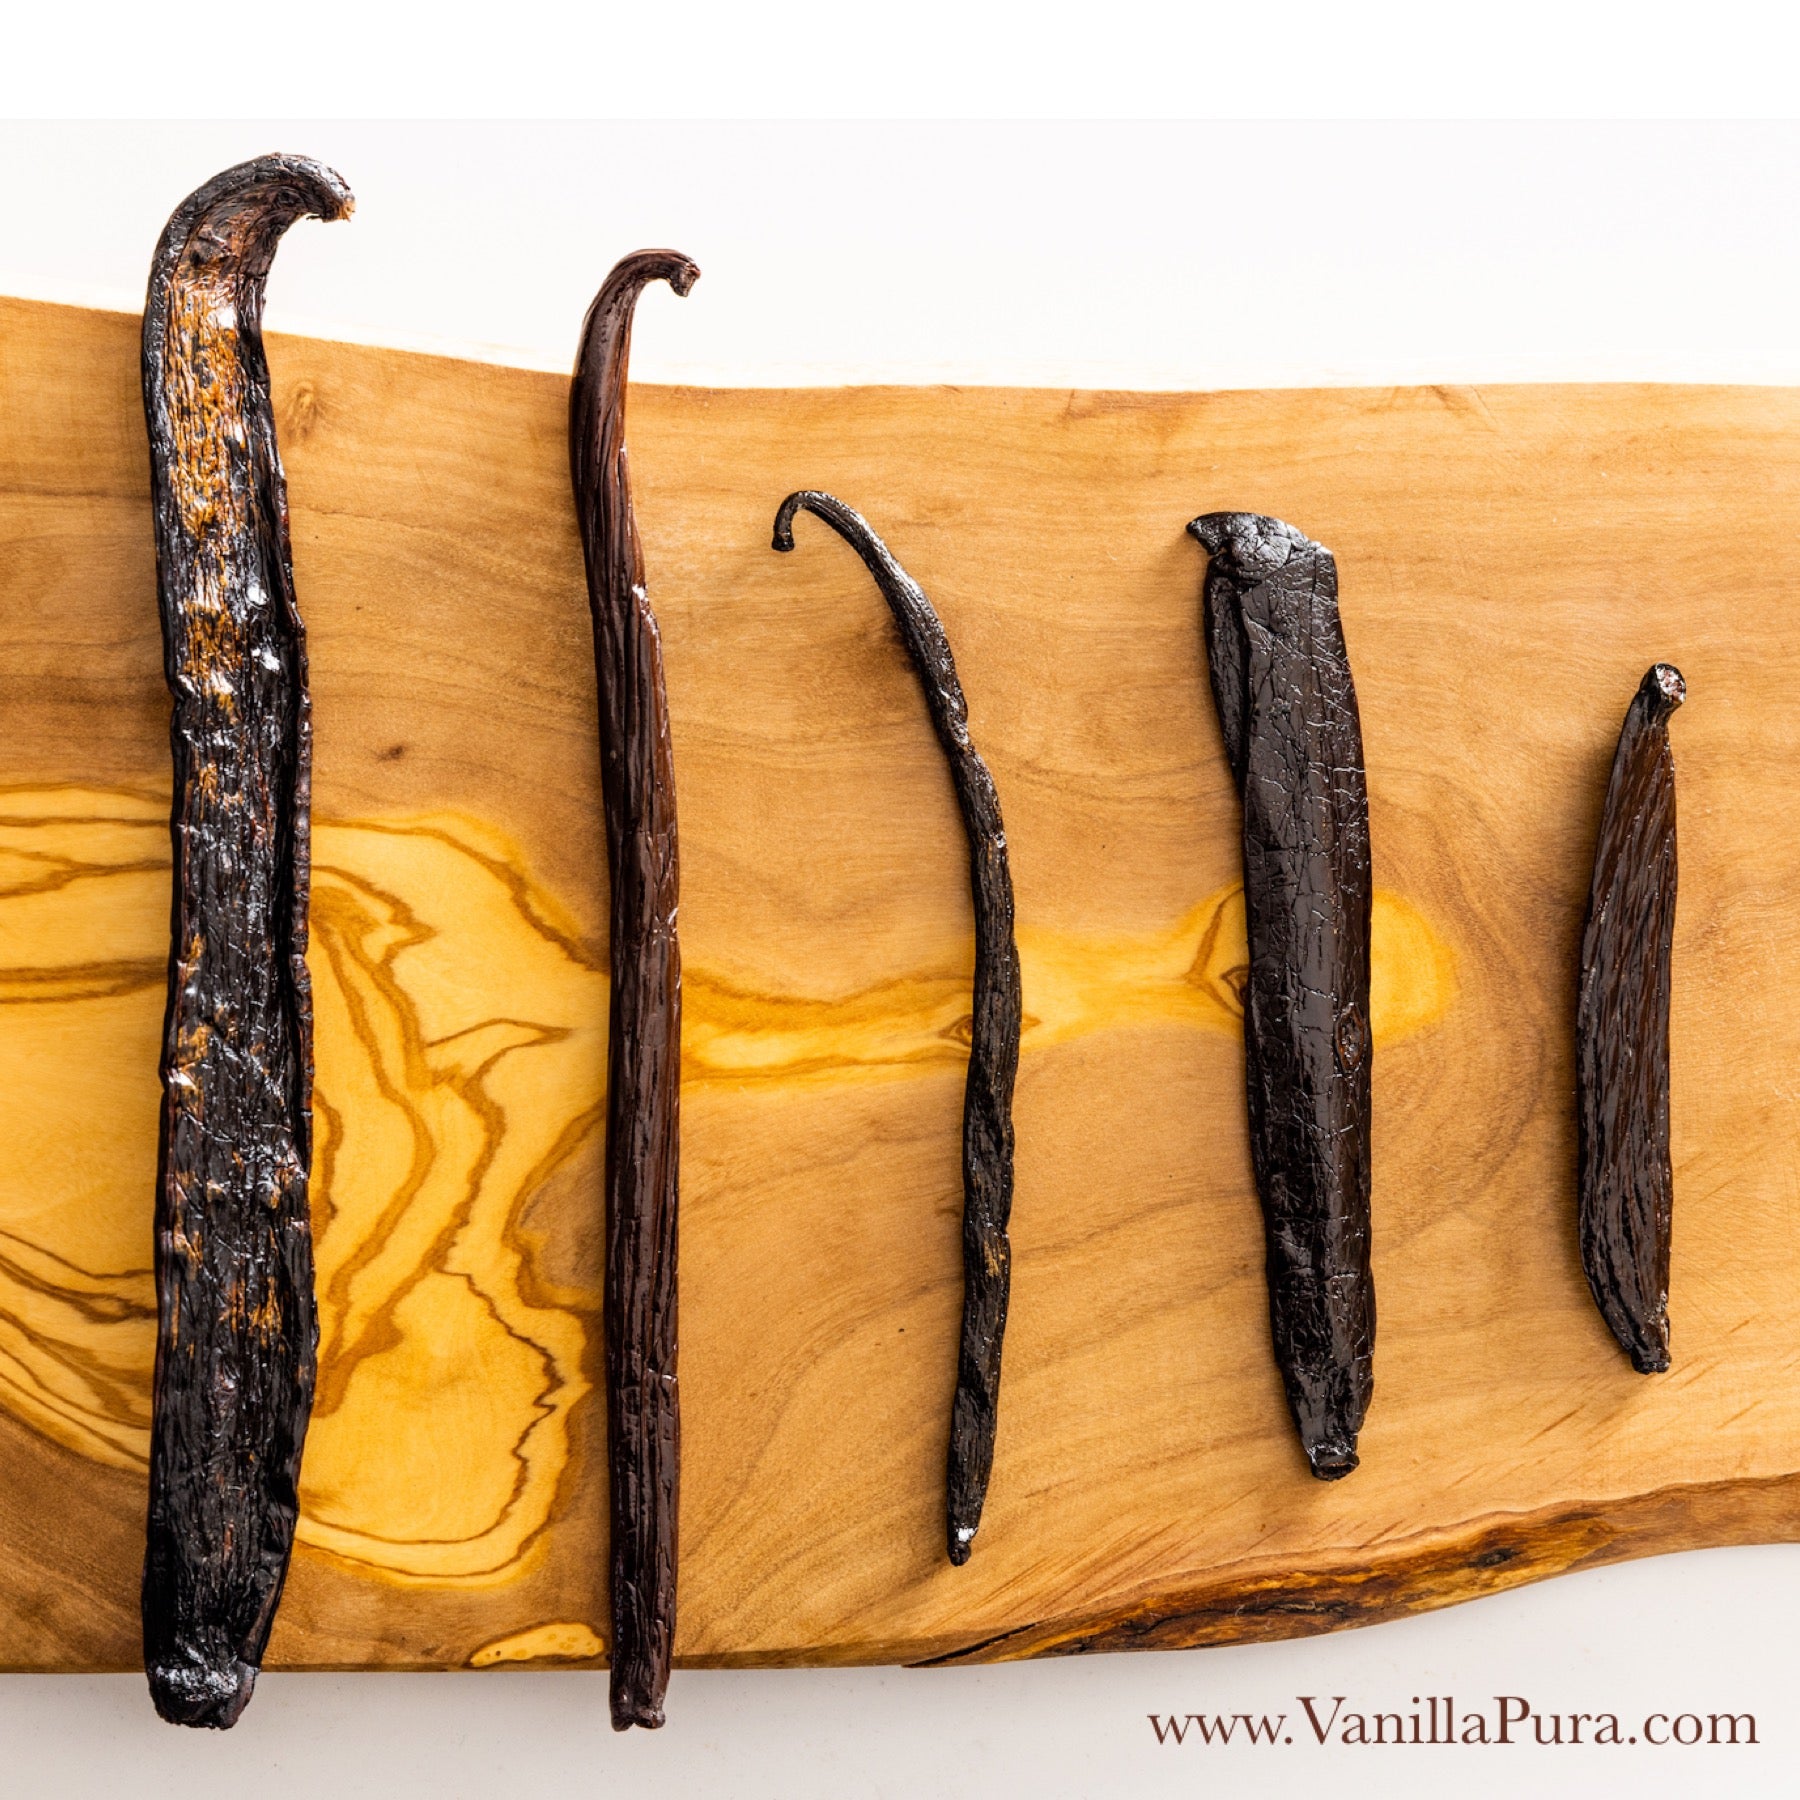
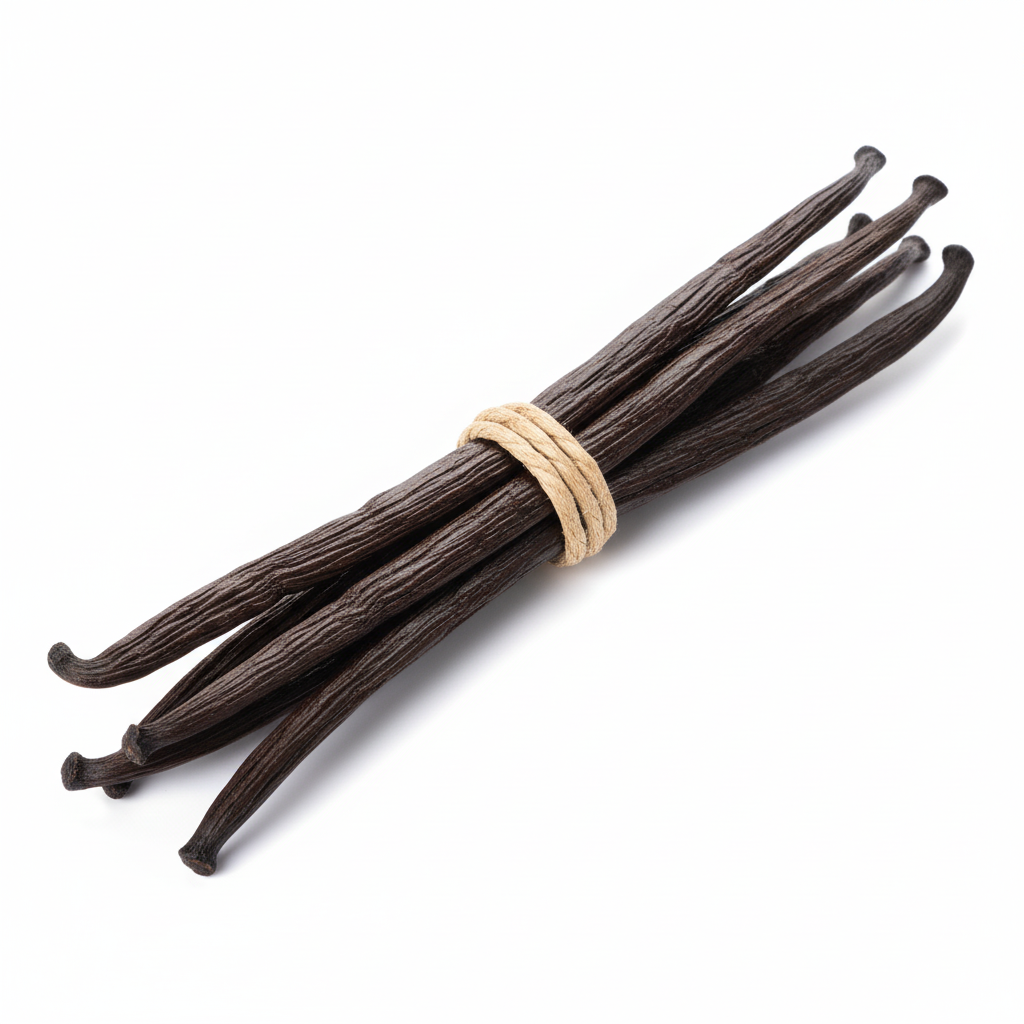
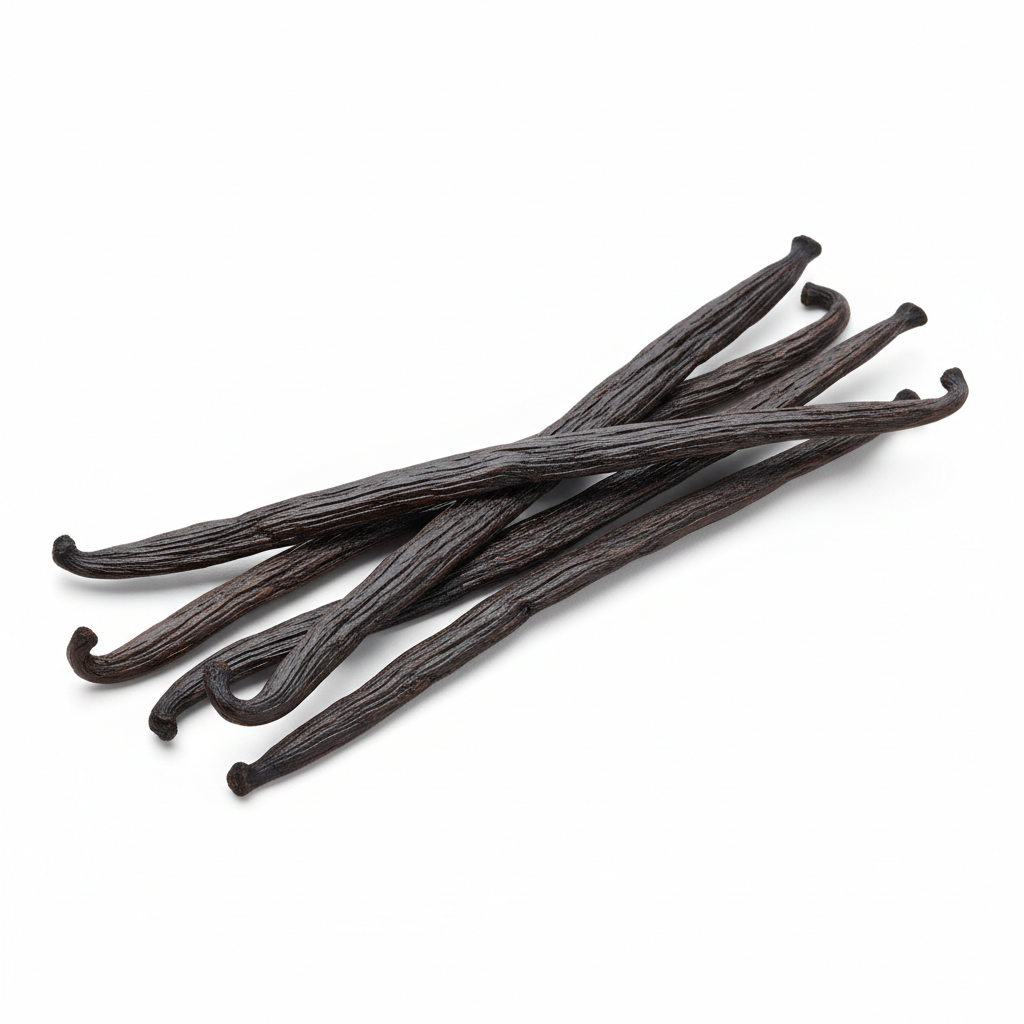
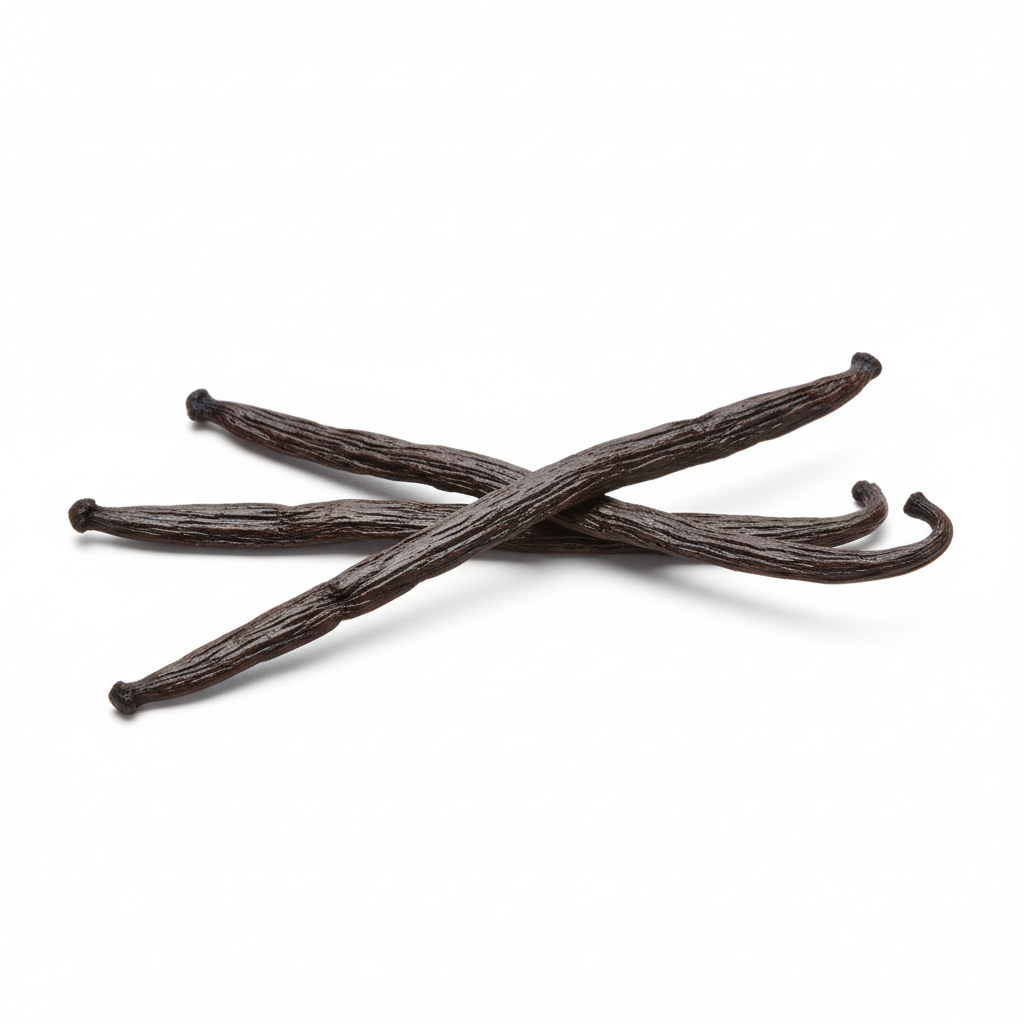
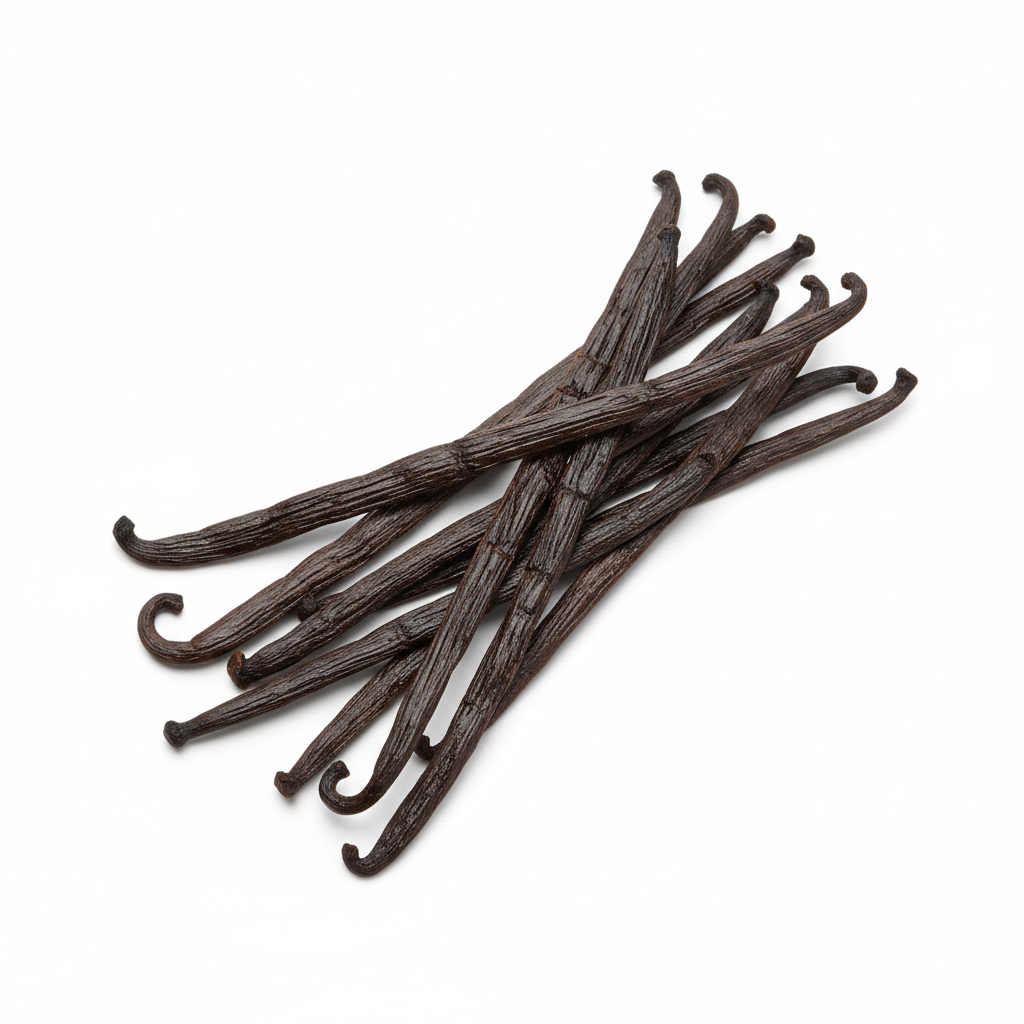
(Purchase your own vanilla cuttings today to start your orchid growing journey.)
The vanilla orchid (Vanilla planifolia) is a climbing vine that thrives when given proper support and space to grow. Transplanting at the right time and with the right method ensures that your plant continues to thrive.
When to Move Your Vanilla Orchid
Look for these signs to know it’s time to transplant:
✔️ Roots emerging from drainage holes – This means the plant has outgrown its pot.
✔️ Vine growth slowing down – A sign that the roots need more space.
✔️ Leaves yellowing or looking crowded – The plant may be struggling with limited nutrients or airflow.
What You’ll Need
- A larger pot (at least 12–16 inches wide and deep)
- A sturdy trellis or moss pole (3–6 feet tall)
- Well-draining orchid mix (bark, sphagnum moss, and perlite)
- Sharp, sterile scissors or pruners
- Soft plant ties or twine
- Water spray bottle
Step-by-Step Guide to Moving Your Vanilla Orchid
Step 1: Prepare the New Pot and Trellis
- Select a pot with drainage holes to prevent root rot.
- Fill the bottom with aerated orchid mix that allows good airflow and drainage.
- Position the trellis or moss pole in the center so the vine has something to climb.
Step 2: Carefully Remove the Orchid from Its Starter Pot
- Gently loosen the soil around the roots by tapping the pot’s sides.
- Hold the base of the plant and lift it out carefully, avoiding damage to delicate roots.
- If the roots are tangled or compacted, soak them in lukewarm water for a few minutes to make them more pliable.
Step 3: Inspect and Trim the Roots
- Look for brown or mushy roots—these indicate rot and should be pruned with sterile scissors.
- Healthy roots should be firm and white or light green.
Step 4: Repot and Secure the Vine to the Trellis
- Place the orchid’s roots gently into the new pot, adding fresh orchid mix around them.
- Position the vine near the trellis, loosely tying it with soft plant ties. Avoid tying too tightly to prevent damage.
- If using a moss pole, mist it with water to encourage aerial root attachment.
Step 5: Water and Acclimate Your Orchid
- Water lightly, ensuring moisture without making the soil soggy.
- Place the pot in bright, indirect light with warm temperatures (70–85°F).
- Maintain high humidity (60–80%) by misting or using a humidity tray.
Aftercare Tips
✔️ Monitor for transplant shock – Mild drooping is normal, but prolonged wilting signals stress.
✔️ Encourage climbing – Regularly guide new growth toward the trellis.
✔️ Fertilize lightly – Use an orchid fertilizer every two weeks during the growing season.
Final Thoughts
Moving your vanilla orchid to a larger trellis will help it flourish, providing better support for climbing and aerial root development. With the right care, your plant will continue to grow strong and, eventually, may even reward you with its iconic vanilla orchids and pods!