How and When to Harvest and Cure Your Home Grown Vanilla Beans

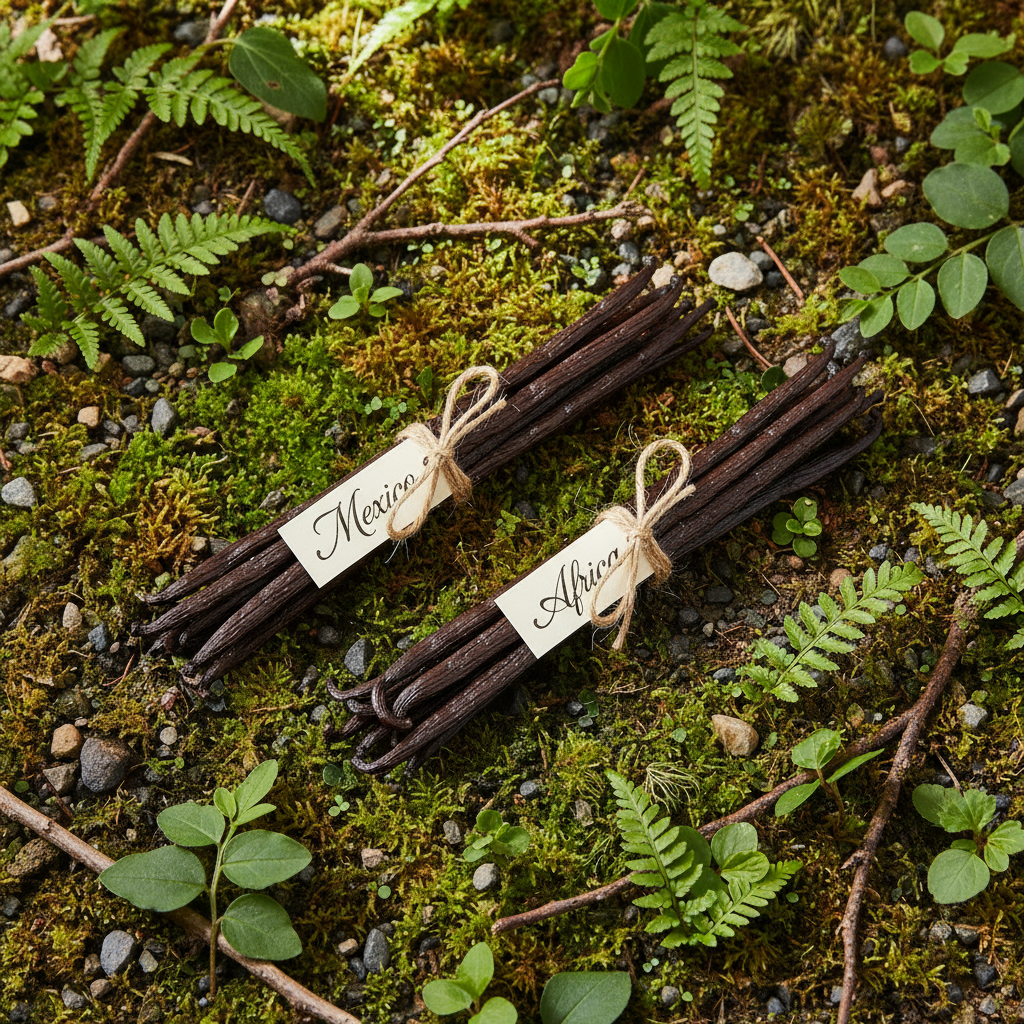
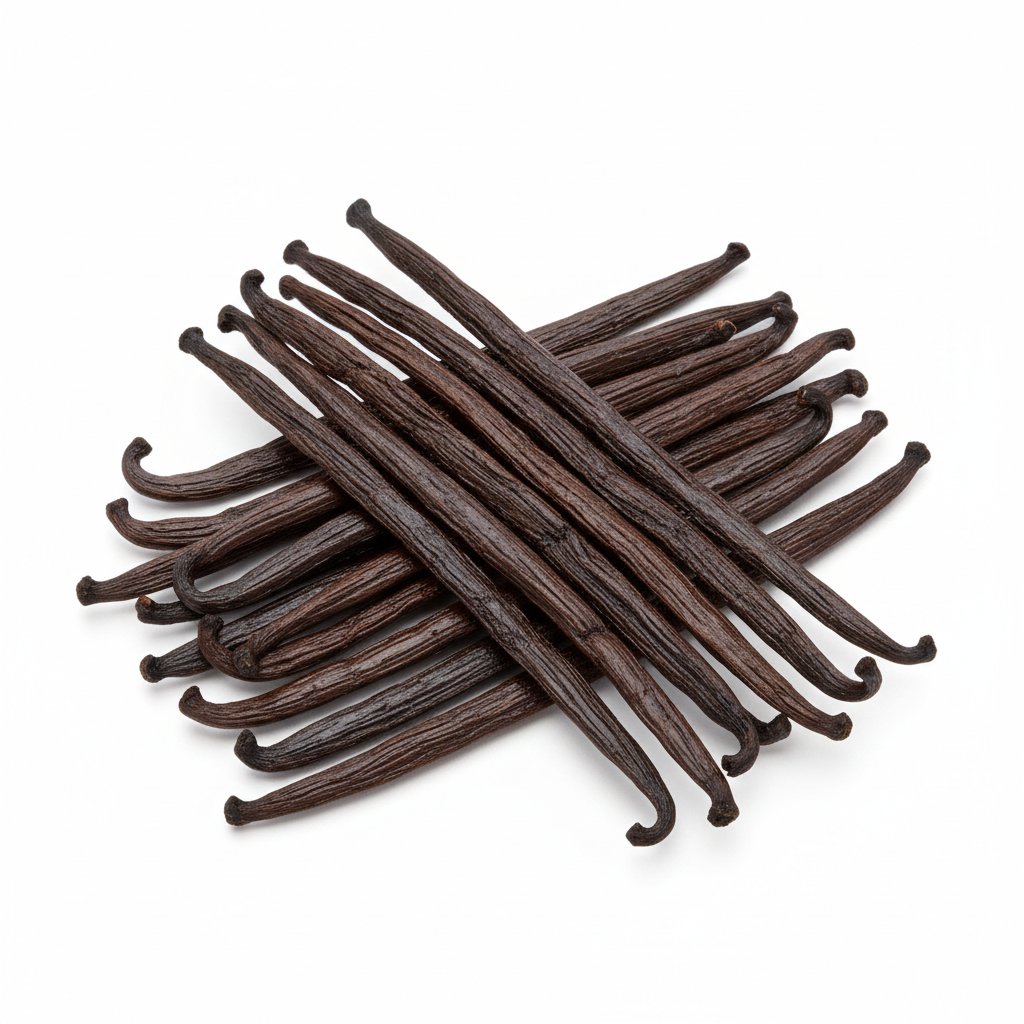
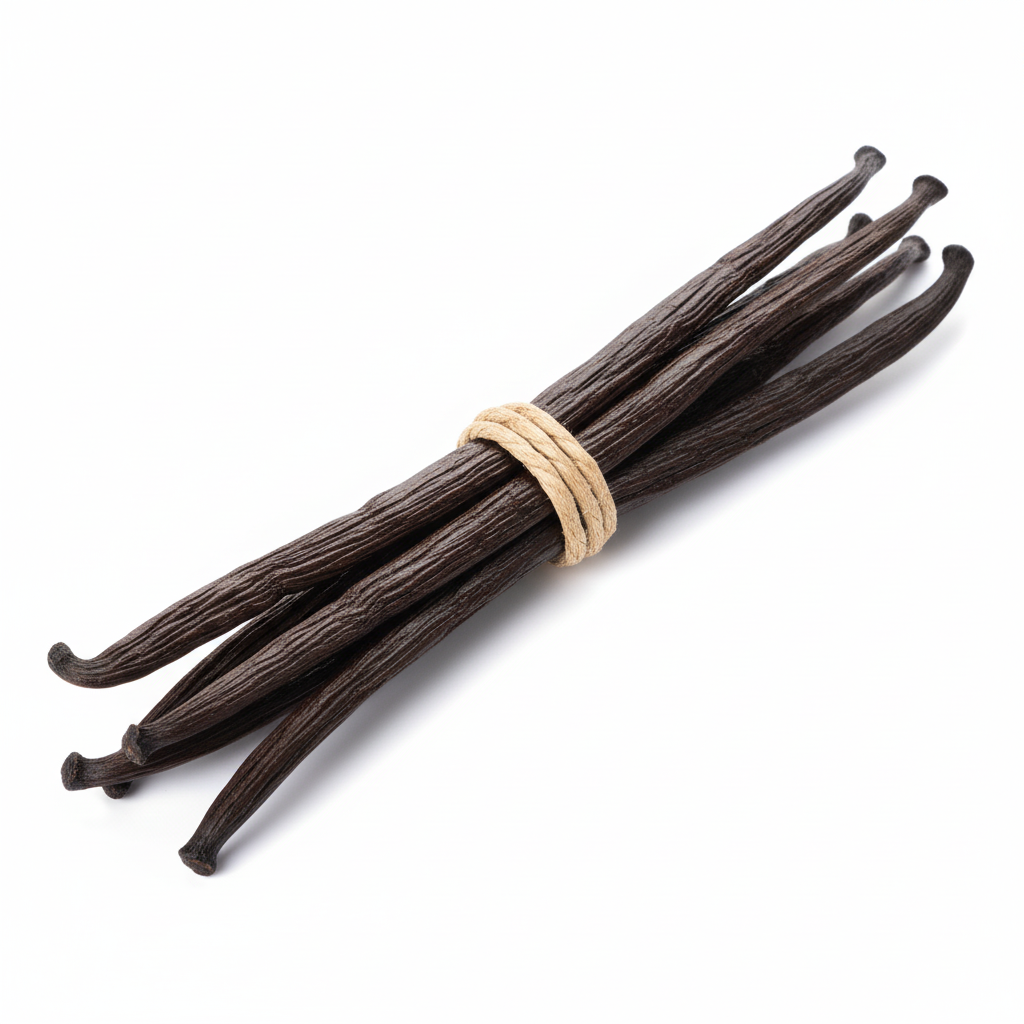
(Sun curing vanilla beans with our farmer in Yucatan Mexico)
The picture above shows a recent harvest of vanilla beans when we visited our Yucatan farmer during a harvest season. The beans above have been curing in the hot Mexican sunshine.
Harvesting vanilla is an art form, as much as it is a science. And the methods you will use in your home that is likely not located in the hot and humid "bean belt" of our planet (25 degrees north and south of the equator), the final product can be just as exquisite if you follow the steps below.
When do I begin my harvest?
Timing matters. Pick your beans when they’re fully mature, but not yet overripe.
Signs a Vanilla Bean is Ready:
- Green pods turning slightly yellow at the tip
- 6–10 inches long, slightly oily
- Slight cracking or splitting at the end
Avoid harvesting too early—immature beans won’t develop full flavor. If they split on the vine, they may dry out or grow mold.
The 4 Stages of Curing a Vanilla Bean:
Curing is what unlocks the iconic vanilla aroma. It’s a slow but essential process that includes:
- Killing
- Sweating
- Drying
- Conditioning
Let’s break each step down.
1. Killing (Stopping the Maturation Process)
This step halts the bean's growth and activates flavor-producing enzymes.
How to do it:
- Submerge beans in hot water (150–170°F / 65–75°C) for 2–3 minutes
- Remove and gently dry them with a clean towel
2. Sweating (Kickstarting Fermentation)
Now the magic begins. This stage develops the beans’ color and aroma.
What to do:
- Wrap the beans in a wool or thick cotton blanket
- Keep them warm (ideally 113–125°F / 45–52°C) in an insulated box
- Leave for 7–10 days, checking daily
- Beans should become darker, softer, and fragrant
3. Drying (Reducing Moisture Content)
This step preserves your beans and prevents mold.
Instructions:
- Lay beans in direct sun for 1–2 hours daily for 2–4 weeks
- Move indoors after sunning to prevent condensation
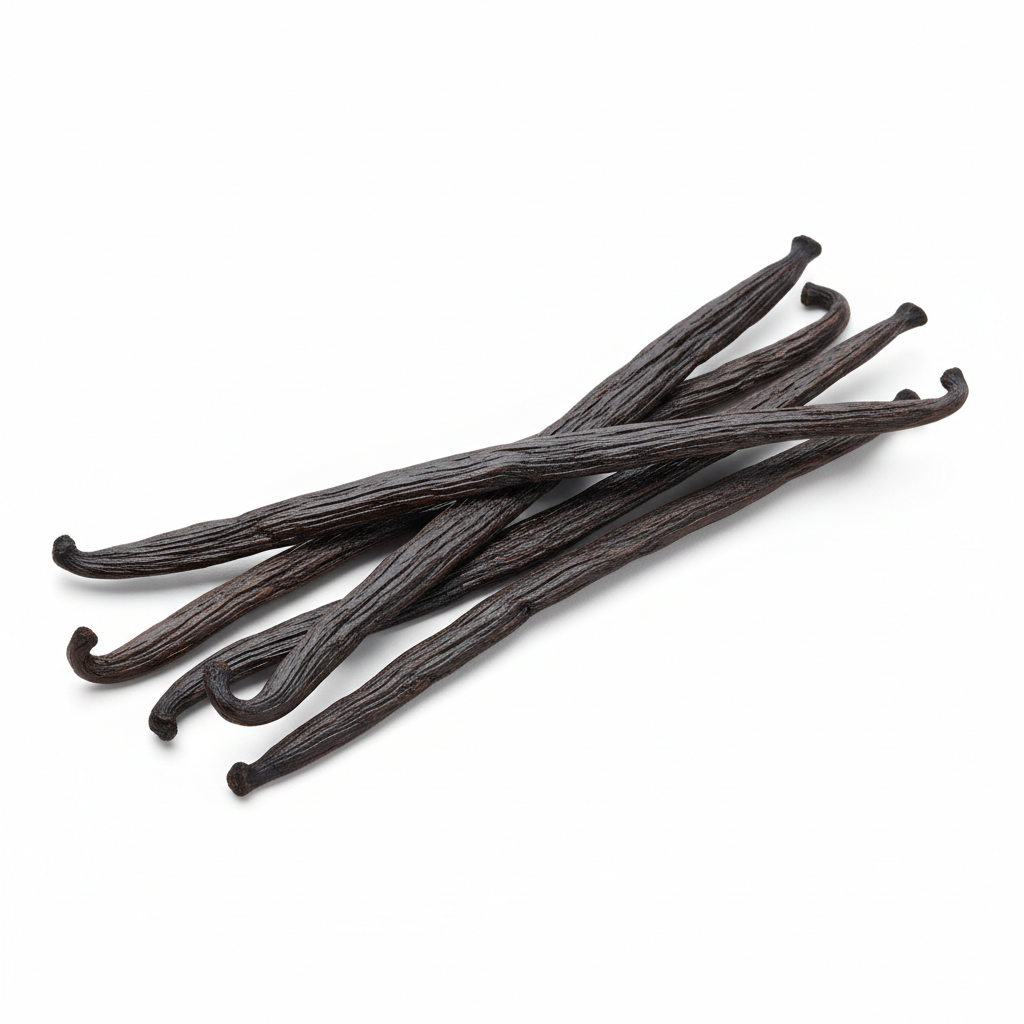
- They’re ready when dark, flexible, and slightly oily
4. Conditioning (Developing Final Flavor)
Patience pays off. Now we let the beans rest and mellow.
What to do:
- Store beans in airtight glass jars.
- Place in a cool, dark location for 1–2 months
- Shake jars every few days to even out moisture
Storage Tips
- Store beans in glass jars at room temperature
- Avoid refrigeration—it encourages mold
- Properly cured beans stay fresh for up to 2 years
Final Thoughts
Curing vanilla beans is an art that transforms your harvest into gourmet gold. It takes time, warmth, and care—but the payoff is worth every step. Once cured, your vanilla beans can be used for baking, extracts, homemade gifts, or even sold at a premium.
Join our orchid growing Facebook group for 24/7 feedback from orchid growers around the world. And check to see what vanilla cuttings are available right now to begin growing orchids at your home.